
Club Banners will show up and be used in many different areas of your account, enhancing the look and feel of the materials sent to your member, guest, and vendors. You will be able to upload multiple banners, with one banner defined as your default banner.
Here is a look at some of the places your default banner will be displayed:
Automated Emails
Single/Bulk Emails
Default Reports
Custom Reports
Online Order Forms
Survey
Member Portals
You can also select to use your alternate banners in the following locations:
Automated Emails
Single/Bulk Emails
Survey
In this article, we will discuss how you can upload and manage your banners.
Uploading Banners:
To upload a banner for your account, follow these directions:
Go to Club Details > Logo(s) & Banner(s).
Select "Upload Banner."
Navigate to the banner, select it, and click "Open."
Click the button "Default Banner" (if necessary).

Note: If this is the first banner, it will be assigned as the default banner to be used.
File Specifications:
The file types must be a jpg, jpeg, gif (static image), or png file. The optimal width for a banner is 980 pixels. We further suggest a height of 180-250 pixels. Uploading a taller banner will reduce the visibility of the content below the banner.
Remove a Banner:
You can also remove any of your current banners. To do this, click the red "X" (as shown below).
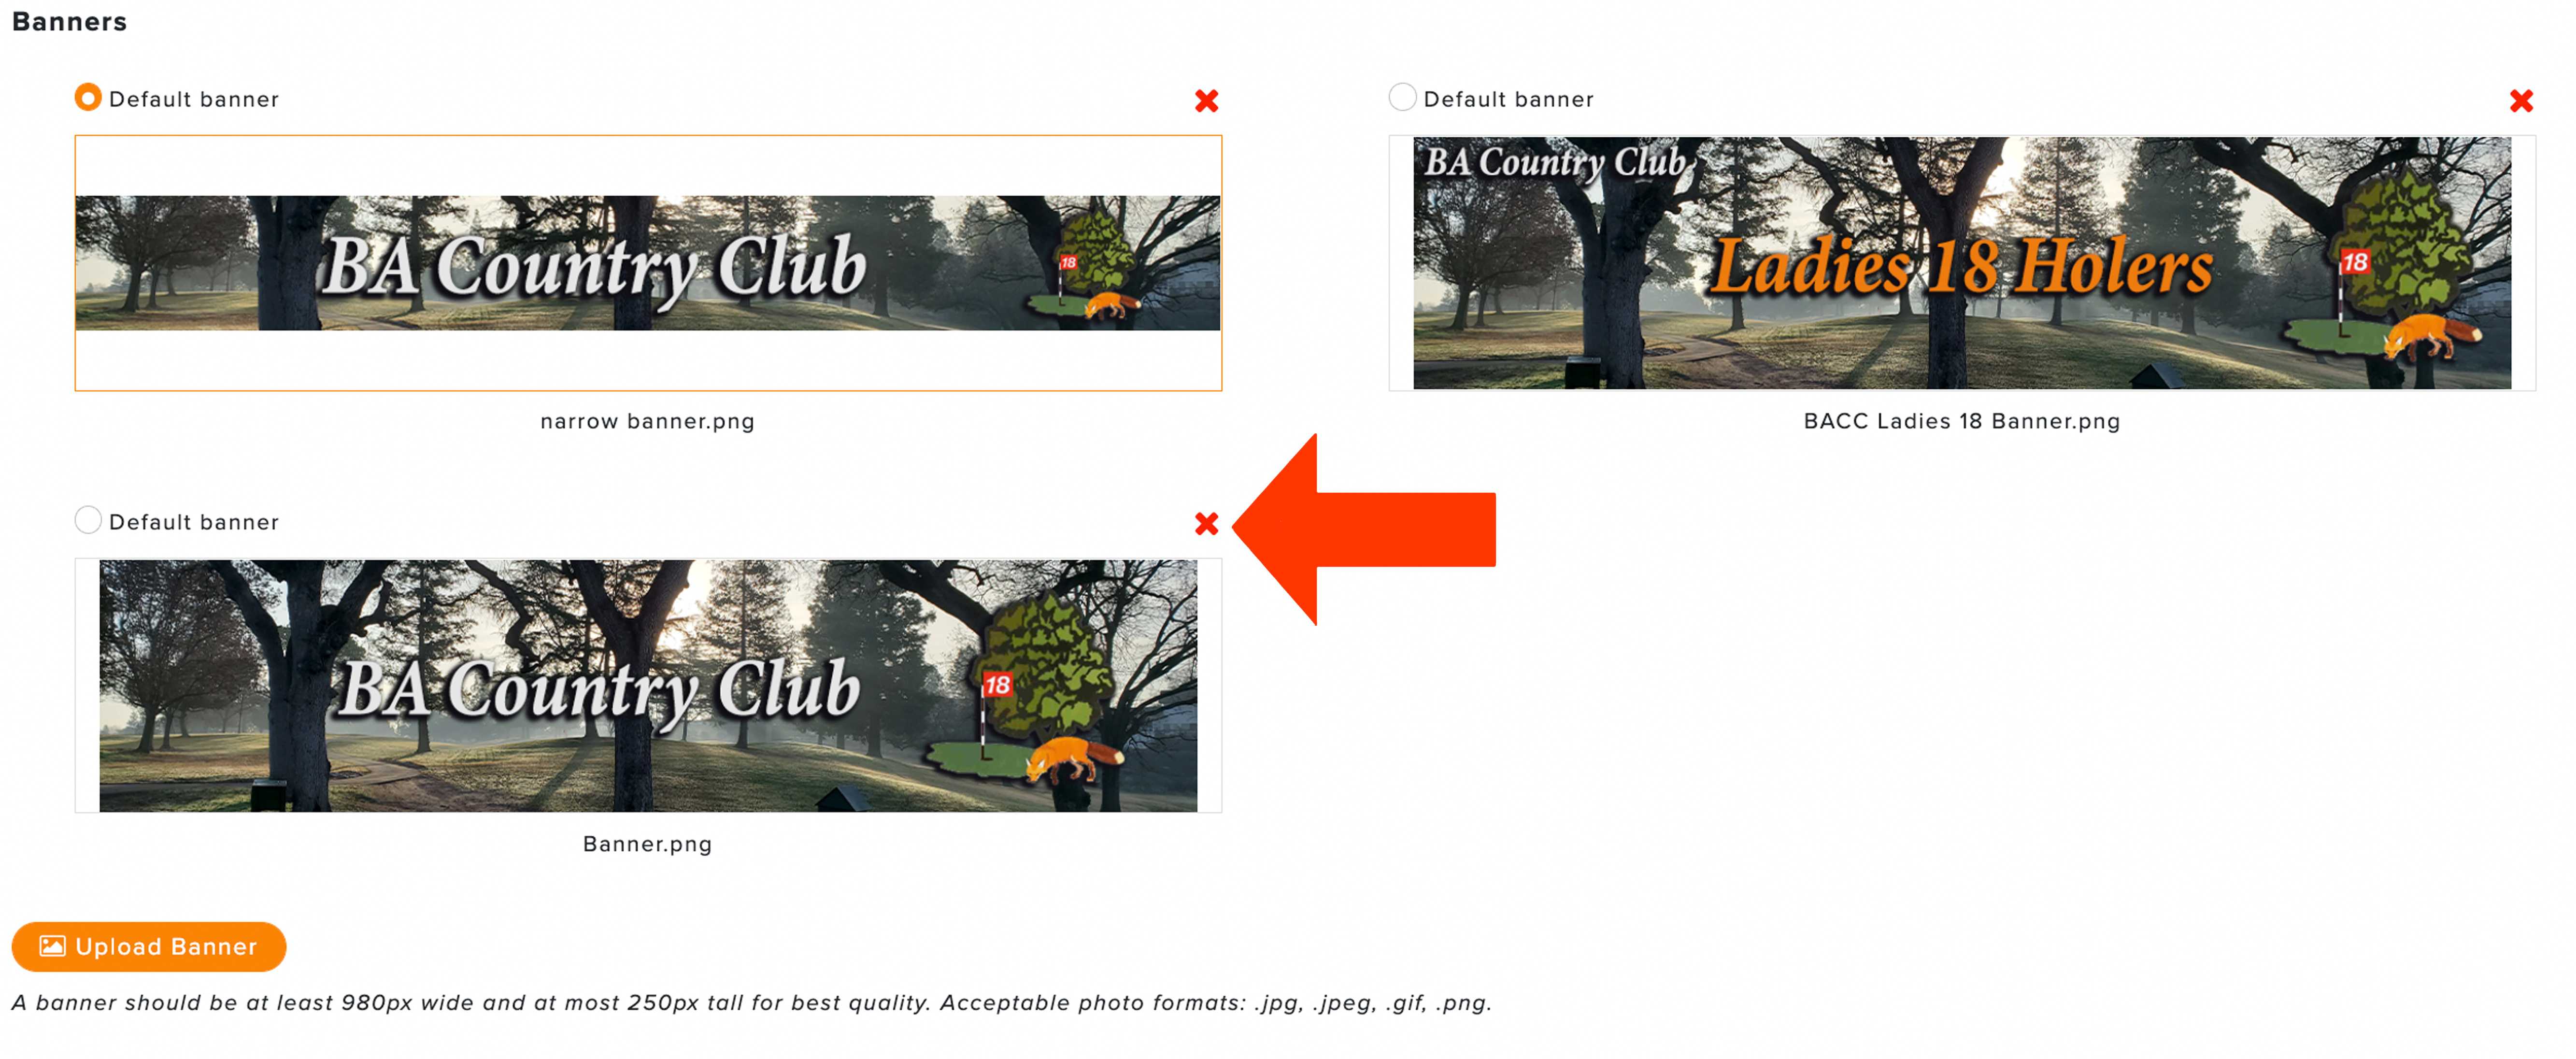
Note: If you remove the default banner, the banner in the first position will be assigned as the new default banner. If another banner should be the default banner, click the button for that banner to be defined as the default banner.