
Your demo club inventory can be uploaded via spreadsheet, added from a vendor PDF with the AI Demo Inventory Assistant, or entered manually. In this article, we will discuss how to manage your demo inventory manually:
Entering Demo Clubs Manually
Editing Demo Clubs Manually
Deleting Demo Clubs
Entering Demo Clubs Manually
To enter a club manually, follow these directions:
Navigate to Services > Demo Clubs > Inventory > Add New Demo Club.
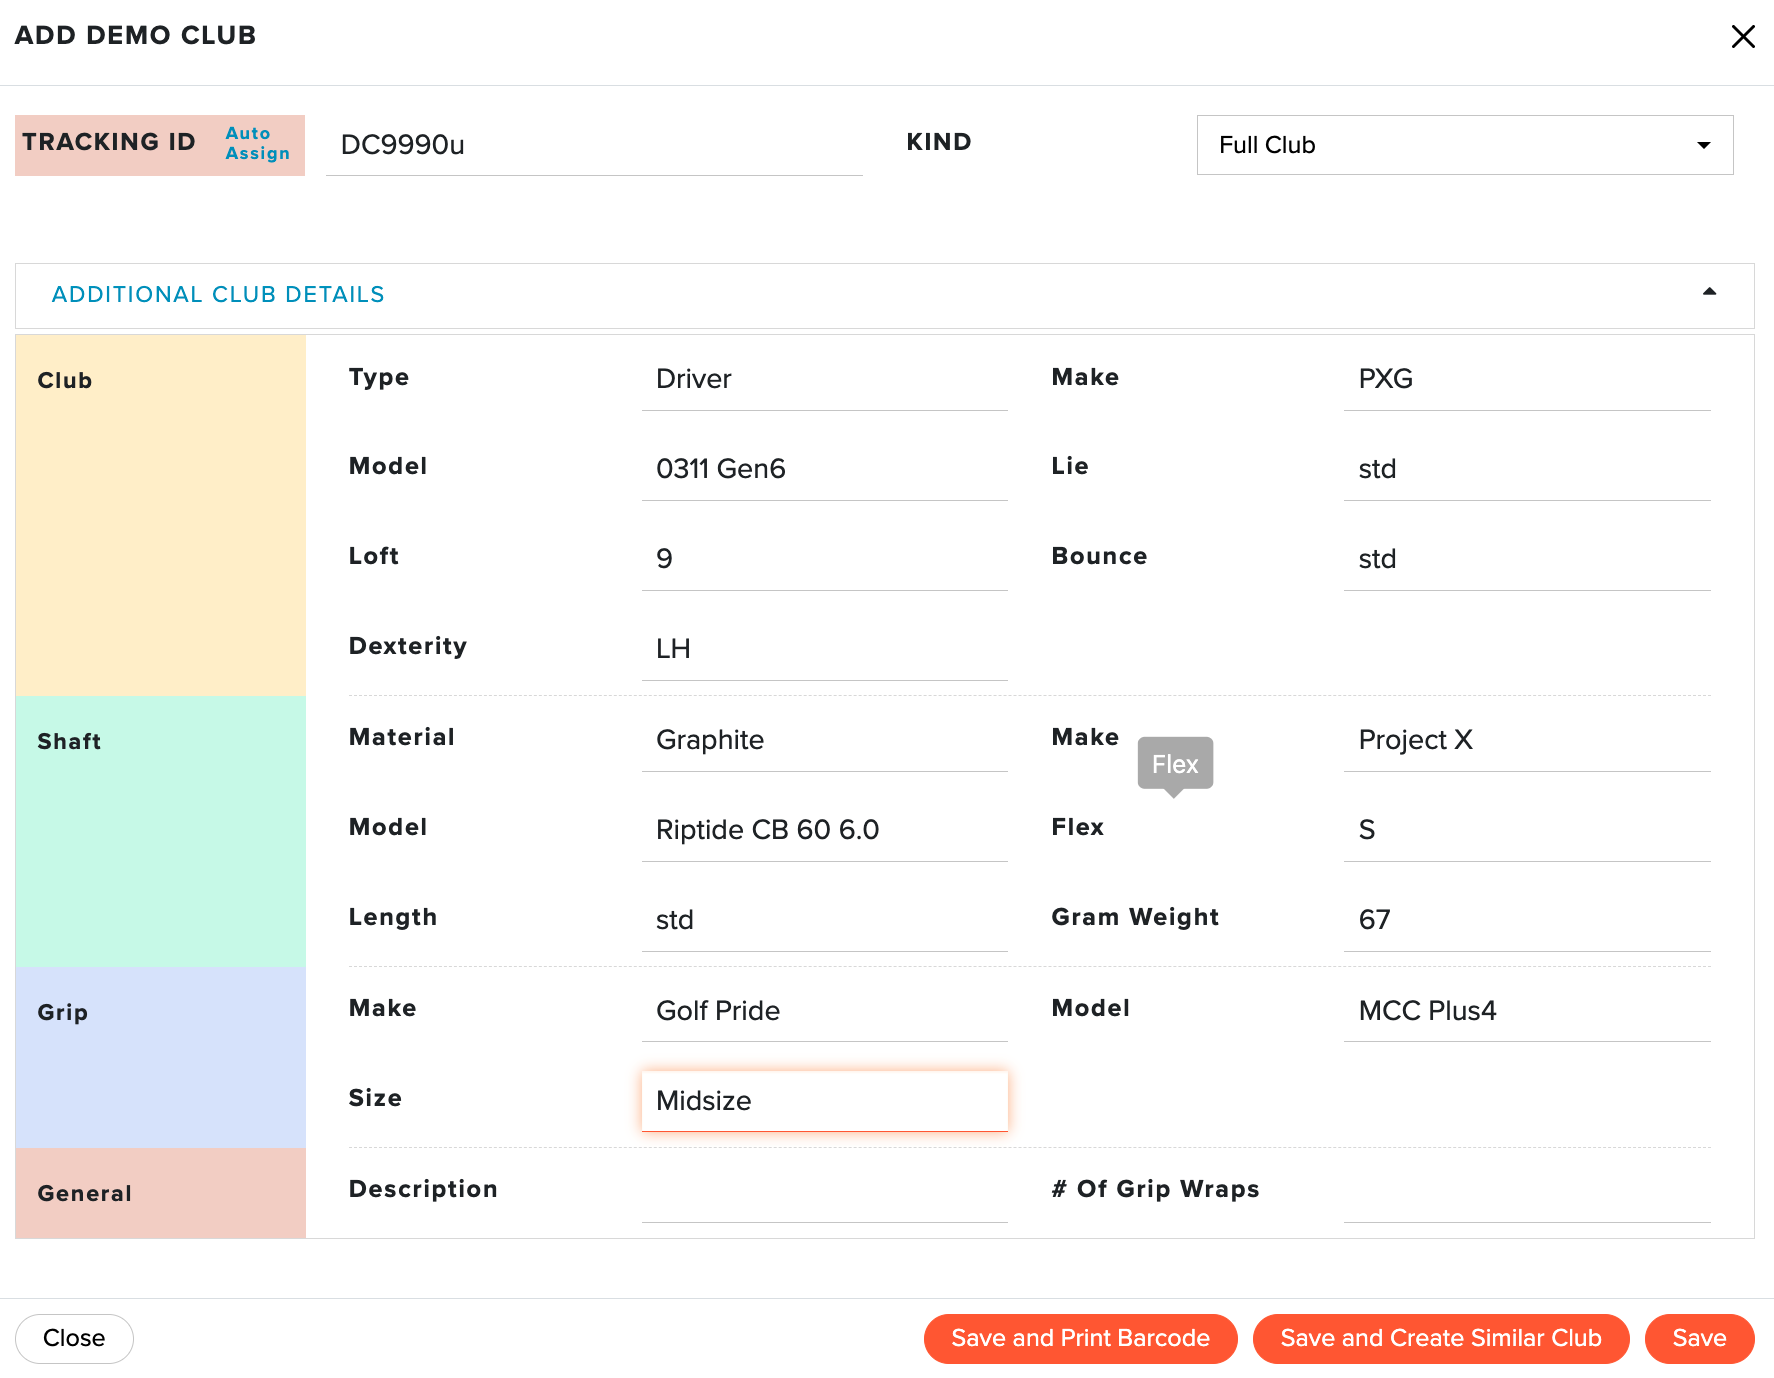
Enter the unique Tracking ID for the demo club. This ID is displayed in the club/component selector when checking out a demo club, so it is important that the Tracking ID can quickly identify the club. When entering a Tracking ID, you have two options:
Auto Assign: Golf Shop generates the Tracking ID automatically.
Manually: Type the Tracking ID into the field.
Select the kind of item you are entering into the inventory. If the club has a separate head and shaft, enter each component separately. You can enter:
Full Club: Select this option if the item comes as a complete club that cannot be separated.
Club Head: Select this option for a club head that can be separated from its shaft.
Shaft: Select this option for a shaft that can be separated from its club head.
Enter any additional club details that will help you identify the demo (as shown below). These fields are optional, but the additional information helps identify and summarize every demo transaction. For details on managing these fields, Click Here.

Click "Save," or click "Save and Create Similar Club" to open a new demo form pre-filled with the same information as the previous demo club.
Repeat these steps as needed.
Editing Demo Clubs Manually
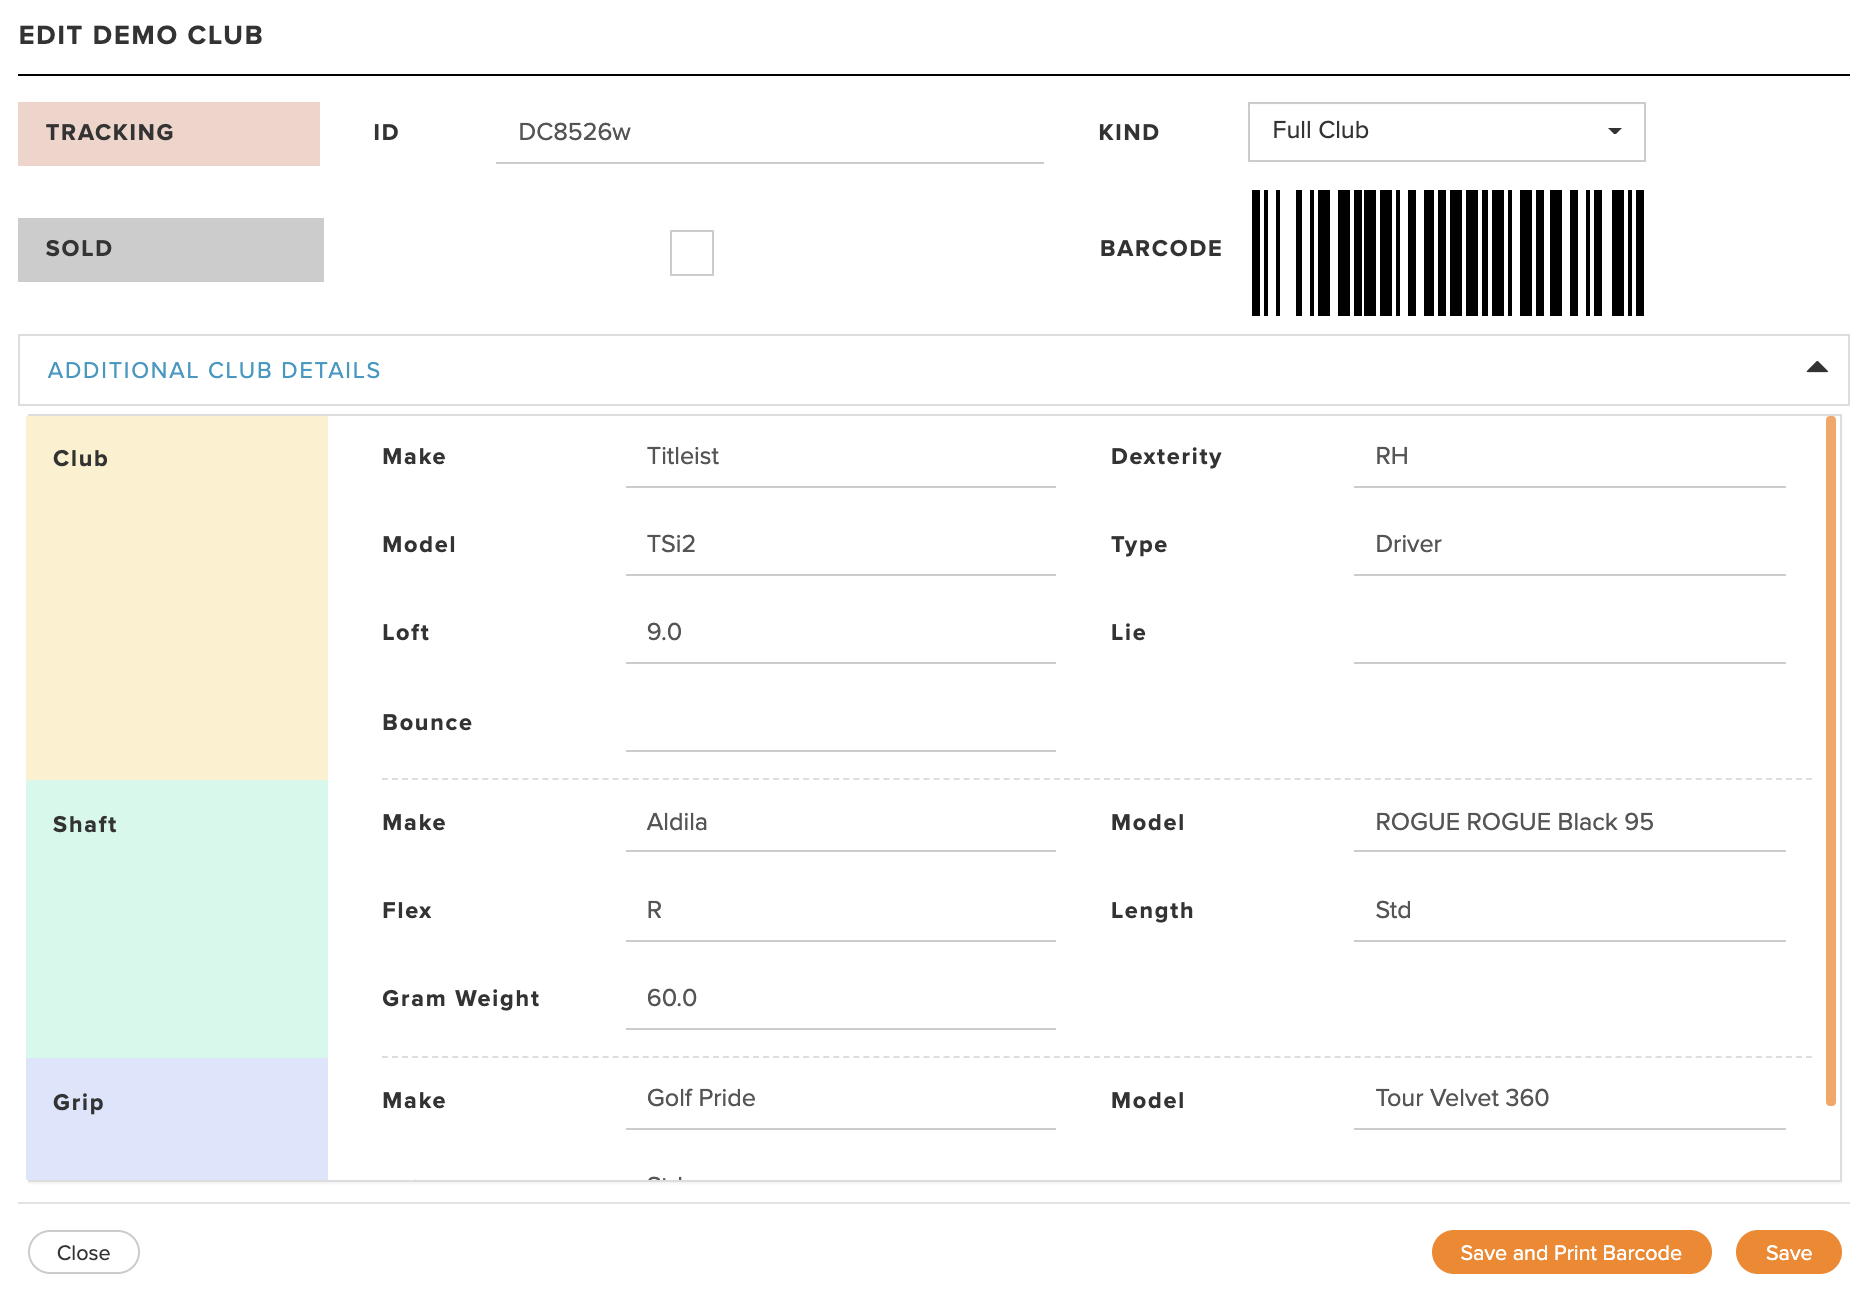
To make minor changes to a few demo items, edit them from the demo inventory. To edit a demo item, follow these directions:
Navigate to Services > Demo Clubs > Inventory.
Find the item to update, click the action drop-down, and select "Edit."
Make the necessary changes.
Click "Save" to apply the changes (as shown below).
Deleting Demo Clubs
You can delete demo clubs one at a time, or select multiple or all demo clubs and delete them at once.
Deleting One Demo Club
To delete a single demo club, follow these directions:
Navigate to Services > Demo Clubs > Inventory.
Find the item to remove, click the action drop-down, and select "Delete."
Deleting Multiple or All Demo Clubs
Select one, several, or all demo clubs on the inventory page and delete them at once. Before anything is deleted, you download a backup spreadsheet of the selected demo clubs.
To delete multiple or all demo clubs, follow these directions:
Navigate to Services > Demo Clubs > Inventory.
Check the box next to each demo club you want to delete, or check the box in the header row to select all demo clubs. Selected demo clubs are highlighted in red, and the number selected is shown at the top of the page (as shown below).

Click "Delete Selected." To start over, click "Clear Selection."
Click "Download Backup." When the backup is ready, click "Download Spreadsheet" to save it to your computer (as shown below).

Click "Permanently Delete." This button is available only after the backup spreadsheet is downloaded.
A message confirms how many demo clubs were deleted.
Note: Demo clubs out on an active demo cannot be selected or deleted. If any are skipped, the confirmation message lets you know. Deleted demo clubs keep their demo history, so they still appear as Past Demos when you search the Demo Club Dashboard.