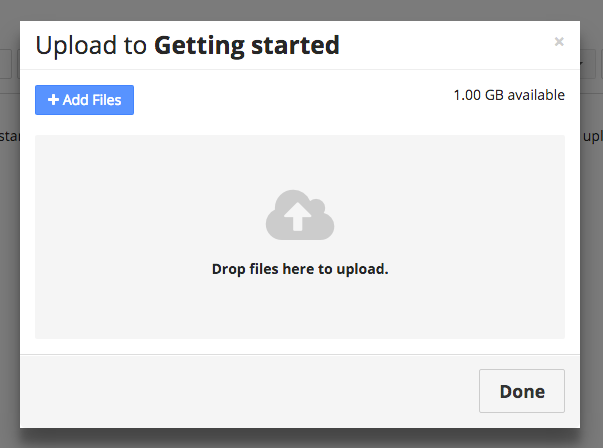
Let’s add some media to the project. Click the Upload button.

Drag your files from your desktop into the uploader. You can also click Add files to open the file selector.
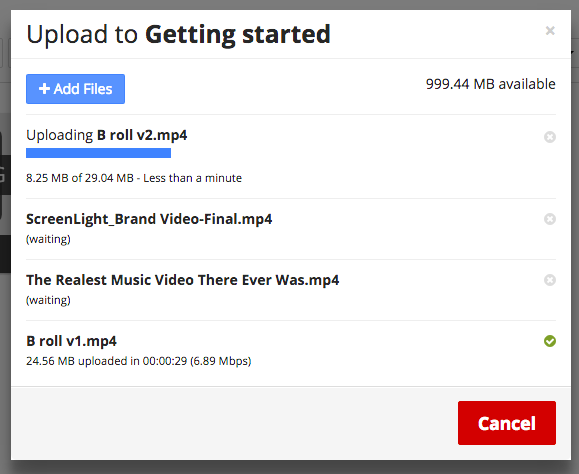
You can upload as many files as you want at once. The files will be queued up in our super speedy uploader. If you encounter WiFi problems or some other connection interruption, the transfer will pause and resume as soon as your connection is restored.
The uploader shows the progress of each file. If you want to cancel an individual file, click the x to its right. To cancel the entire upload, click the cancel button.
Once all of the files have been uploaded, click the Done button to close the uploader.

Each file is processed for online viewing immediately after it has been uploaded. Video and audio files are generally processed in about 1/2 of their running time. Images are also processed very quickly.
The processing step ensures that videos can be viewed on virtually any desktop or mobile browser. This means that you'll never have to worry about dealing with client playback issues.
You can turn off video and audio encoding if you want to skip this step. This can be handy if you're dealing with long videos that you need to turn around super quickly. In any case, we always store the source file that you've uploaded so that Screenlight can be used for delivery.

When each file is ready for viewing, the processing message is replaced with a thumbnail for the asset. We select the first scene change for videos and we use a waveform for audio files. You can change the video thumbnail if you don't like the one that is automatically created.

When a file is ready for viewing a notification is automatically sent to the uploader and anyone else on the project that has new asset notifications turned on.
What's next?
Now it's time to share your video.