
Summary: For clients using Ziflow with the Oracle NetSuite CRM, we’ve simplified the task creation process between the two systems. You can now trigger a proof review and approval task directly in the NetSuite platform within your review workflows. Users can directly access proofs and tasks in NetSuite from a “Ziflow proof” tab.
Before you start configuring your first NetSuite flow, please visit this article and connect Netsuite to Ziflow.
Available for: Administrators on the Ziflow Enterprise edition.
Our Zibots allow you to trigger a flow when the following events occur on a proof:
New proof/version: triggers when a new proof is ready for review.
Decision: triggers when a decision is made by a reviewer or when a decision is updated on the stage and/or proof.
New comment/reply: triggers when a reviewer adds a comment/reply to the proof.
Comment resolved: triggers when a comment is marked as resolved.
Comment labeled: triggers when a reviewer labels a comment.
Proof updated: triggers when the proof folder, setting, or custom property changes.
Stage updated: triggers when a stage is started or when a reviewer is added/removed.
Comment reaction: triggers when a comment reaction is added on a comment/reply level.
Learn how to:
Create Ziflow Webhook Flow
Click on the Connect tab in the upper left corner of the screen, then click on the + Create flow button. Instead of connecting to cloud storage, select the Ziflow application.

Set up Flow Event settings
The first step is selecting the event that will trigger your Zibot:

Next, you will be presented with the event details page, which will vary depending on which event you select:
New proof/version
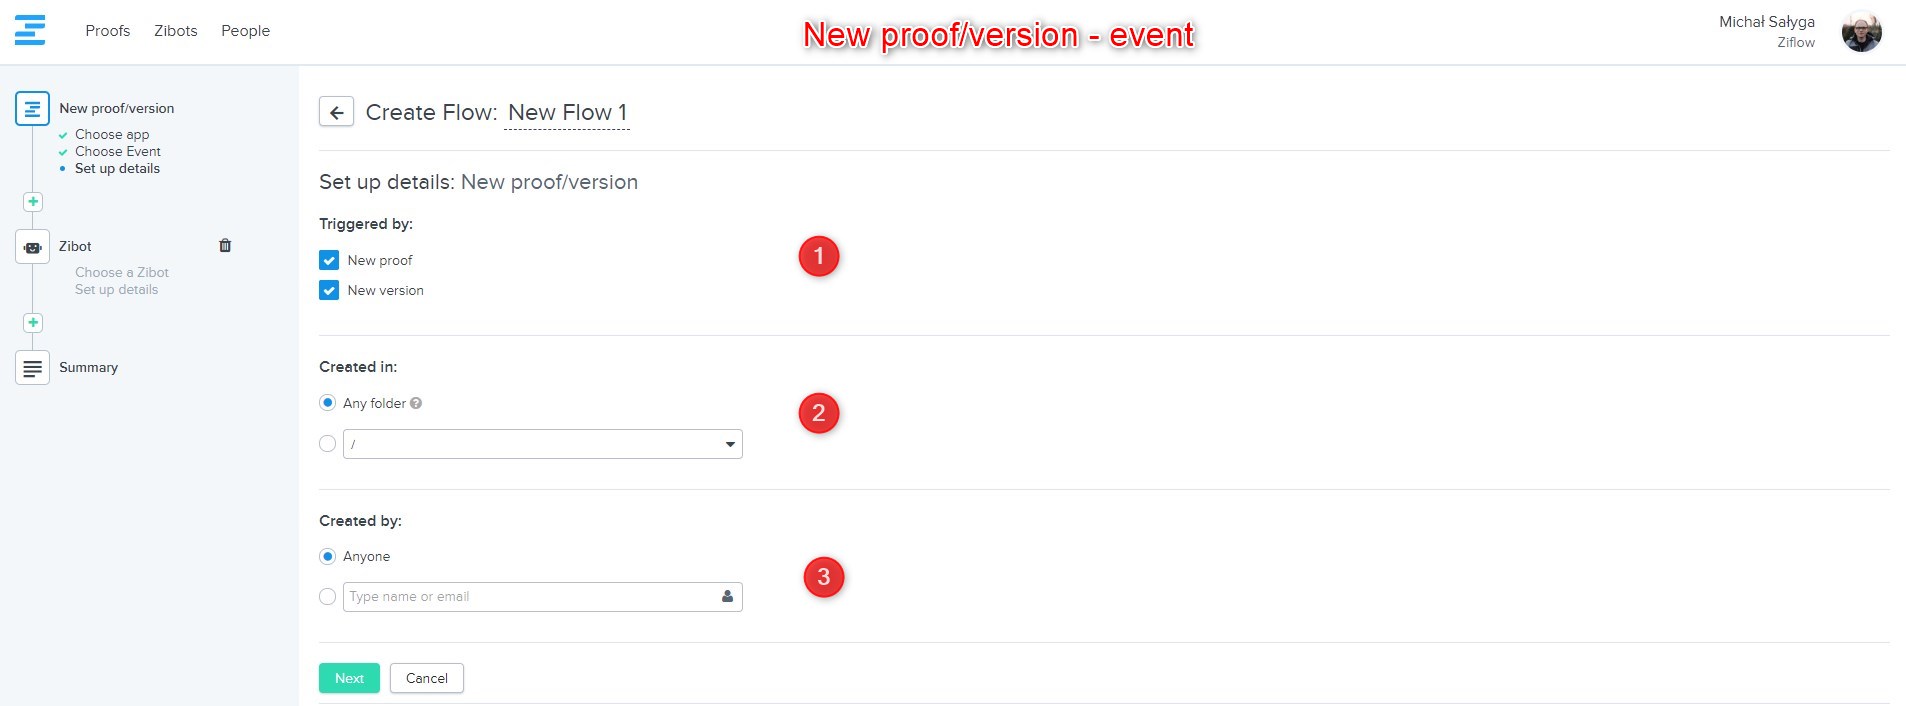
Triggered by - select the type of request that will trigger the Zibot.
Created in - select the Ziflow folder that this flow will monitor.
Created by - select the user that will be responsible for this flow activation.
Decision made
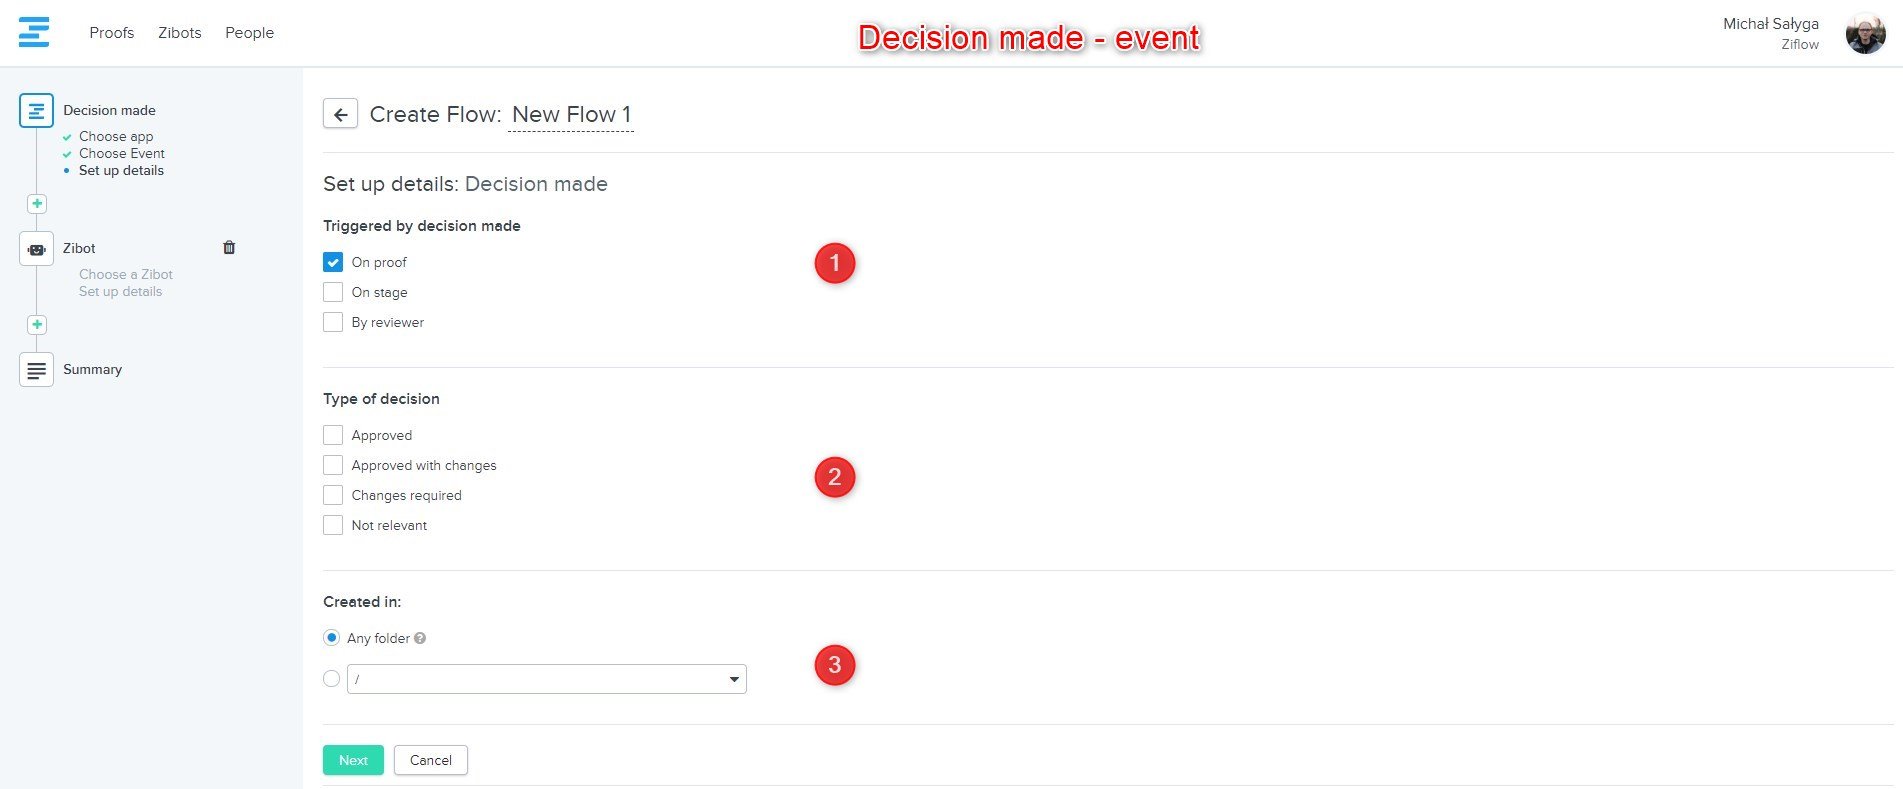
Triggered by decision made - select what level decision needs to be made to activate the flow.
Type of decision - choose the type of decision that needs to be made to activate the flow.
Created in - select the Ziflow folder that this flow will monitor.
New comment/reply added

Triggered by new comment / new reply - choose which option should activate the flow.
Made by - choose if a Zibot should be activated by a specific reviewer or by anyone that adds a comment/reply.
Created in - select the Ziflow folder that this flow will monitor.
Comment resolved
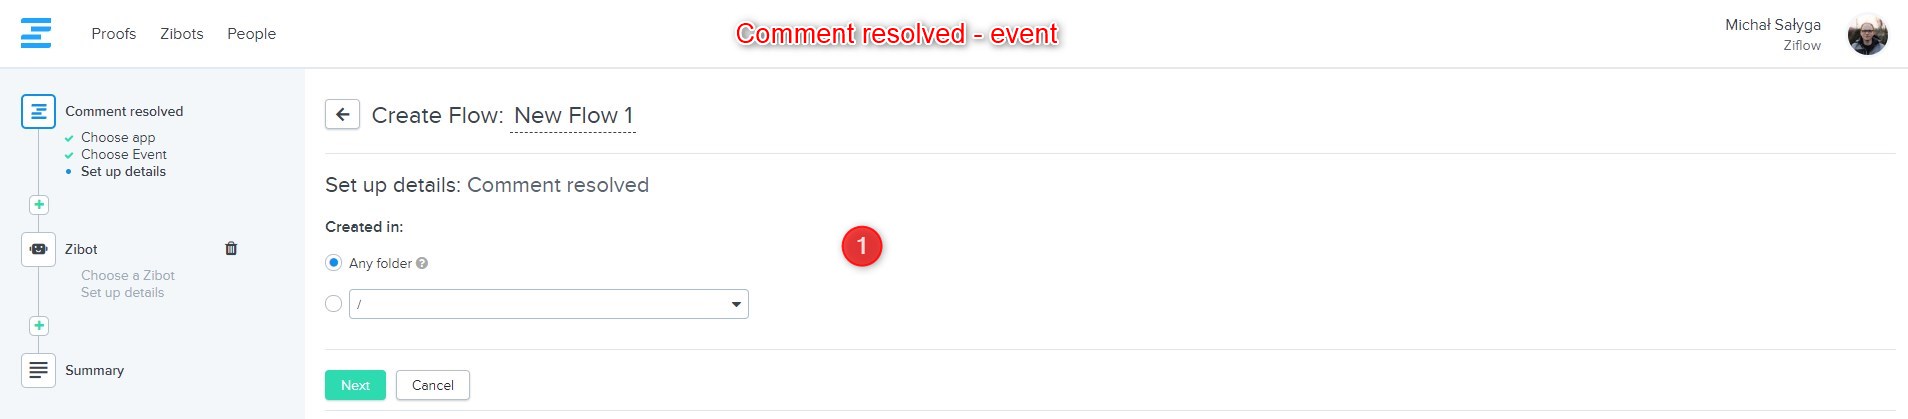
Created in - select the Ziflow folder that this flow will monitor.
Comment labeled
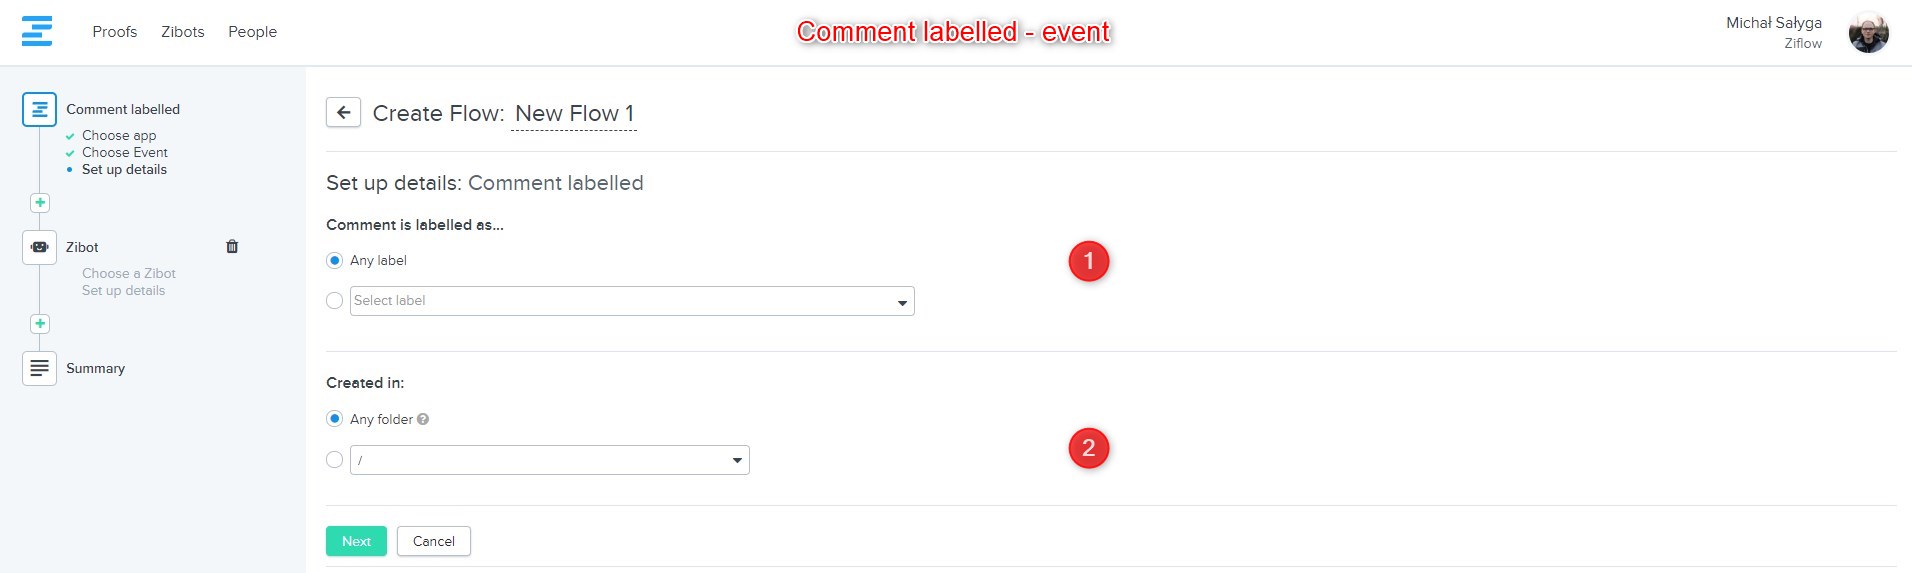
Comment is labeled as - select which label(s) should trigger a Zibot.
Created in - select the Ziflow folder that this flow will monitor.
Proof updated
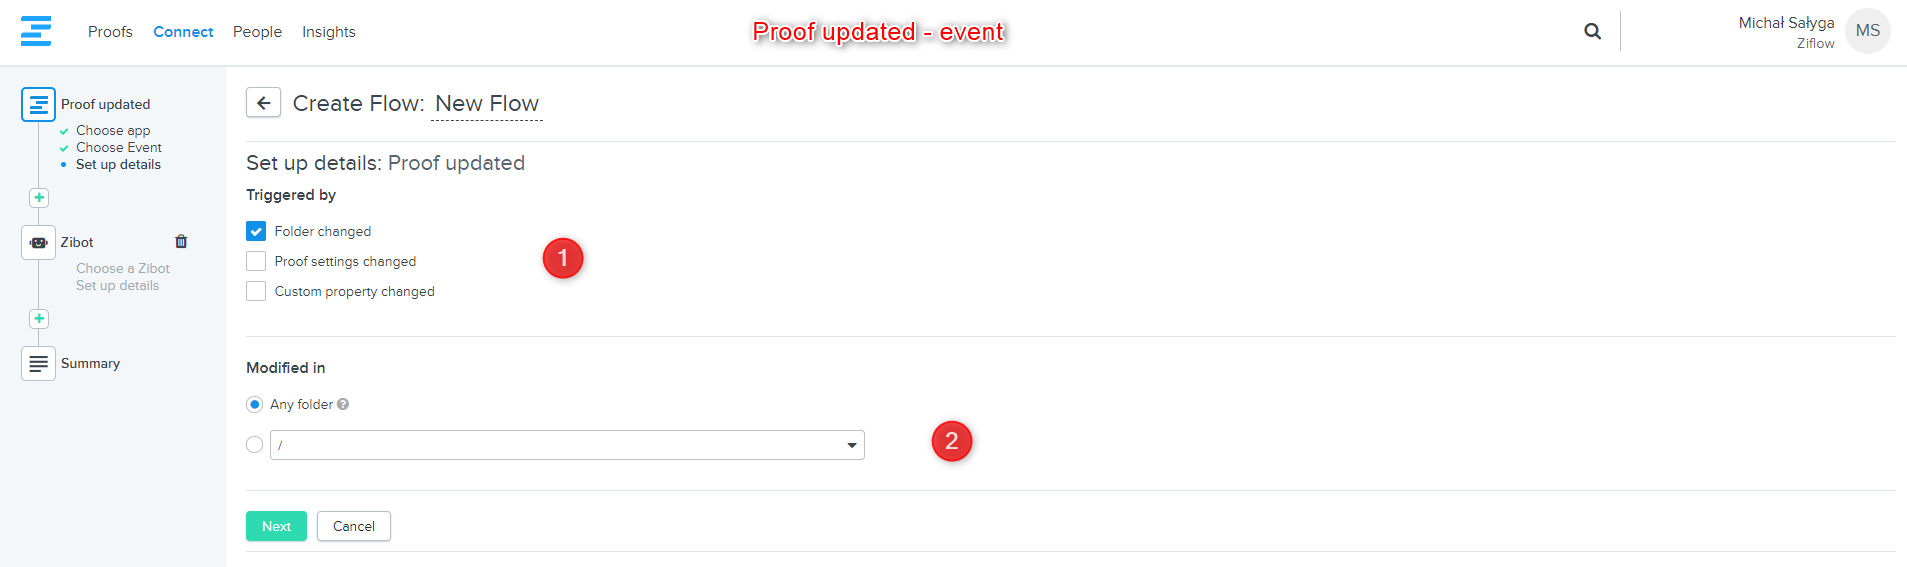
Triggered by - select which type of the proof updated event should trigger the Zibot.
Modified in - choose the Ziflow folder that this flow will monitor.
Stage updated

Triggered by - select which type of the stage updated event should trigger the Zibot. There are three types of stage update events: reviewer added, reviewer removed, stage locked, and deadline changed.
Modified in - choose the Ziflow folder that this flow will monitor.
Comment reaction

Triggered by - choose if you want to trigger a flow based on reactions added to comments or replies.
Comment reacted with - select what type of reaction should trigger a flow.
Created in - select the Ziflow folder that is going to be monitored by this flow.
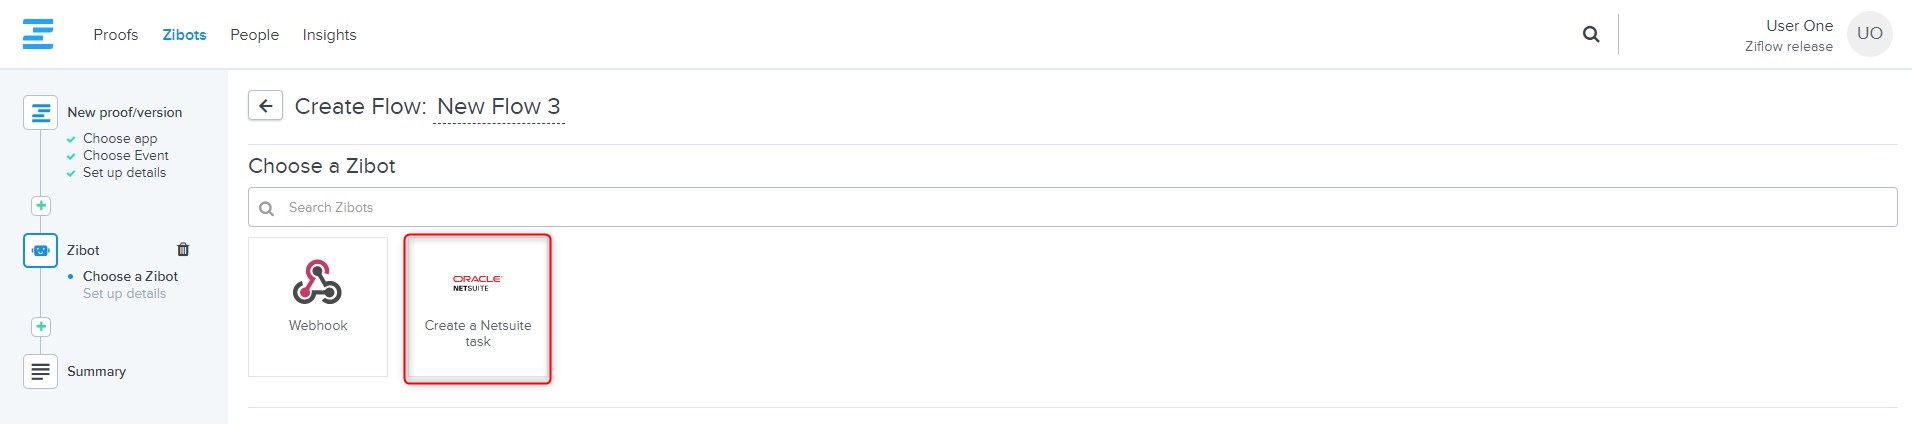
Configure NetSuite Zibot
Next, choose a Create a NetSuite task Zibot:
Set up Webhook Zibot details:

Connection name - select the connection name that was selected during the integration setup.
Project name - choose in what project the task should be created. You can select a project from a list pulled directly from a Netsuite or enter a project ID manually. The latter option allows you to input either the ID from a previous Zibot action or a direct ID using the proof custom property.
Task name - type NetSuite task name. JSONPath syntax can be used similarly to the Webhook Zibot.
Status - select the task status that should be when posted to NetSuite.
Constraint type - pick the constraint type.
Estimated work - estimate how much time will be needed for the task.
Finish no later than - pick the task deadline.
Task assignee - choose a task assignee.
Once you hit the Next button, Ziflow will confirm if the flow looks good. If there are no problems, name the flow and turn it on.

What happens after the NetSuite flow is started?
When set criteria are met, and the Zibot is triggered, you will see its progress status under the flow name.

You should also see the asset added to your NetSuite task list.

When you enter a NetSuite task, you can see all the details passed directly from Ziflow.

If you open the Ziflow proof tab inside the NetSuite task, you can preview the proof as you would normally do in Ziflow. The proof can be reviewed using Ziflow tools, such as drawing markups, commenting, and submitting decisions.
.png)
Create tasks in Netsuite projects using the project ID provided in the proof.
Begin by adding a new custom property to your Ziflow account. This property will be used to enter a project ID value, which will inform the flow of where to create a new task within the Netsuite account.

Create a new flow with a New proof/version selected as an event trigger.

Select a Create Netsuite task Zibot from the Zibot list. Fill the Zibot configuration according to your use case specifications. Please note that inside the project ID, a picked token value of a custom property that was created before the flow setup.

Give your flow a name and turn it on.

Test if the flow works correctly by submitting a new proof in Ziflow. Please remember to fill in the Netsuite project ID field while creating a new proof.

Additional information:
Notice that you can refer to the data from the proof or other Zibots in all input fields of the Webhook using JSONPath syntax. For more details and examples about our JSONPath syntax, please see our API reference page.