
Designing a custom Online Order form is quick and easy. Before beginning, you will want to gather some information about the items listed on the form. This information includes:
Item Name
Item Description
Multiple digital images of the item, if available (.jpeg, .jpg, .png)
Item Cost (Currency/Credit or Point
Available Sizes and Colors
SKU #
Wholesale Price
In this article, we will discuss how to design, add, and duplicate items for your online order form.
Setting up the Online Order Form
To set up the online order form, follow these instructions:
After Creating the Form, you will be taken to the design form page. You can also access the form designer page by going to, Orders > Special Orders > Online Order Forms. Click the action drop-down for the form you need to design and click "Edit Form."
Manage the Banner. You can remove the banner, upload a custom banner or revert the banner to the default banner.
Create a form description. Optionally, click "Add description" to add a description of the form. If you know when the order form is set to close, include it here, so your members know when to get their order in or make additional modifications.
Manually Open/Close the order form. For details on setting an automatic open and close date, Click Here.
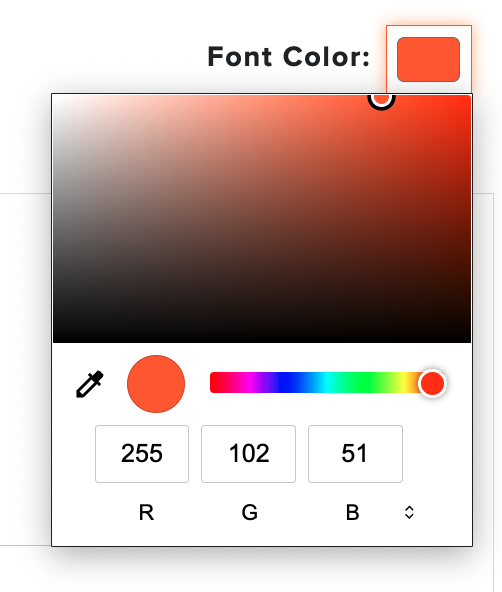
Select a color scheme using the "Font Color" color code picker. The color scheme is used for the area below the banner, certain text, buttons, and other areas. You can enter RGB, HSL, or HEX color code values to find a specific color (as shown below).

Set if the items are to be viewed by you in a condensed or expanded form. The condensed view is good when you have a lot of items that are being added to the form.
Click "Save" to ensure all the changes are made.
Adding Items to the Online Order Form
Open the Form editor page.
Click "New Item."
Create your first item by filling in the following:
Item Name: Provide the item name, for example, "Adidas Men's Ultimate 365 Pencil Stripe Golf Polo."
Currency/Point: The cost per item in your currency(credit) or points.
Vendor: Pick a vendor from your vendor list. For more details on managing your vendors, Click Here.
Description: A description of the item from the vendor.
Category: Pick the product category. For more details on managing product categories, Click Here.
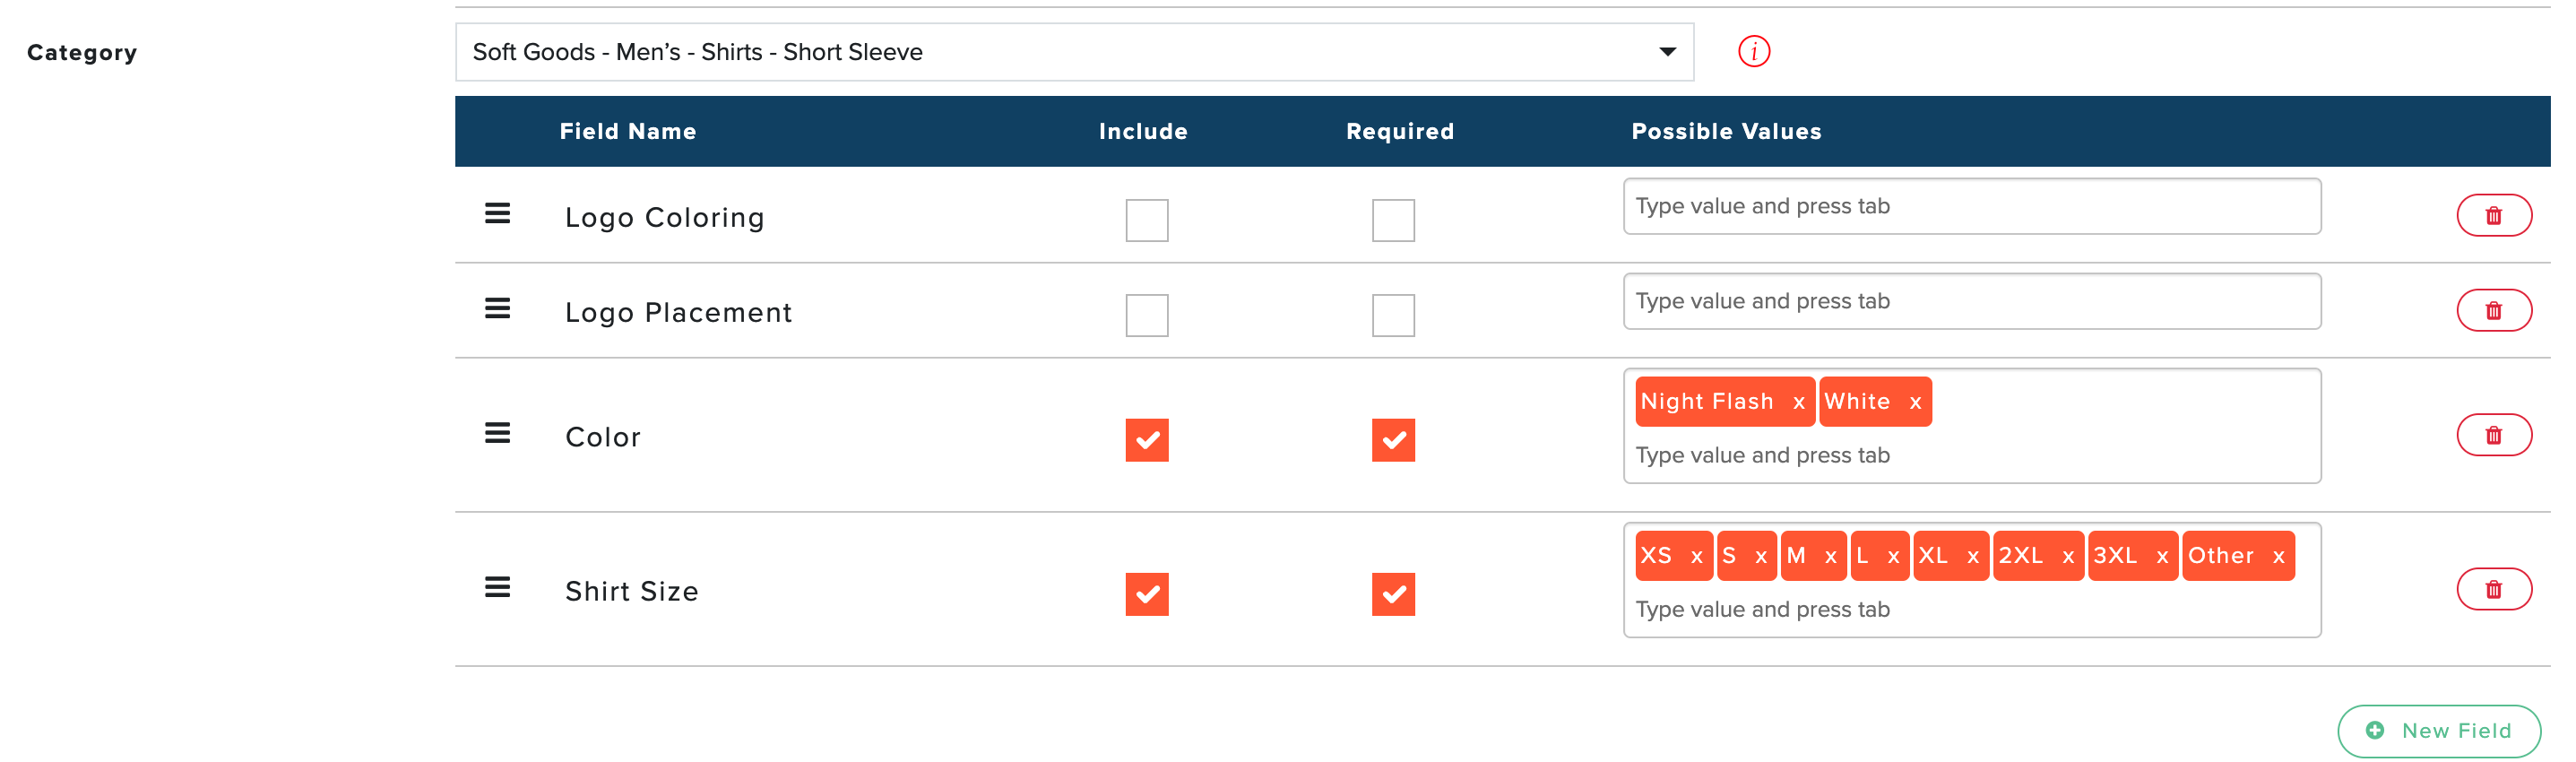
Edit the Custom Fields: The custom fields will populate based on the selected product category. New fields may be added if necessary. When editing the custom fields, the following options will be available:
Include: Check this box if you would like the field to be displayed on the order form
Required: Check this box if this field is mandatory when placing an order. For example, "Shirt Size" should be mandatory if the product is a shirt.
Possible Values: If values are set for a Custom Fields (Product Details/Attributes), these values can be automatically populated. Further, the Manager can edit and enter the values displayed for the field. For "Shirt Size," these fields may be S, M, LG, XL, etc. When entering a value, press "Tab" to apply the value and start entering a new value (as shown below).

Note: You can drag and drop the values added in the Possible Values field to change their sort order. For example, if you originally enter "S" and "L", but later add "M", you can drag the "M" between the "S" and "L".
Image: Click to upload or drag and drop the image(s) used to represent the item (as shown below). Resort the uploaded images by dragging and dropping them.

Quantity Limit (Optional): Limit the number of units a member/guest can add to the shopping cart for a specific item.
Available Quantity (Optional): Set the number of available units. Sold-out items will be listed appropriately on the online order form as "Currently Unavailable" (as shown below).

You will have two available options when setting the available quantity:Total Quantity: Use this to set a Global Limit on total available units. This ignores individual field combinations (like 'Medium/Blue') and instead tracks the total quantity remaining for the entire product.
Quantity by Fields & Values: When selecting “Quantity by Fields & Values,” you can select the items' field names and add quantities based on the possible values and field combinations. For complete details on setting Quantity by Fields & Values, please see the section below.
Configuration Fields: The configuration fields, if completed, will fill out the corresponding fields in the Special Orders. The fields will not be visible to the members when creating their orders online. The following fields are available:
Wholesale Price: The Vendor Wholesale price of the item.
SKU: The vendor SKU # for the item.
Click "New Item" to add additional items. Repeat step 3 until all items have been entered.
Click "Save" (on the bottom right) to save the online form.

Entering and Managing Quantity by Fields & Values
When selecting “Quantity by Fields & Values,” you will be provided a list of all the items’ fields and a quantity table based on the selected fields. The fields in the list can be checked or unchecked to add the quantity configuration table. You will also have a "total" row that shows the sum of the entered amounts. To set Quantity by Fields and Values, follow these directions:
Start by going to Available Quantity and select Quantity by Fields and Values.
You can select one or more Field Names to create a table for quantity entry.
Selecting one Field Name displays the possible values for the field and allows you to enter quantities based on the values (as shown below).

Selecting additional Field Names increases the number of combinations in which quantities can be added (as shown below).

If you are trying to remove a Field Name you will be alerted that deselecting that field name will remove any combinations that are included in the table
Best Practices and Tips Entering Quantity by Fields & Values
Inventory Count: As a manager, you will not see live inventory counts updated on the main product table when customers place orders. To find the current stock level, you must review the items sold in reporting or the special-order dashboard and manually calculate the available inventory.
Manually Updating Quantity: If you choose to edit the item quantity, remember that the total quantity in the table does not automatically adjust based on sales. When adding new stock, you must manually calculate the new total:
Example: If the original quantity was 5 and you’ve sold 2, to add 3 new items, you must update the quantity field to 8 (5 original + 3 new). This accounts for the sold items and reflects the true remaining availability (6).
Simplifying with Item Duplication: If manually managing the count becomes too difficult, use this method to reset inventory:
Duplicate the original item.
Enter the new total quantity for the duplicated item.
Delete the original item from the online order form.
Result: This provides a clean ordering slate while ensuring all order history for both the original and new item remains in your reports and special orders.
Duplicating Items in the Online Order Form
If you have several similar items, you can create the first item and then clone that item to create the remaining items. To duplicate an existing time, click the "Duplicate" button for the existing item and a duplicate will be created (as shown below). The new item will be identical to the first with the exception of "Copy" appended to the "Item Name."
