
When printing cart signs, you have three options. You can:
Print our standard cart signs
Discover cart signs in the user community
Create cart signs using the Page Composer
In this article, we will discuss all three options.
Print our Standard Cart Signs:
Our standard cart signs are quick and easy to print. Information on the cart signs includes:
The League/Event Name
The course that is being played
The player names
The tee that the players are playing from
The date of the round
The starting hole
Their tee time or Shotgun start time
The primary logo
See below for an example standard cart sign:

To set up and print standard cart signs, follow these steps:
Go to Rounds > Report Center > Basic Reports > Cart Signs > Configure (as shown below).

Select to print one sign per page (portrait or landscape) or 2 signs per page.
Select the pairing groups to print on the right.
Click "Save & Print" to print the cart signs.

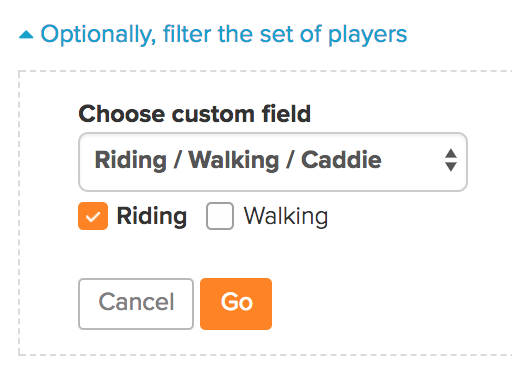
You can also filter (on the bottom left) who to print cart signs for (as shown below). This is common for rounds where some players are walking instead of taking a golf cart. Click Here for instructions on printing cart signs for riders only.
Discover Cart Signs in the User Community:
If you are in the need of more customized cart signs, you can browse the user community of reports in the Report Center. These reports are created using the Page Composer. To do this:
Go to Rounds > Community Reports.
Select the "Cart Signs" category (as shown below).

When you find a cart sign report you like, print the report or select the categories to include your report (as shown below).

After adding the report to one of your categories, go to that category in the Report Center to make further edits (if necessary). For more details on editing reports on the Page Composer, Click Here.
Create Cart Signs using the Page Composer:
If you'd like to design your own cart signs from scratch, you can create a new report using the Page Composer. To do this:
Go to Rounds > Report Center > New Document > New Page.
Name the cart sign report.
Select the form. If you are printing 2 cart signs per 8x11 page, then select the "Cart Signs" form (as shown below). If creating one cart sign per page, select "1 Page".

Select to print for every "Pair (1&2 and 3&4)" as shown below.

Select the categories to include the report.
Click "Save".
Design your cart signs. Your tools are on the left. Your cart sign (gridded area) is on the right (as shown below).

To add your primary logo, click "Primary Logo", resize the logo and move it wherever you'd like on the cart sign (as shown below). You can add the logo multiple times if needed.
To add text or fields, click "Add Text / Field", add the text/fields, format the fields, and click "Apply Text Change". Move the text/field anywhere on the cart sign. In the example below, we are are adding the both player's name on top of each other and placing the names in the center of the cart sign.
Add any additional text fields (e.g., starting hole, starting time, event name, etc). Once the design of the cart sign is finished click "Save".Navigate to the category in your Report Center where the cart sign report was placed and print or further edit (if necessary.


To learn more about using the Page Composer, Click Here.
Other Common terms used for Cart:
Buggy
Car
Golf Car
Cart