Producing high-quality printed material is an integral part of a successful tournament operation. Organizing the printed material also is very important. The Report Center is the central hub for your printed material, where you can:
Access all printed materials in one place
Organize printed materials into categories
Easily preview, edit, and run reports
Report Headers
Creating New Content
Discover reports from the user community
Create and share reports with the user community
To view articles covering all types of printed materials, visit the Printed Materials Section in our Knowledge Base.
To view a recorded webinar on the Report Center, Click Here.
In this article, we will discuss how to navigate and organize your Report Center. We will also discuss the steps to create new content and discover reports from the user community. Before reading this article, we suggest watching this introductory video.
Navigating the Report Center
The Report Center can be accessed in:
An Event Or League: Event/League specific reports can be created here (e.g., scorecards, scoreboards, alpha lists, etc).
The Customer Center: Customer-level reports can be created here using data from the Master Roster. Reports can be generated only using the Spreadsheet Composer. Click Here for details.
To access the Report Center in the Customer Center, go to Customer Center > Season Management > Report Center.
To access the Report Center in an event or league, go to Rounds > Report Center (as shown below).

Your printed material is organized into categories. Some default categories will already be listed:
Last 10 Printed Reports: This category will list your last 10 printed reports.
This Event: This category is initially empty, but you can add all the printed material needed for the specific event or league. If this event or league is later cloned, you can also clone over this category.
Basic Reports: This category includes standard printed material such as Alpha List, Alpha & Tee Sheet, Cart Signs, Hole Location Sheets, Leaderboards, Scorecards, and more.
Basic Spreadsheets: This category includes all standard spreadsheet downloads such as leaderboards, tee sheets, Course Handicap report, and more.
Flyers: This category includes templates and created flyers for events and leagues using the Flyer Composer. These flyers can also include QR Codes linked to Golf Hub Pages.
Report Composer: This category typically includes the printed material created by you (or another user within your account) using the Report Composer.
Page Composer: This category typically includes the printed material created by you (or another user within your account) using the Page Composer.
Spreadsheet Composer: This category typically includes the printed material created by you (or another user within your account) using the Spreadsheet Composer.
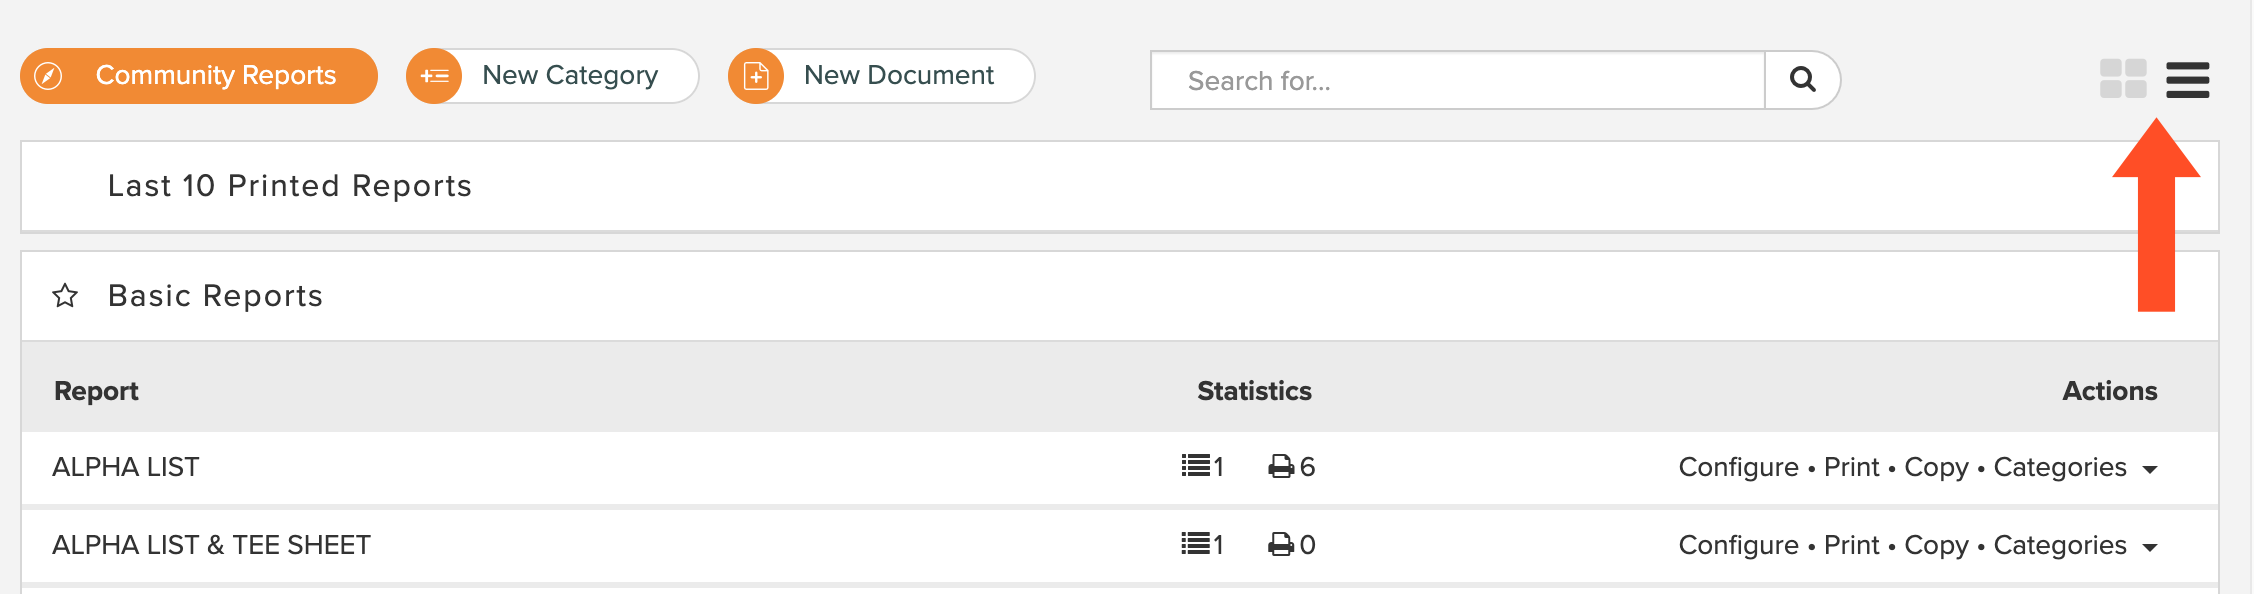
When selecting a category, the content will be listed in "grid mode". You can swap to "list mode" by clicking the icons on the top right (as shown below).
Selecting a Report
When selecting a report, you may have the following options:
Print: The report will be downloaded onto your computer using the current settings of that report. You can print multiple reports at once (as shown below).

Edit: This option (which is available for reports created using the Report Composer, Page Composer, and Spreadsheet Composer) allows you to further customize and design the report.
Copy: This option allows you to create a copy of the report, and further customize that copy.
Configure: This option allows you to select available options to customize the report (as shown below).

Select Categories: This option allows you include the report in one or more categories.
Email: You can email some basic reports to your players like tee sheets and player tip sheets (as shown below).


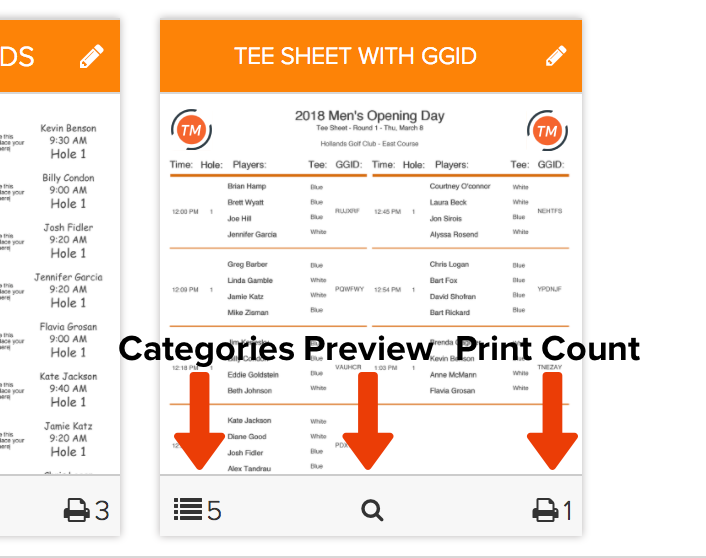
Additionally, there are three options below the report (as shown below).
The number of categories in which the report is included.
The quick preview of the report.
The number of times the report has been printed.
Adding Existing Reports to Categories
You can add existing reports to other categories by hovering over the report, clicking "Categories", and selecting the categories (as shown below).
Creating New Categories
You can create new categories by clicking "New Category", naming the category, and clicking "Save" (as shown below).
Adding a Category as a Favorite
You can add a category as a favorite for the event, which will move it to the top. This is a great way to highlight the categories to be used for the specific event. To do this, click on the categories "star" (as shown below).
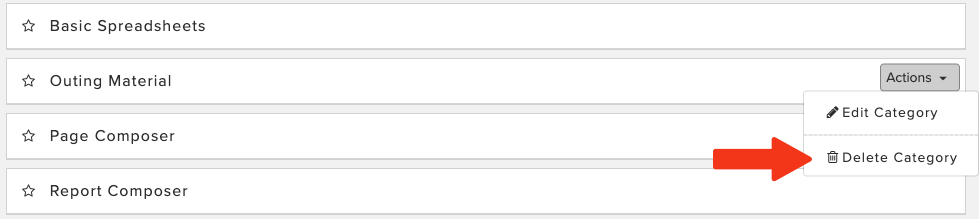
Deleting a Category
In order to delete a category, you must first remove all of the current reports in that category. This can be done by deleting the reports or moving the reports (see the "Adding Existing Reports to Categories" section above) to another category.
Once all reports are removed, go to Actions > Delete Category (as shown below).
Renaming Reports
You can rename reports (that you have created) by clicking on the name and making the change (as shown below).
Creating Report Headers
A report header is an image that can be added to your reports. The report headers allow you to create a header image outside of Golf Genius and apply it to reports in the Report Center, so fewer adjustments are required when using the same report header across multiple reports.
For complete details on creating report headers, Click Here.
Creating New Content
To create new content, click "New Document" and select the type of content you wish to create. The new content can be created:
Using the Report Composer
Using the Page Composer
Using the Spreadsheet Composer
Using the Scorecard Composer
By downloading any of our Publisher Scoreboard templates
Use the Flyer Composer

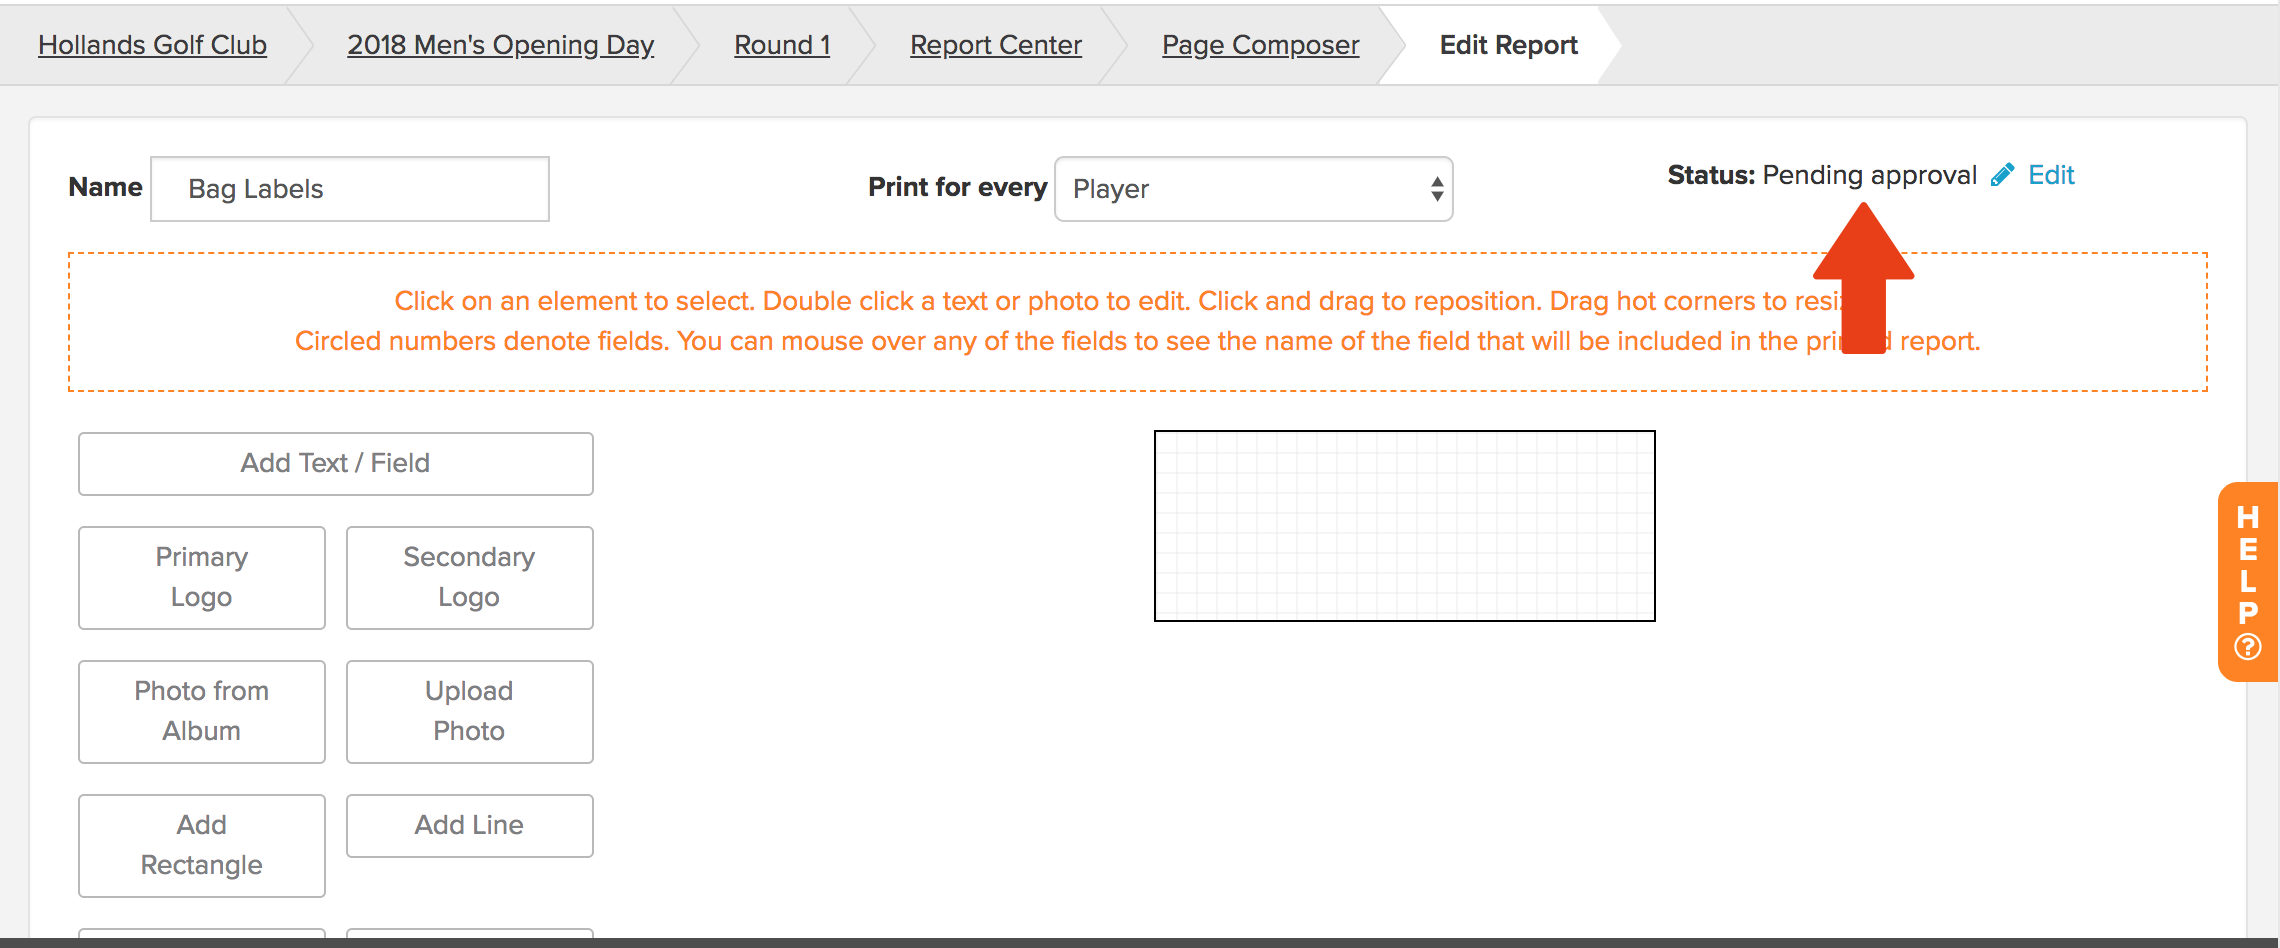
When creating new content, you can add it to any of your categories. In the sequence below, bag labels are being created using the Page Composer and being added to the "Page Composer", "This Event", and "Outing Reports" categories.

To print or edit your new report, go to the category where the report exists and take the necessary actions.
Discovering Reports from the User Community
In addition to the reports that you have created, you can also discover reports from our user community. To do this, go to Rounds > Community Reports (as shown below).

Use the search bar to search by report name or author name, or filter by various parameters at the top.
To view all reports created by a certain author, simply click on the author of the report (as shown below).
When you find a report you like, you can instantly print it or add it to one or more of your categories. After adding a report to one or more of your categories, you can edit the report to make any further changes.
Publishing Reports
You can also share any content that you've created with the user community. When editing the report, there will be an option to edit the publishing status of the report (as shown below).
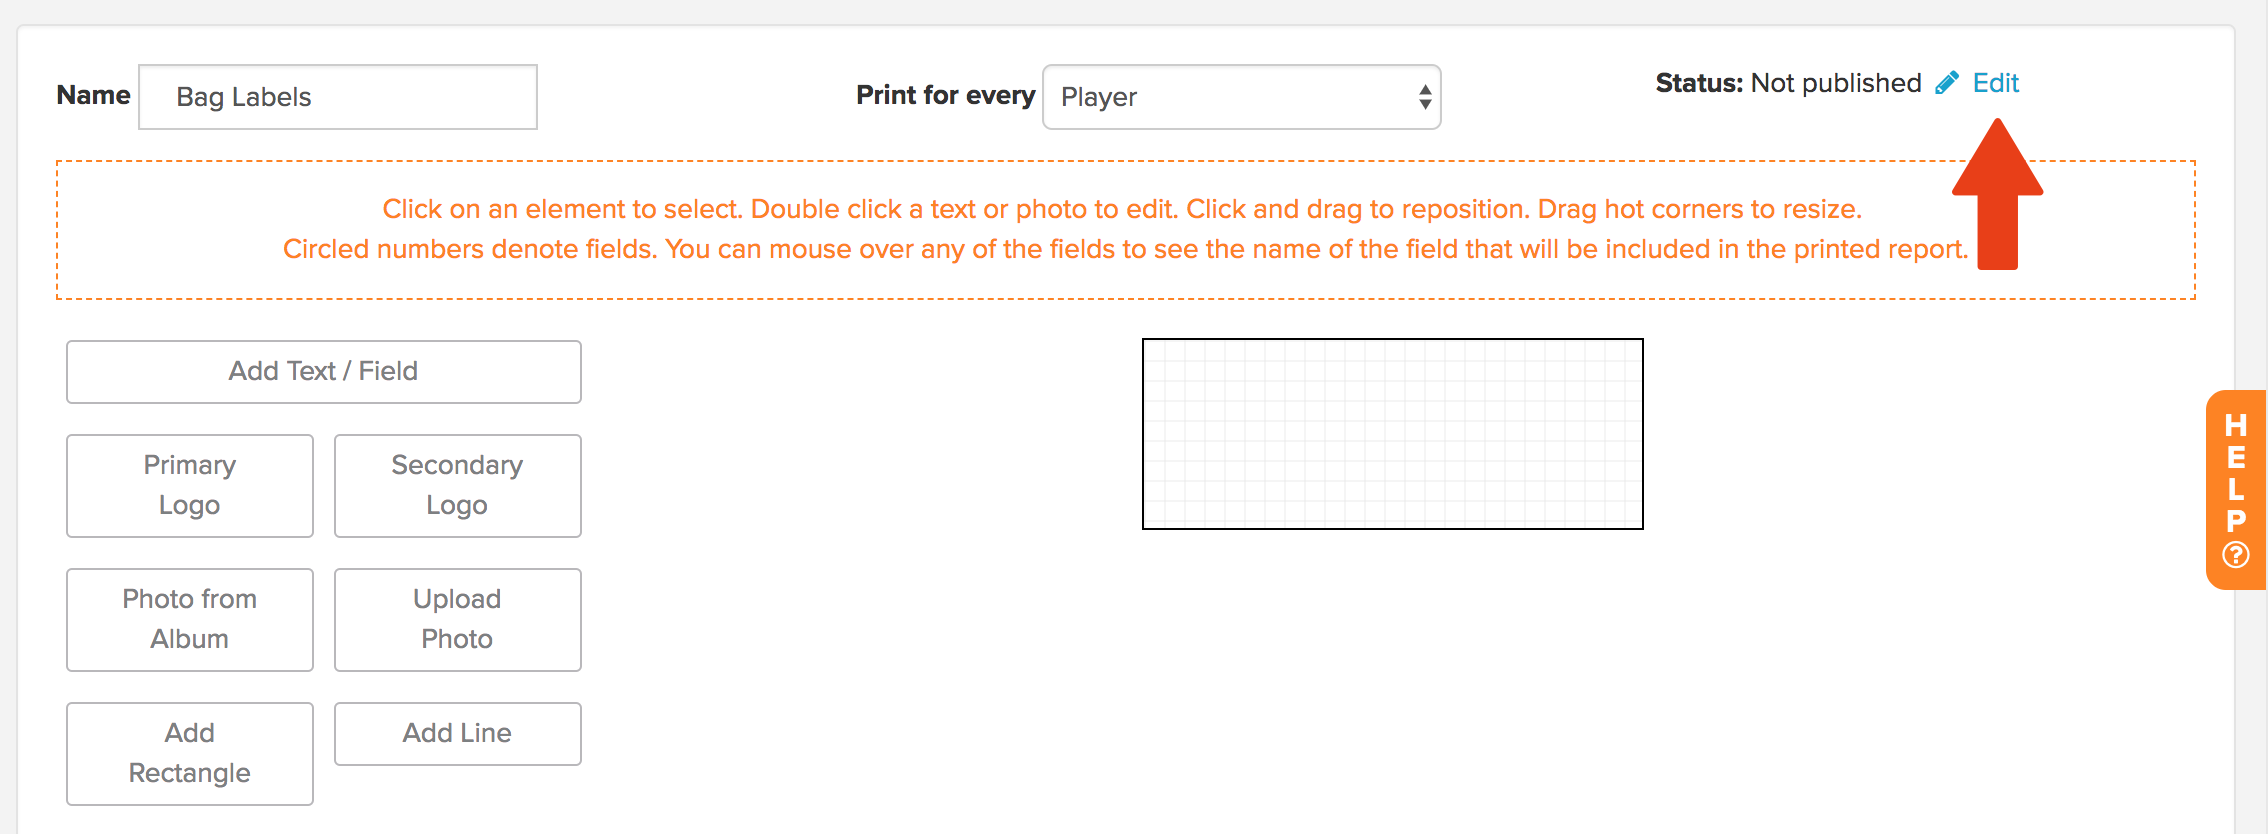
After clicking "edit" in the screen shown above, select the filtering parameters and toggle to publish (as shown below).
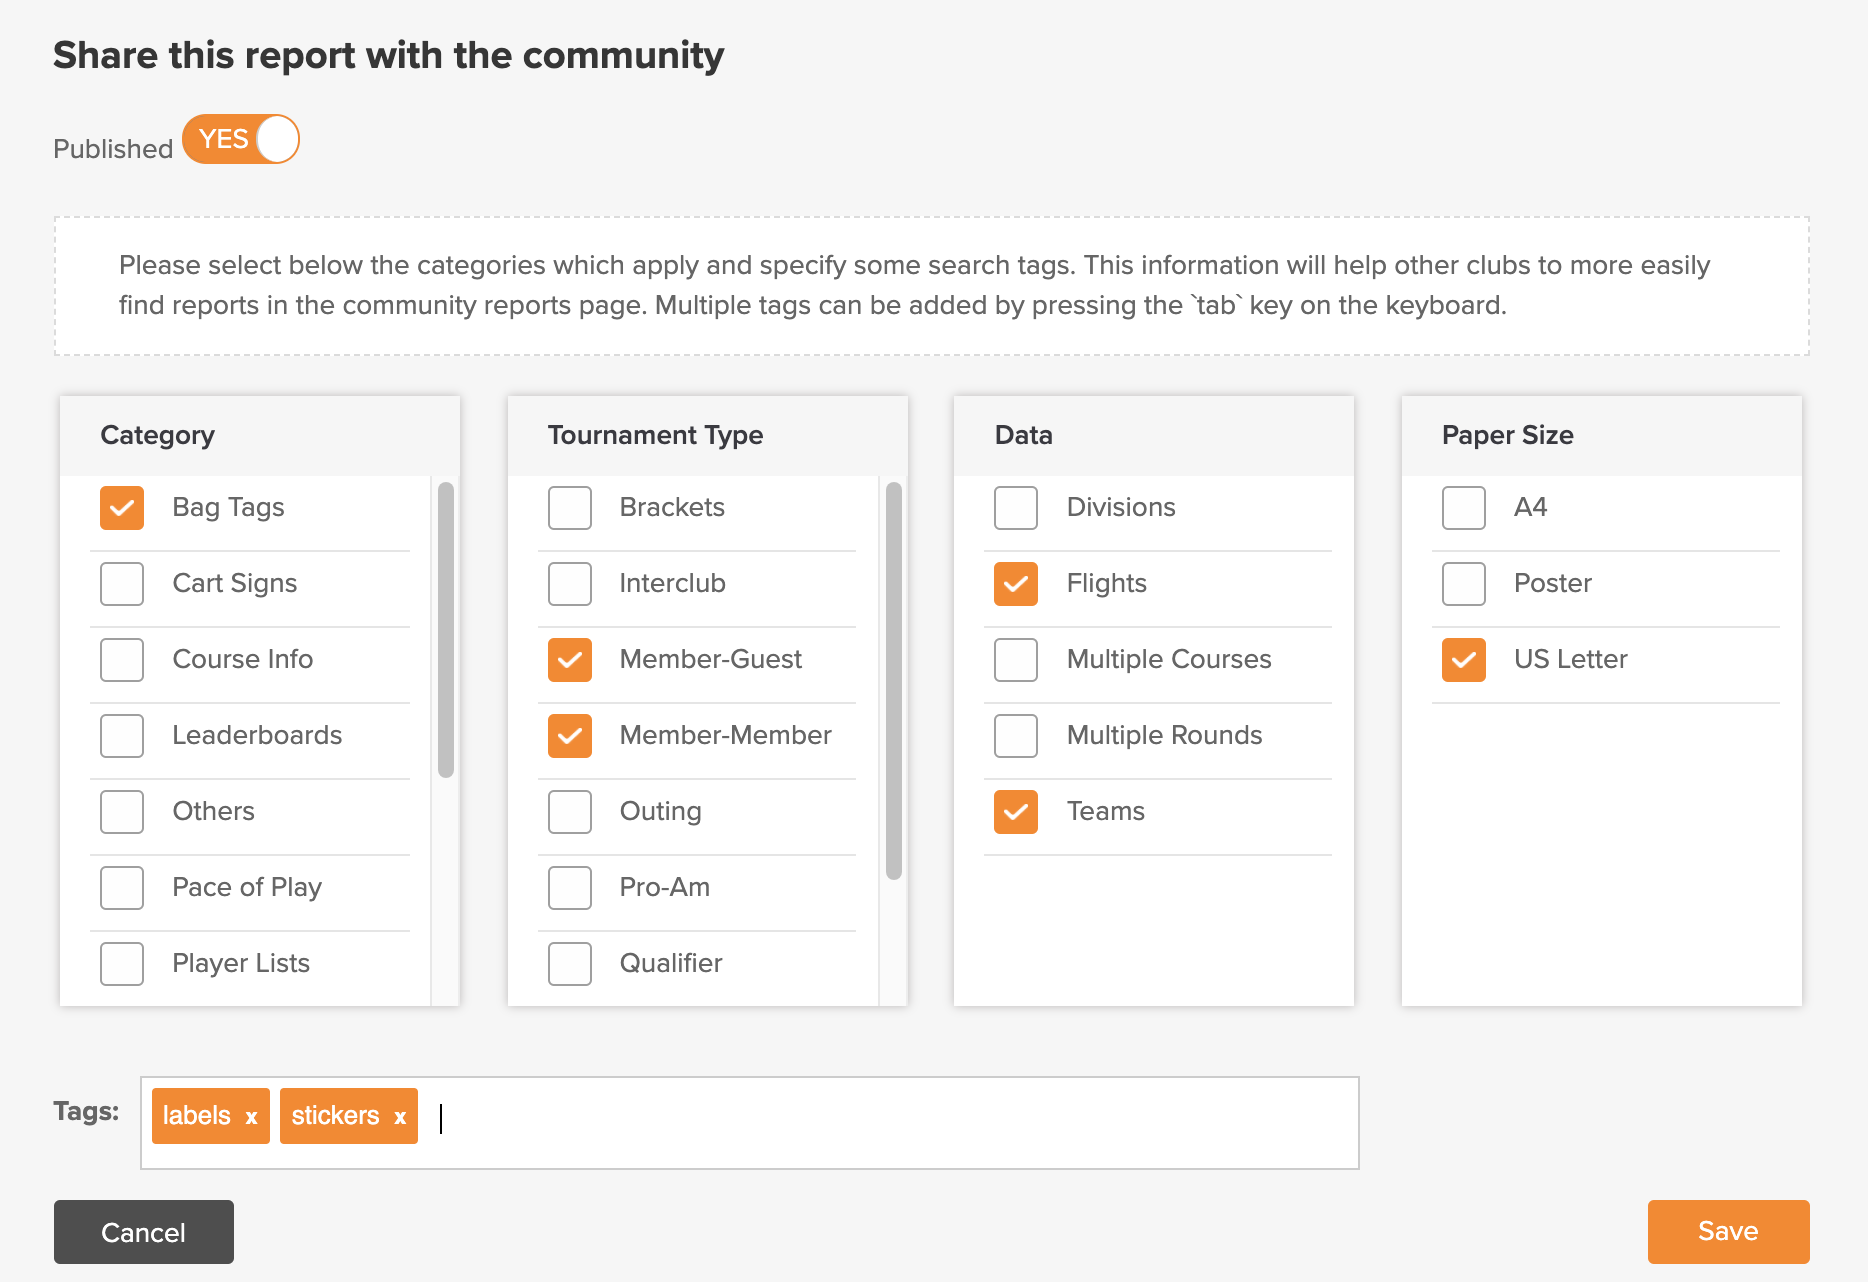
You can also add hidden tags to the report to improve the search optimization for this report.
Before the report becomes available to the user community, it will be reviewed (as shown below) to ensure that it is not a duplicate of another report already available. Changes may also be necessary to make the report suitable for use by the user community.