Download PDF SettingOverview.pdf
1. Navigate to https://app.getflowpath.com/work-orders
2. Click your use profile.

3. Click "Global Settings"

4. The overview page will essentially be a directory with searchable fields and easy access to chat and support documents.

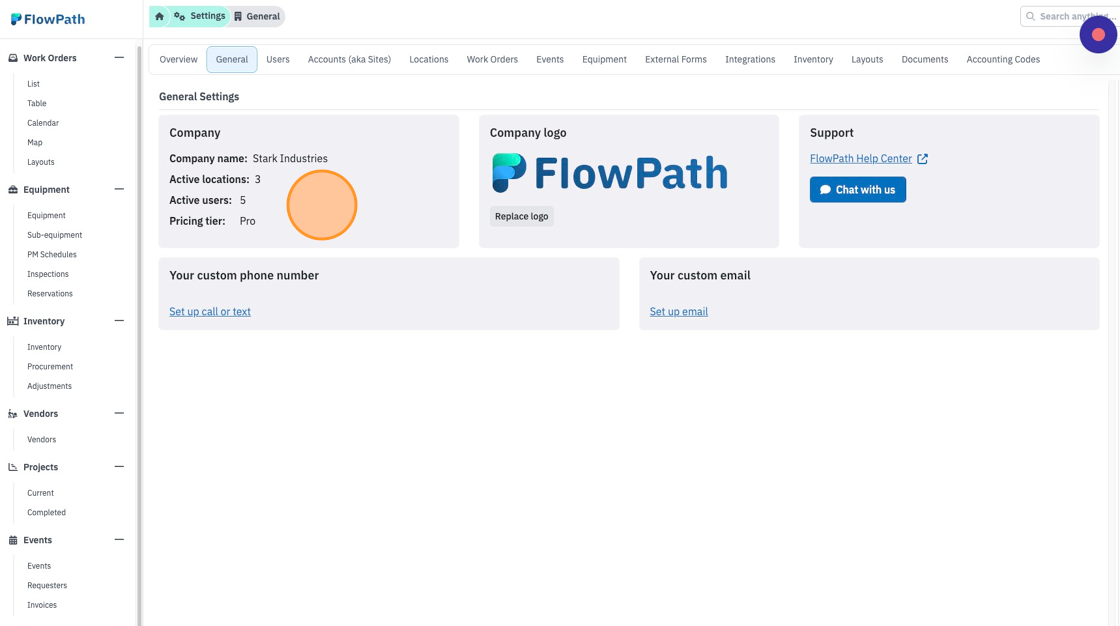
General
General
5. General tab will have your relevant company information.
Users
Users
6. User tab will show ALL users regardless of status and their notifications. You can also use our importer for a bulk user upload.
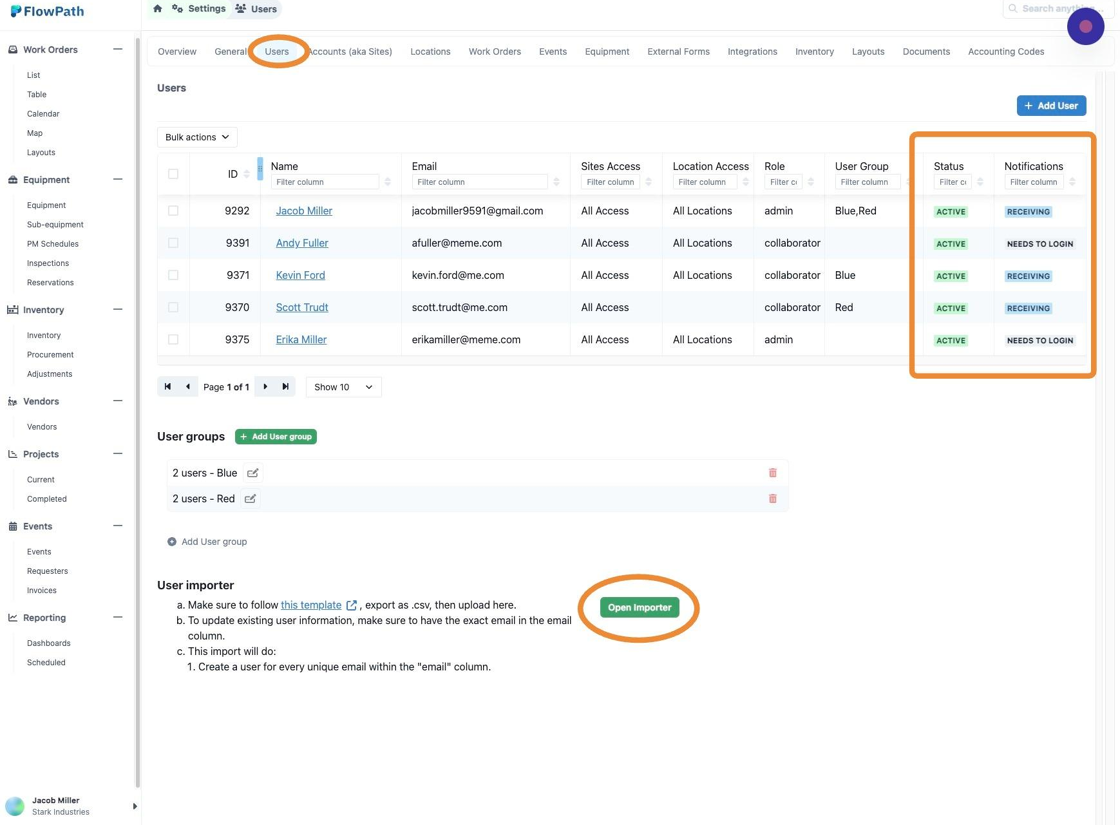
7. Click "Add User" to add a single user.
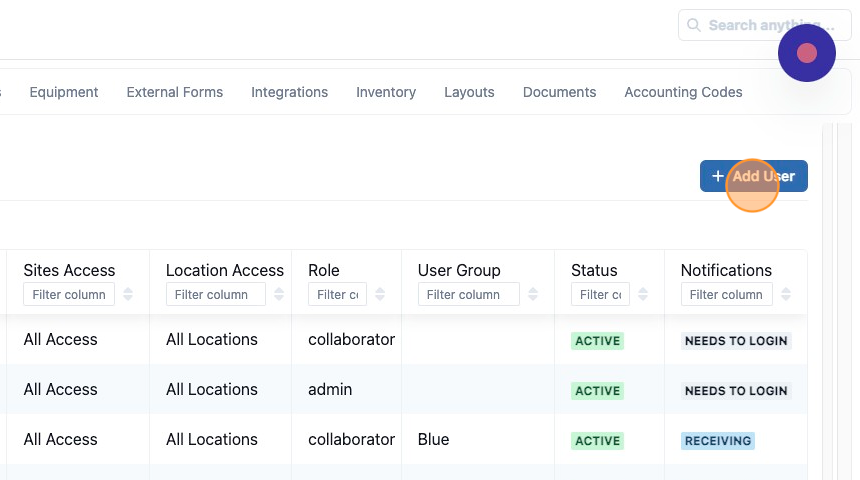
8. Enter the new user's information.

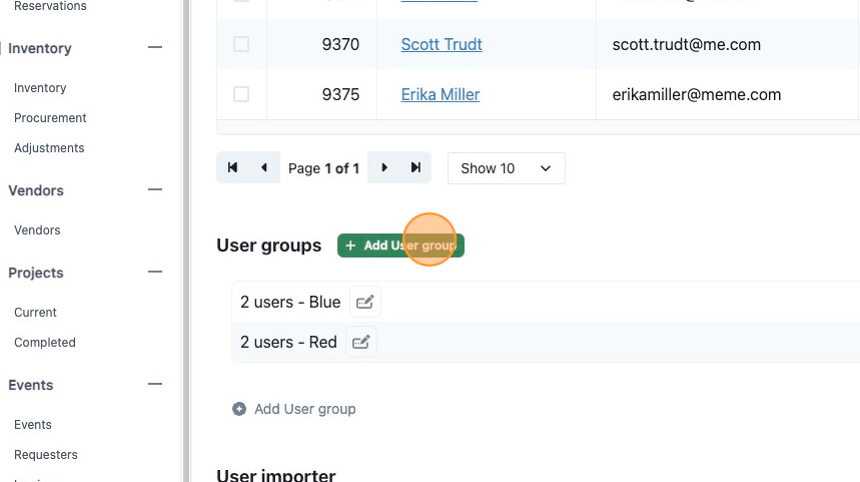
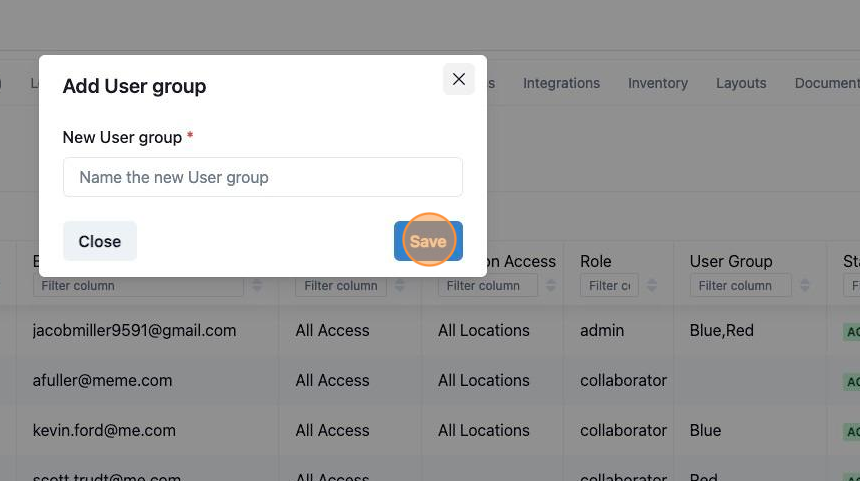
9. Click "Add User group" to add groups.
10. Once user group is added click save.
11. You can also open the importer for bulk upload.

Accounts (Sites)
Accounts (Sites)
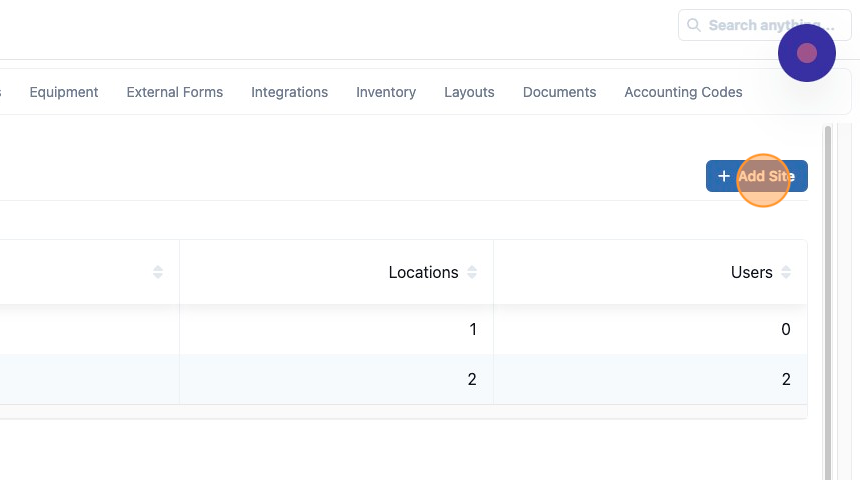
12. Accounts or sites tab will show you all sites with locations and users affiliated.

13. Click "Add Site" to add a new site.
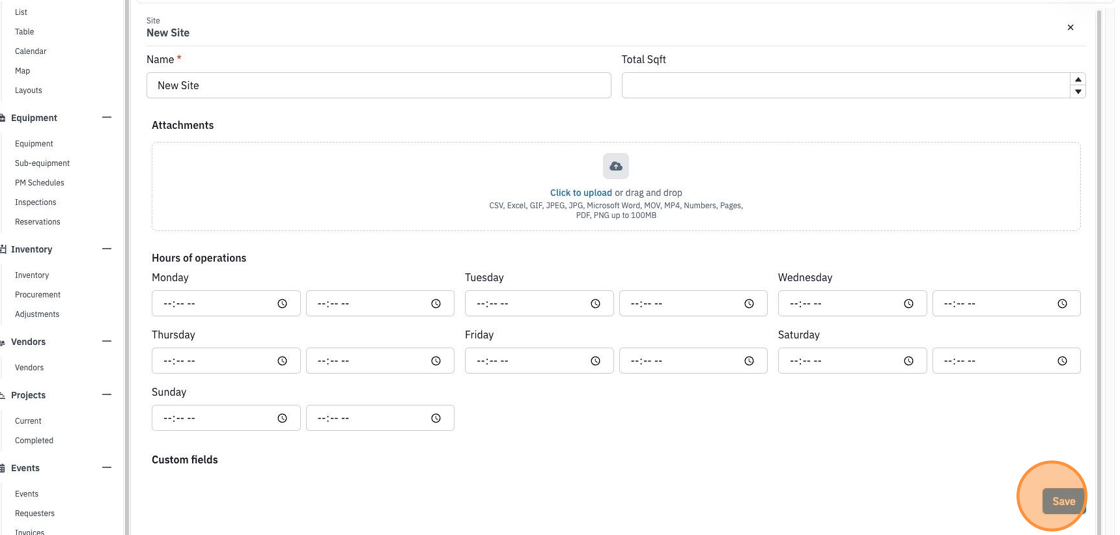
14. Add info for the new site then click save.
15. You can add site alias.
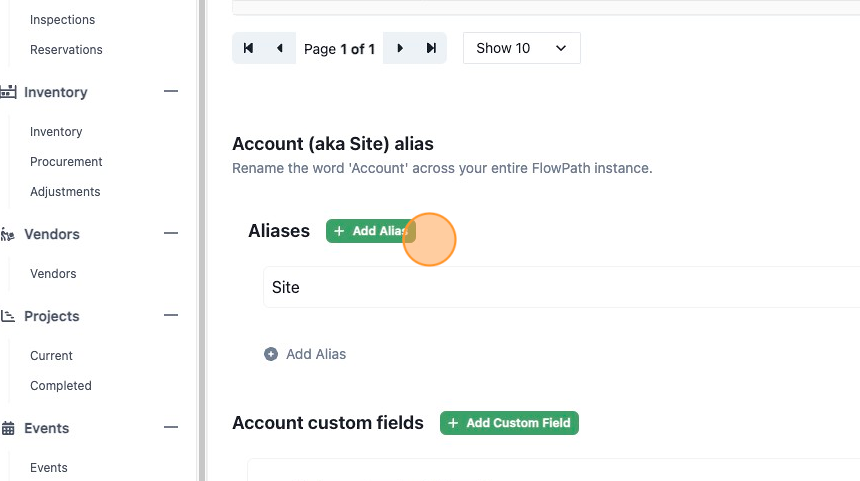
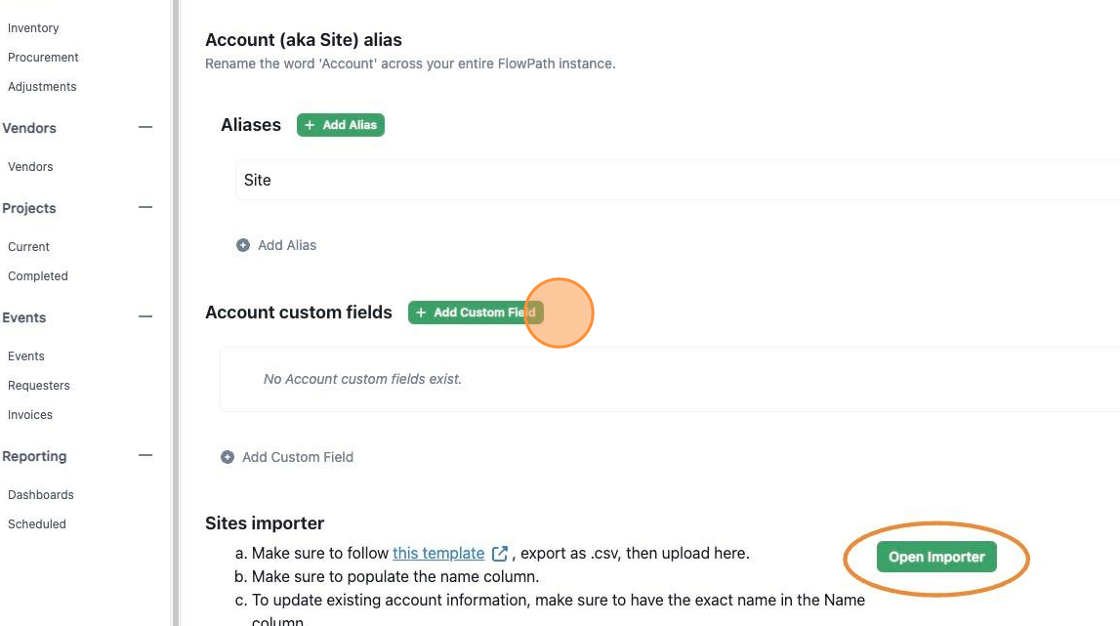
16. Add custom fields if necessary and use the importer for a bulk upload.
Locations
Locations
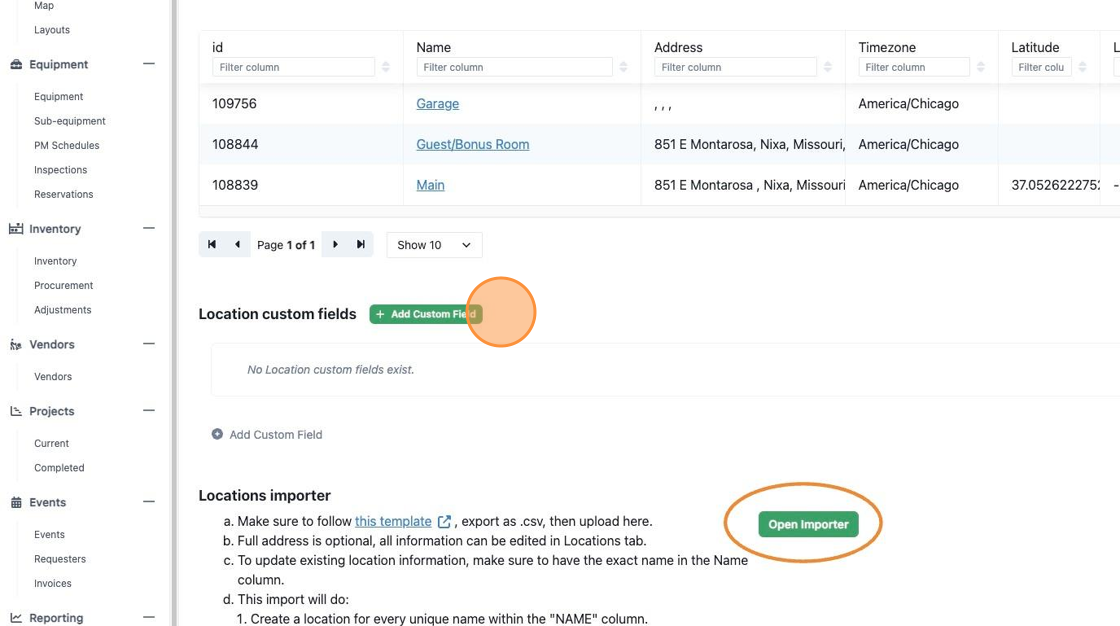
17. Locations tab will show you each location and relevant details.
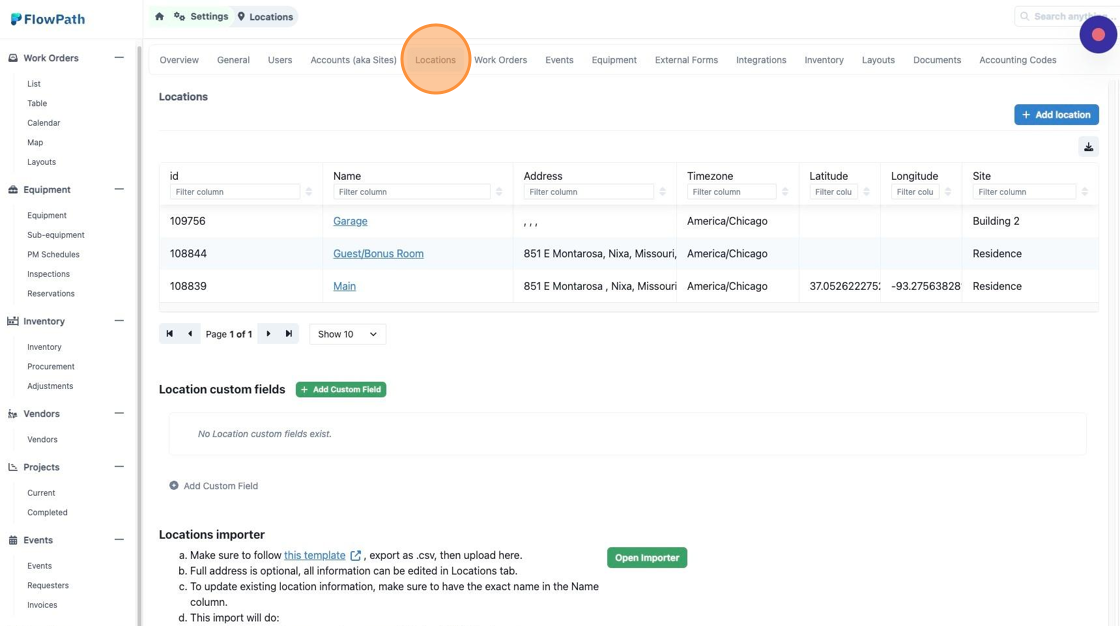
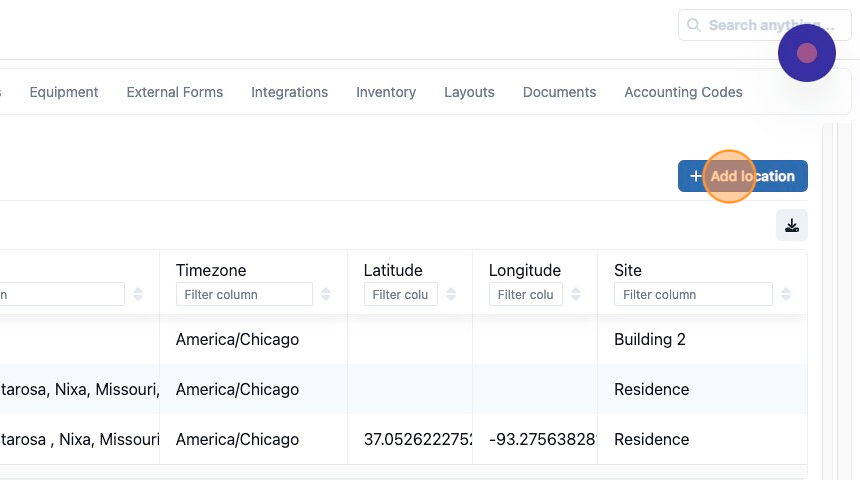
18. Click "Add location" to add any.
19. Add any necessary information and click save.

20. Add custom fields or use the importer for bulk uploads.
Work Orders
Work Orders
21. Work Orders tab will be the control for what actions & information is available on work orders for certain user roles.
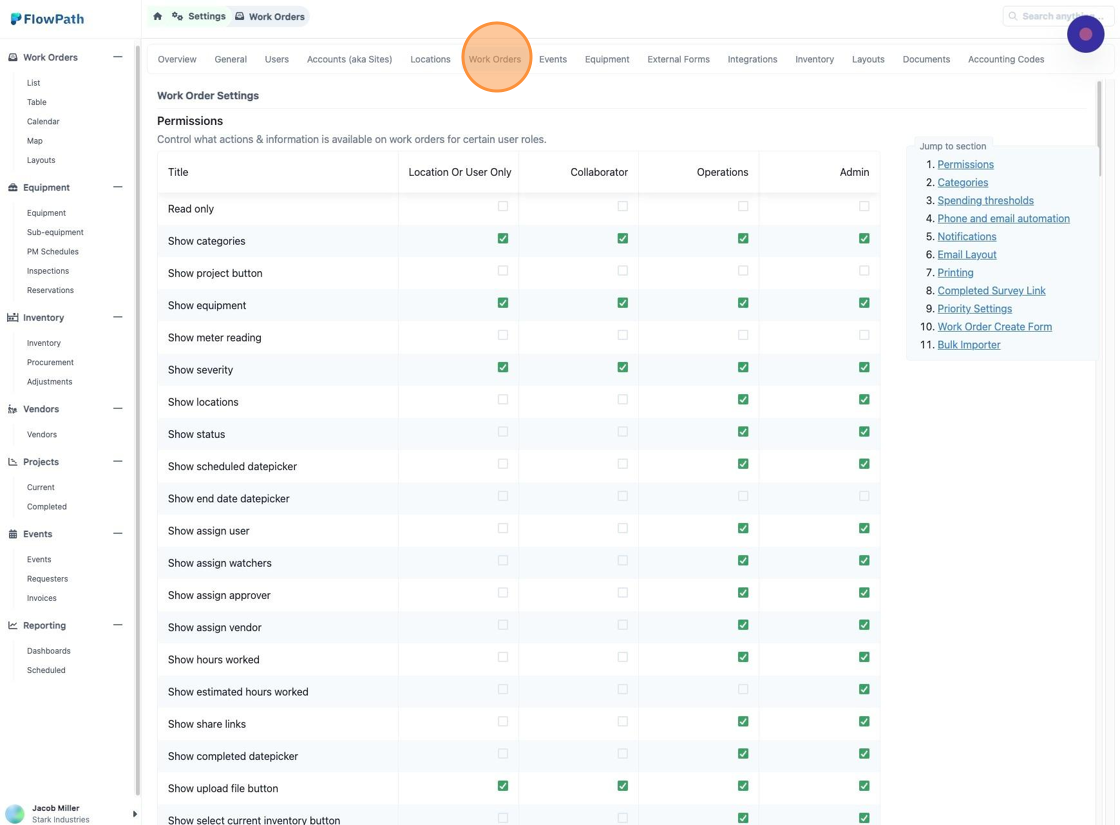
22. Easily check permissions per each user title.

23. See your work order categories and details.
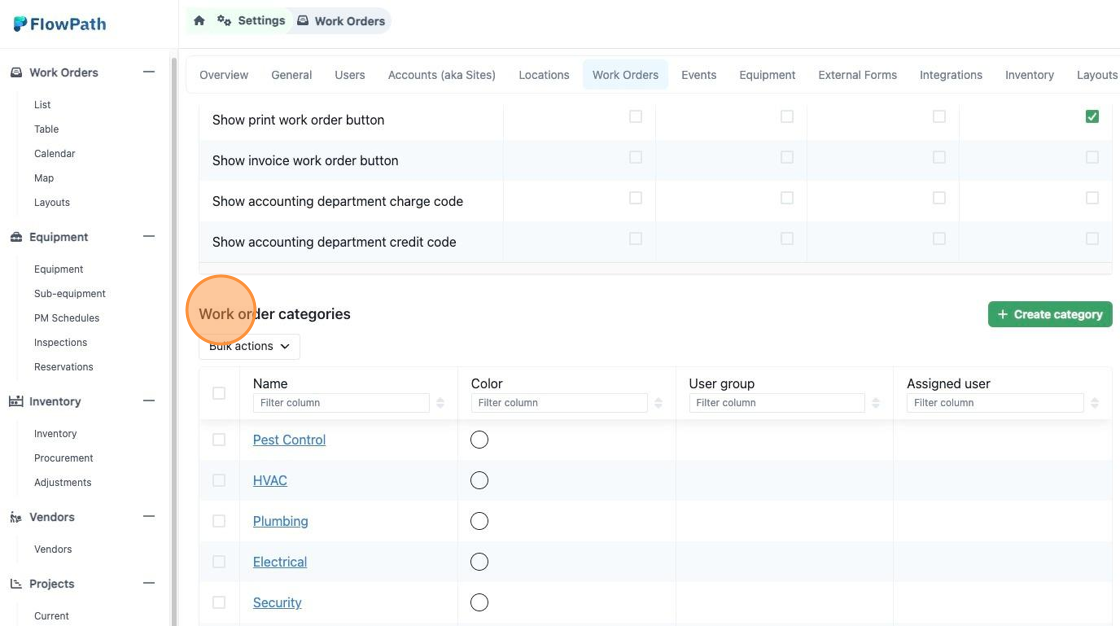
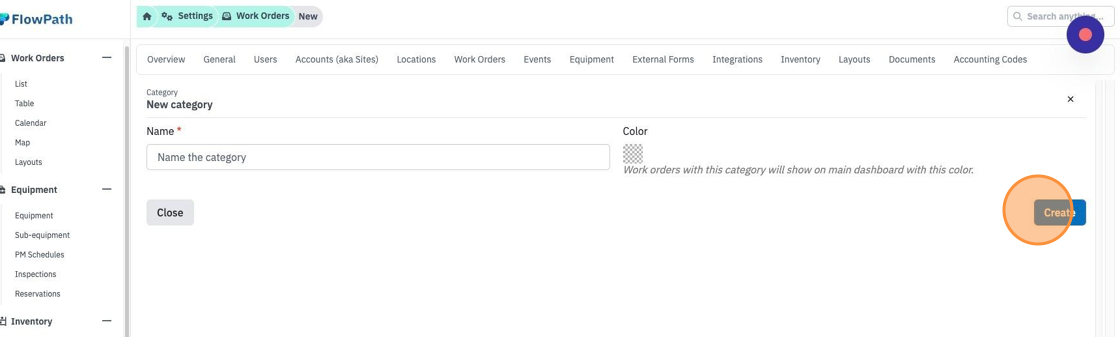
24. Click "Create category" to add a category to your work orders.
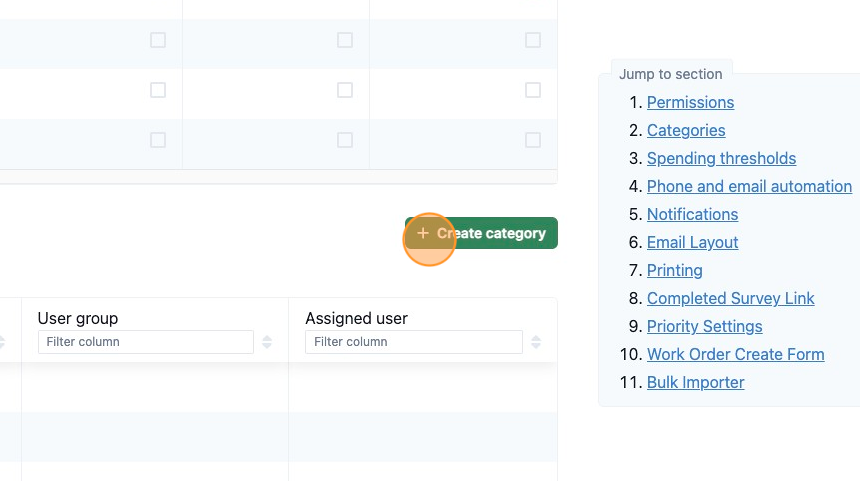
25. Add your category and hit create.
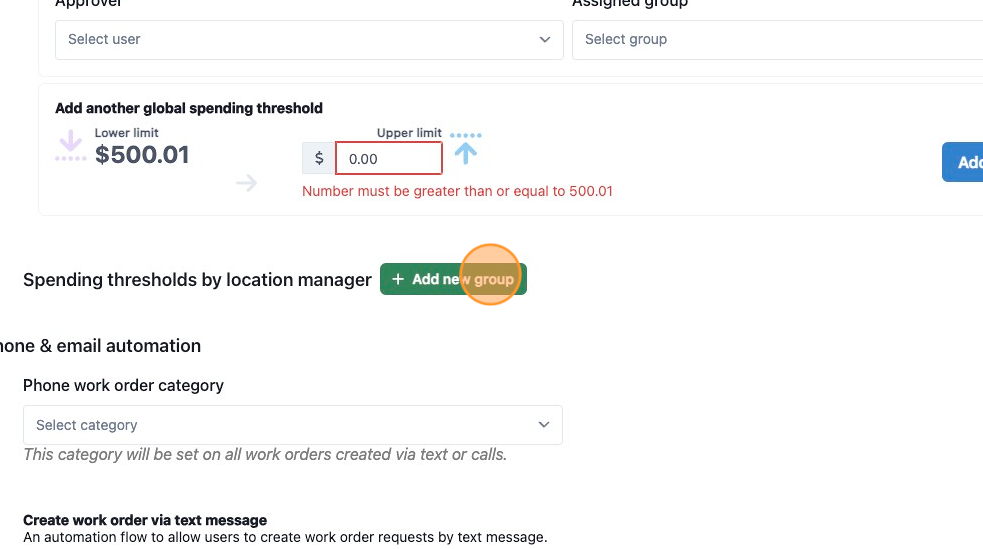
26. See current spending thresholds to edit or delete. Click "Add threshold" to create a new one.

27. You can add thresholds by locations.
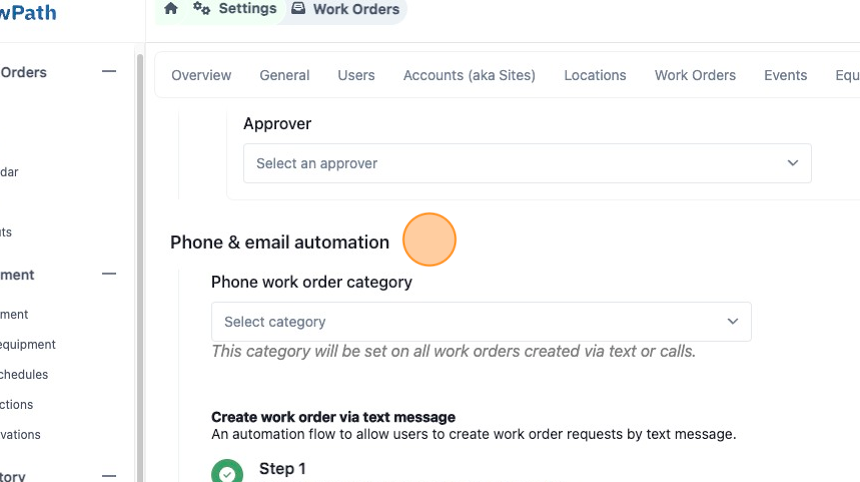
28. Create and edit the automation of work orders.
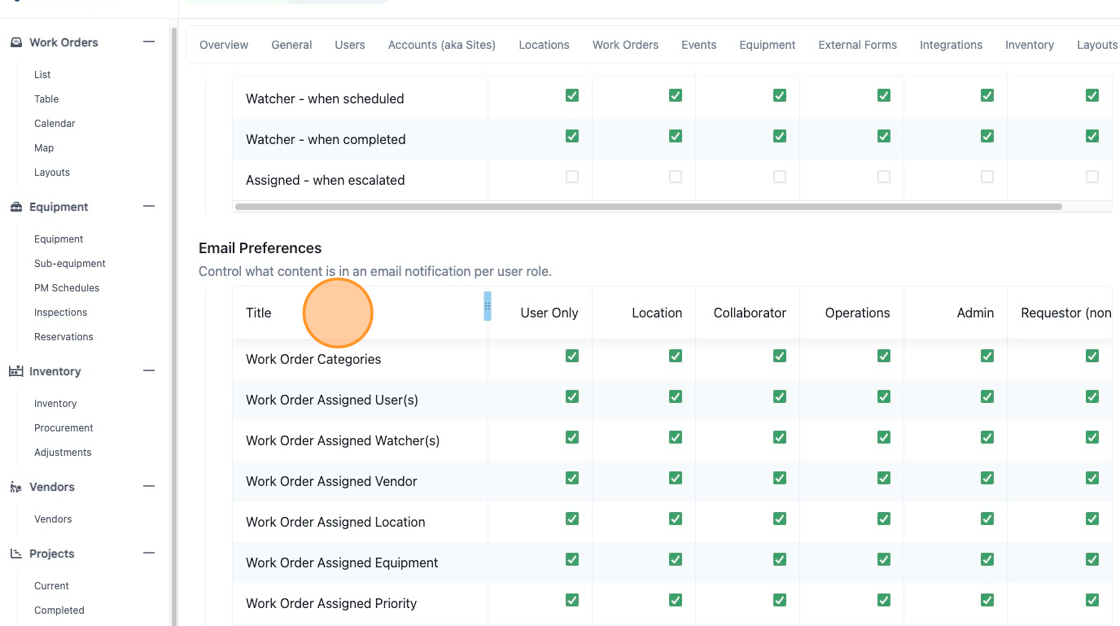
29. Update general notification by user title.
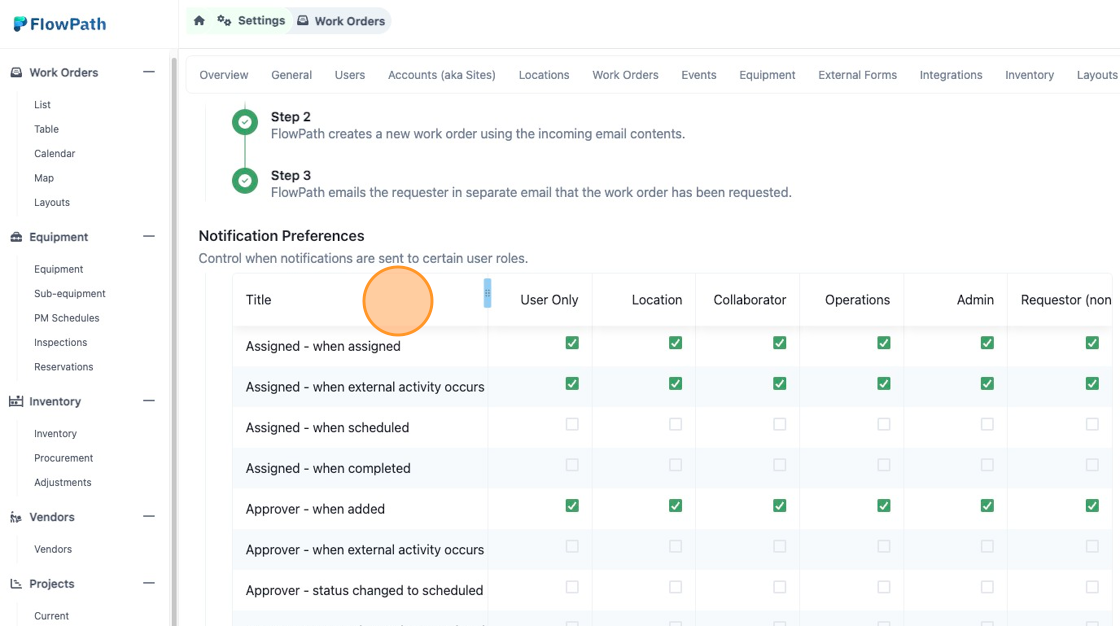
30. Update email notification by user title.
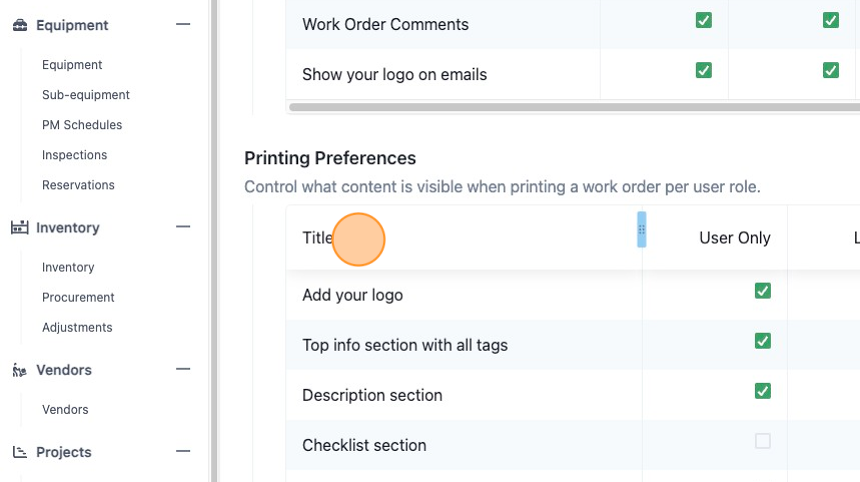
31. Update your preference on work order printing.
32. Add a survey link if you prefer on completed work orders.
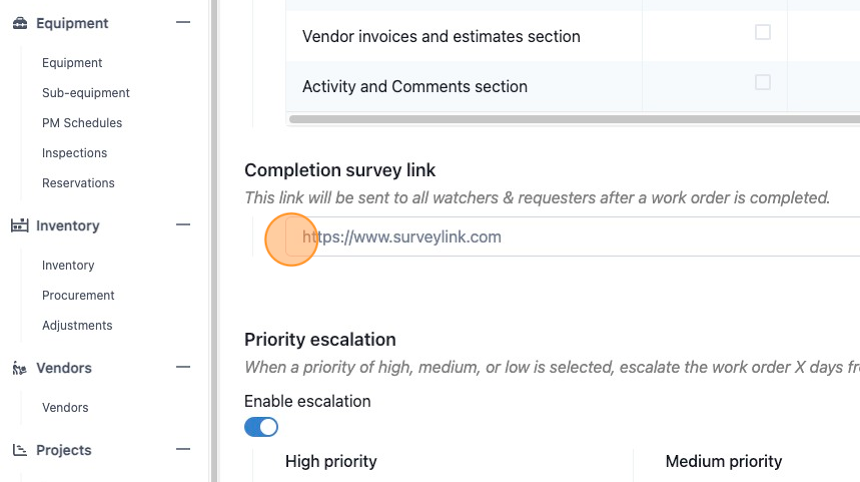
33. Control your escalation priority and the number of days assigned to each priority level.
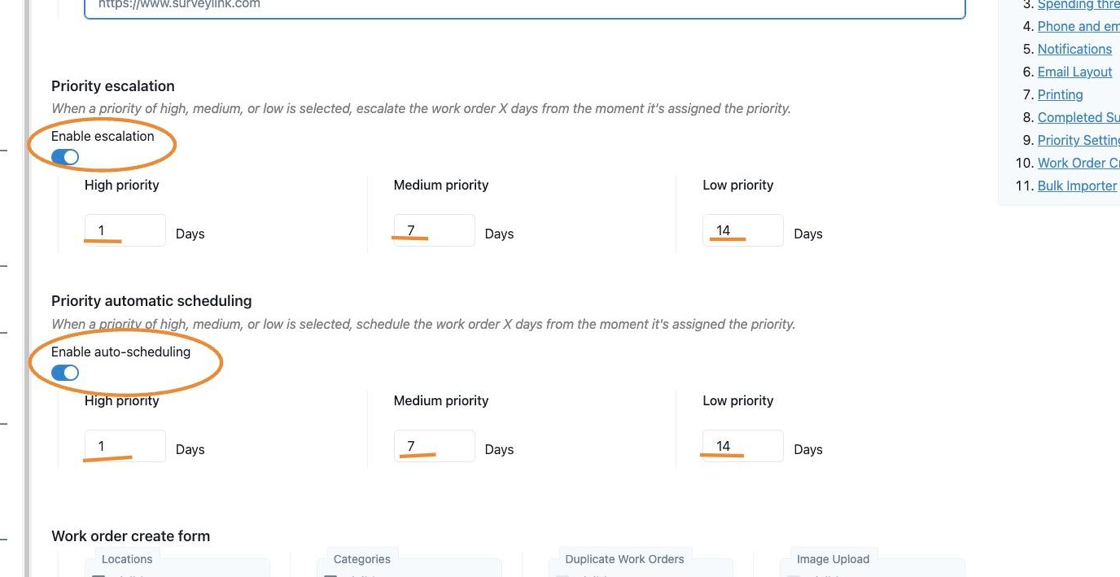
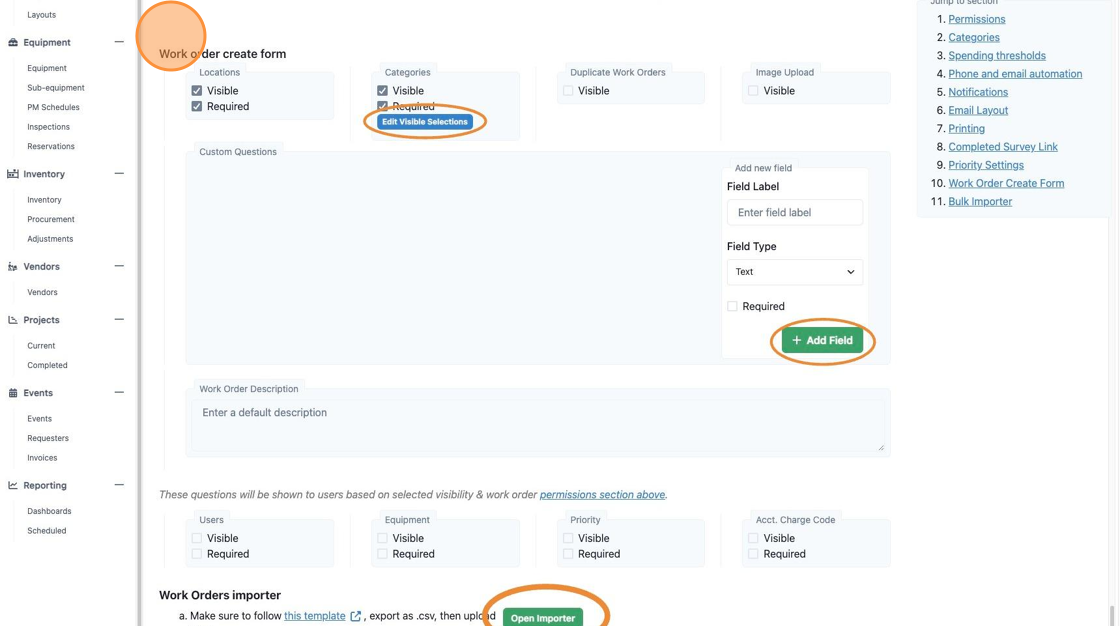
34. Edit your Work order create form and add fields. You can even upload bulk work orders if necessary.
Events
Events
35. Events tab if you have the module will be an overview of your calendar with quick editable features such as the name, status and visibility.
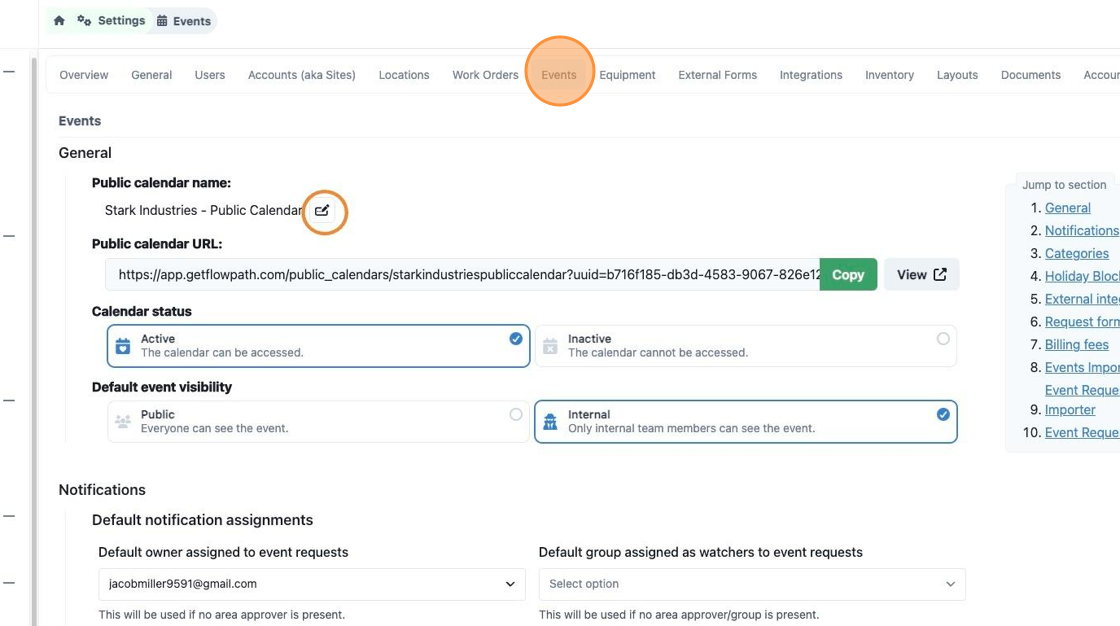
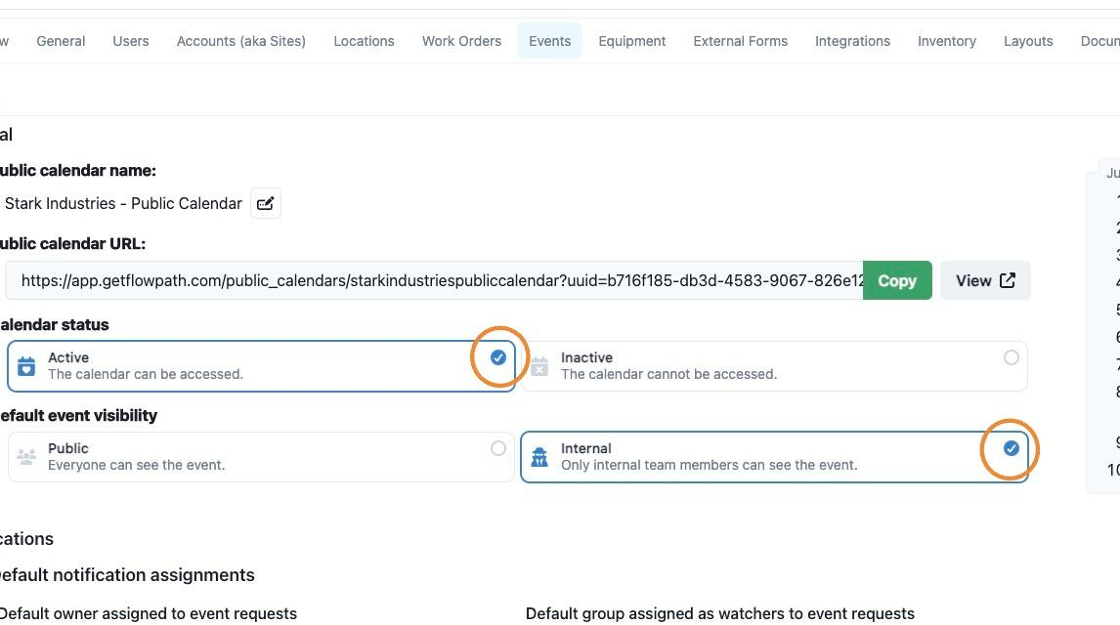
36. Quickly mark if a calendar can be accessed and if it will be a public or internal calendar of events.
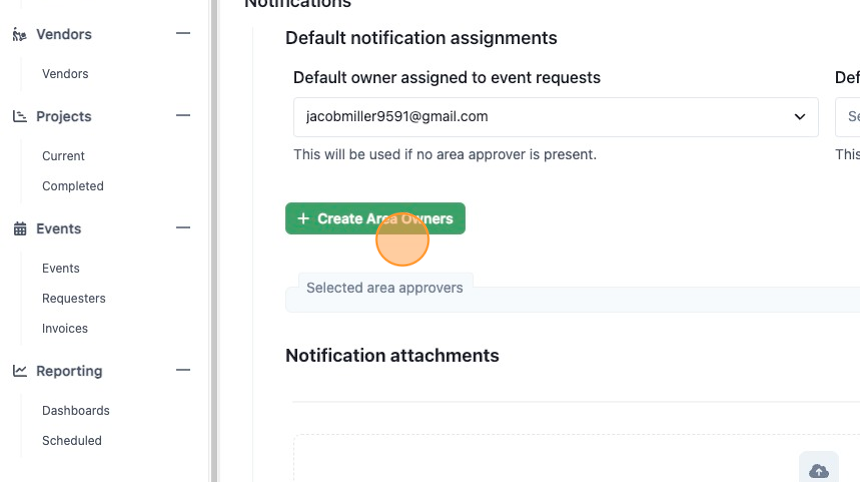
37. Create owners of events if you wish.
38. Add new event categories or delete current ones.
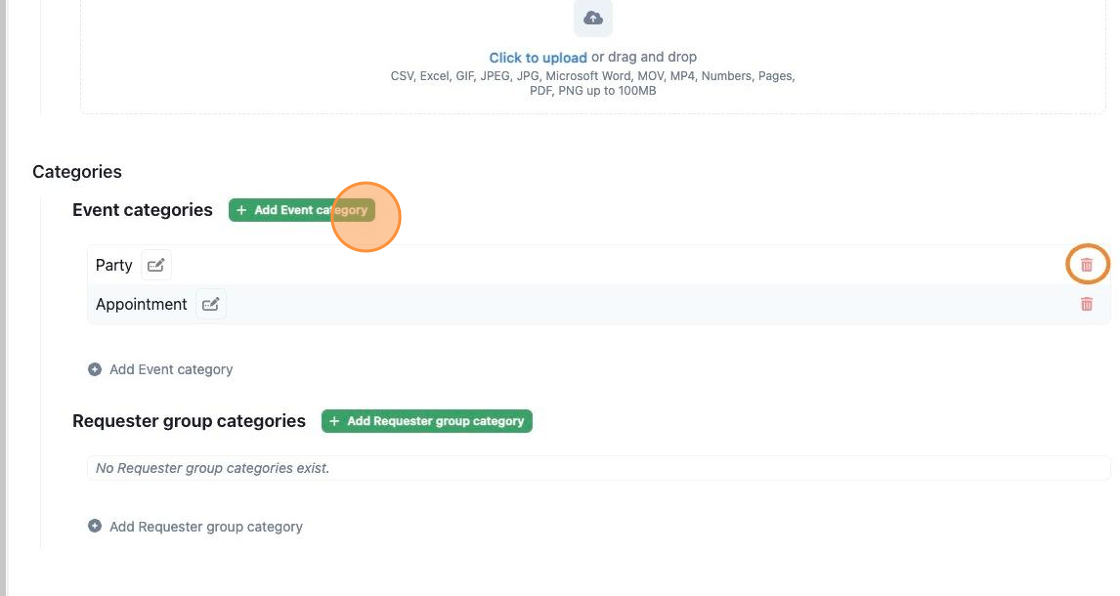
39. Add and delete any requester groups you need.

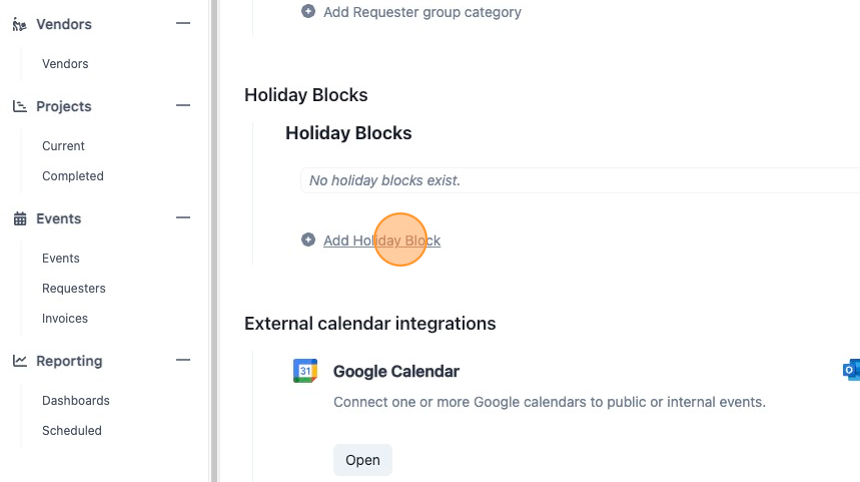
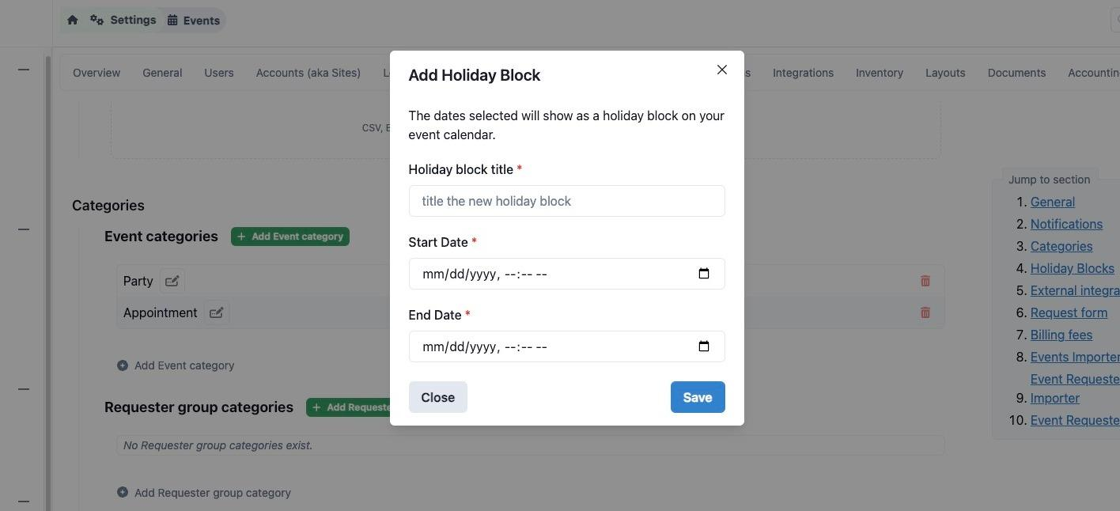
40. Click "Add Holiday Block" to add days you will not be active to keep users from scheduling.
41. Set your dates with the pop up and hit save.
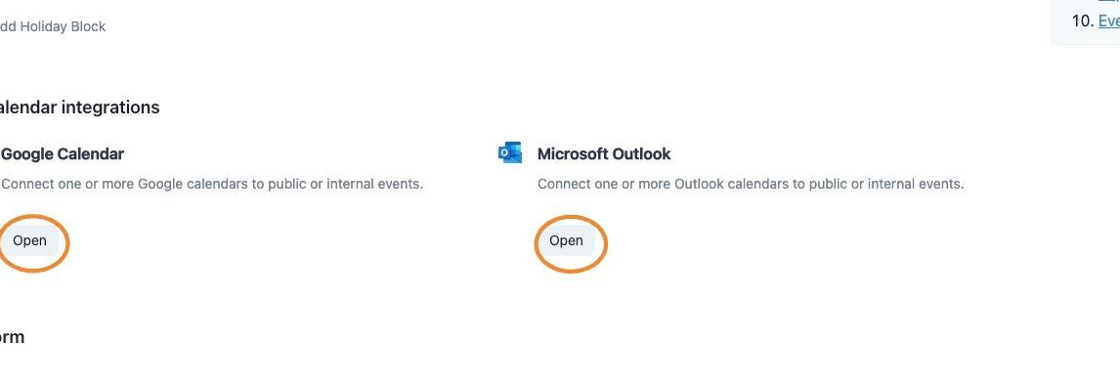
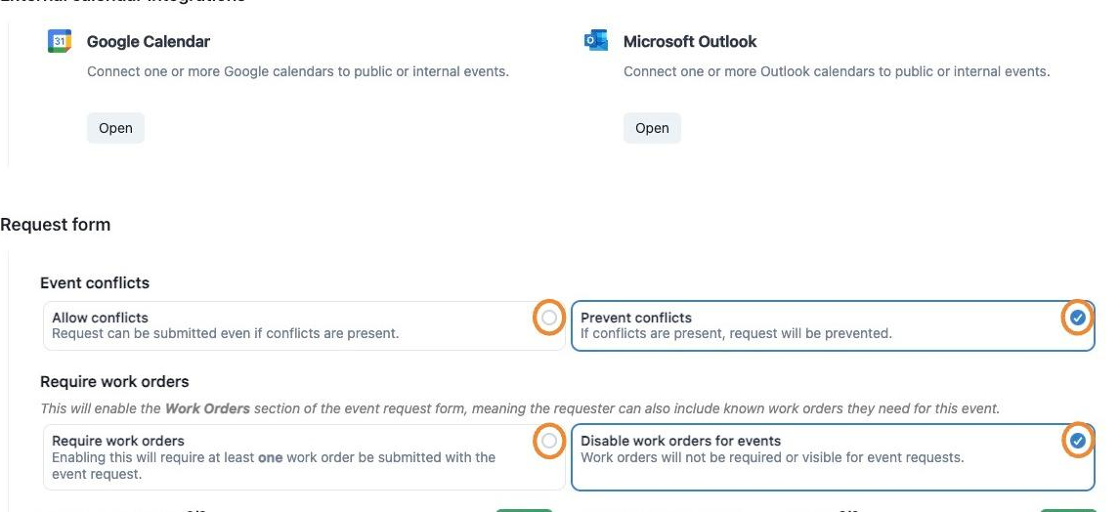
42. Sync your Google or Microsoft calendar for events.
43. Determine if events will be able to be submitted or not if conflicts are present.
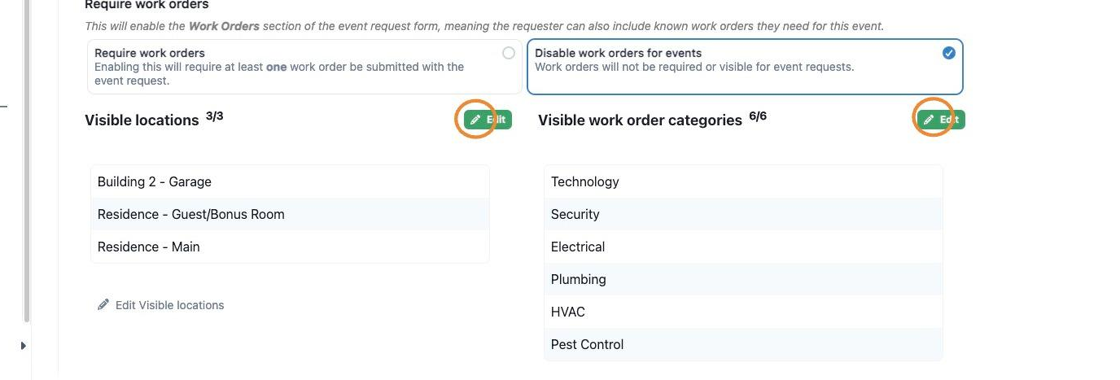
If you have the events module, you can determine if a work order will be necessary or not for event request.
44. You can edit visible locations and categories for event schedules.
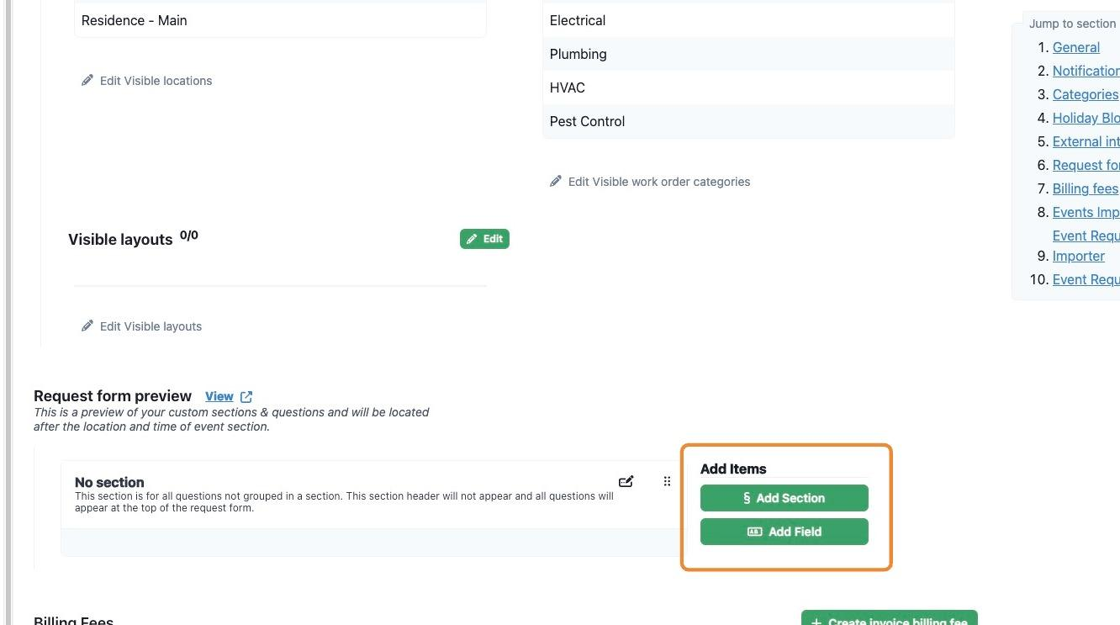
45. If you have any layouts you can make them visible within the events.

46. Quickly add sections and or fields within an event request that you want as a questionnaire for an event.
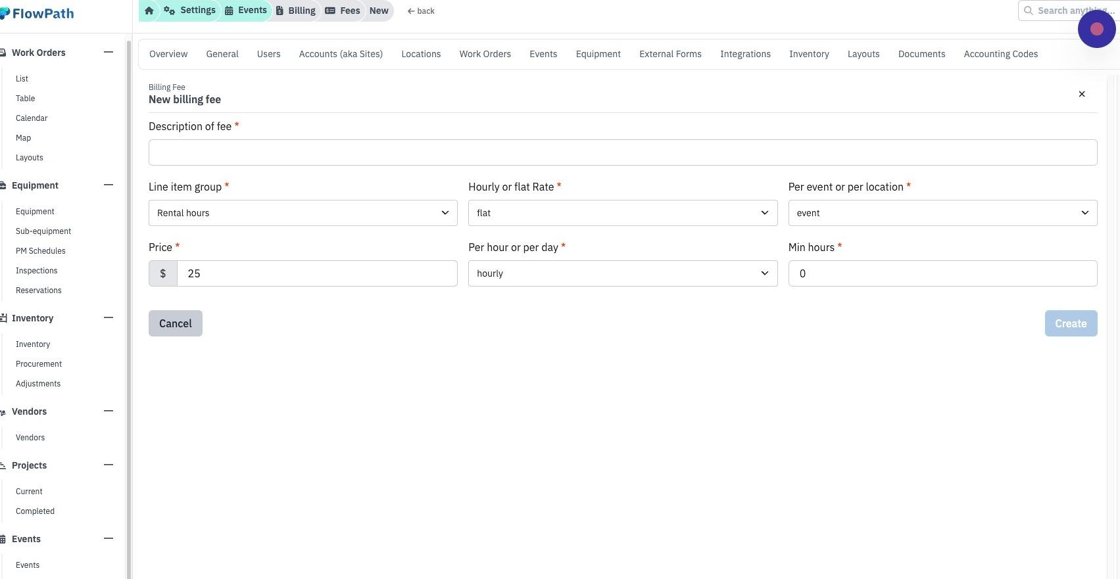
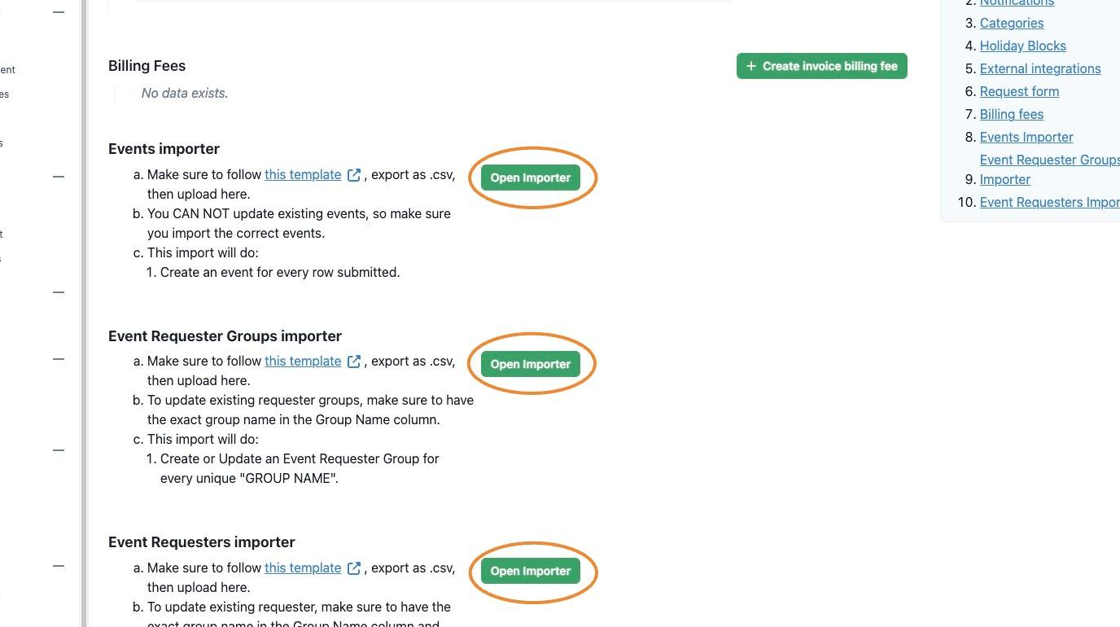
47. Add any billing fees for locations rentals or facility charges.
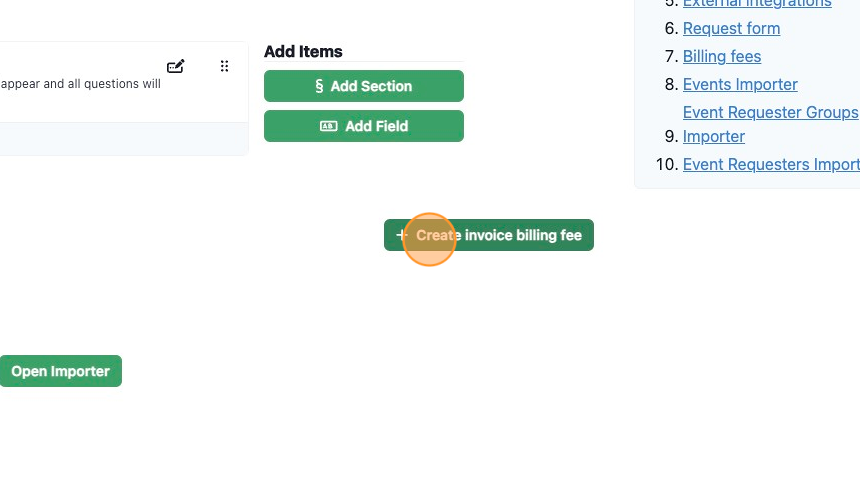
48. You will be required to fill out these fields for any billings fees associated.
49. You can also bulk import
Equipment
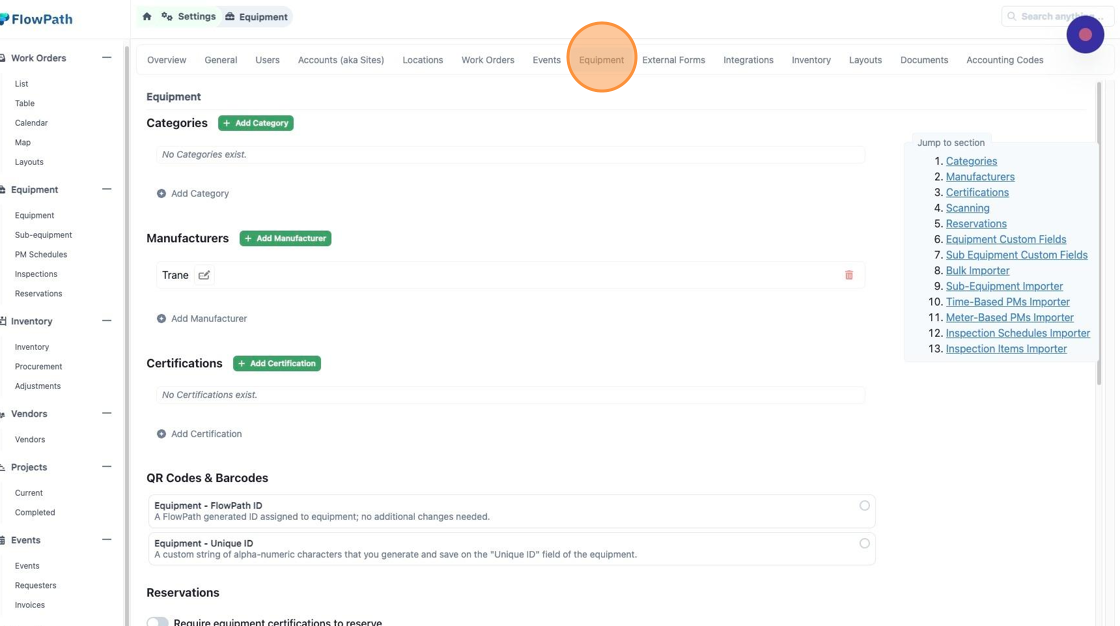
Equipment
50. Equipment tab is where you can add and delete equipment, manufactures you work with and generate QR/Bar codes.
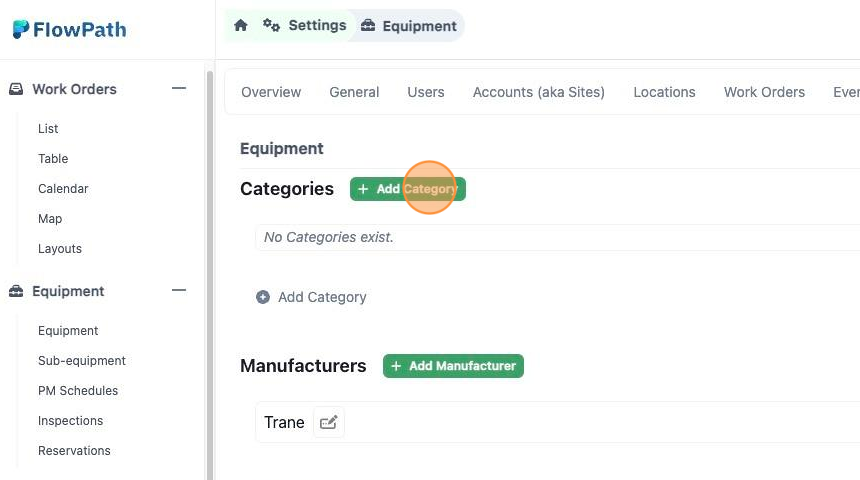
51. You can add a new category for equipment.
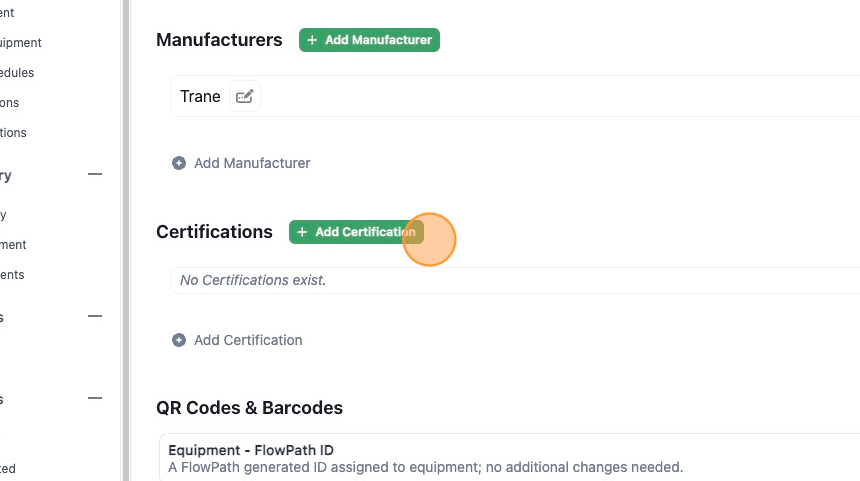
52. Add manufactures
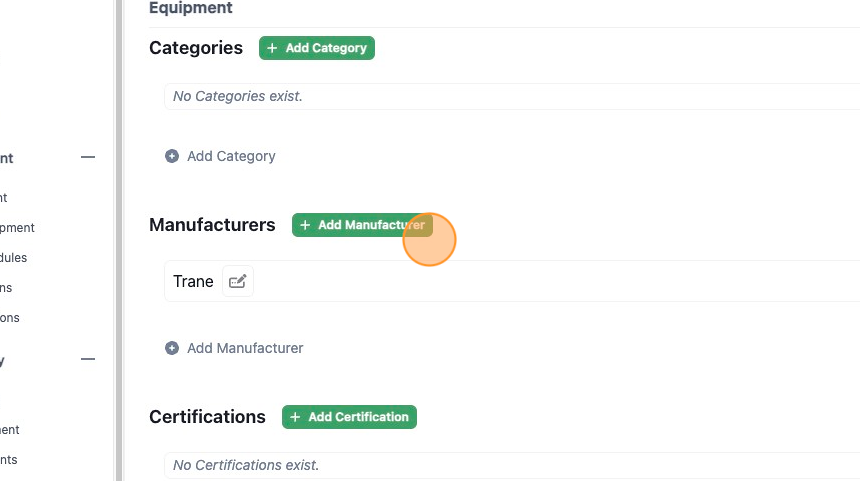
53. Add Certifications
54. Turn on FlowPath generated QR codes or custom alpha-numeric codes you have.
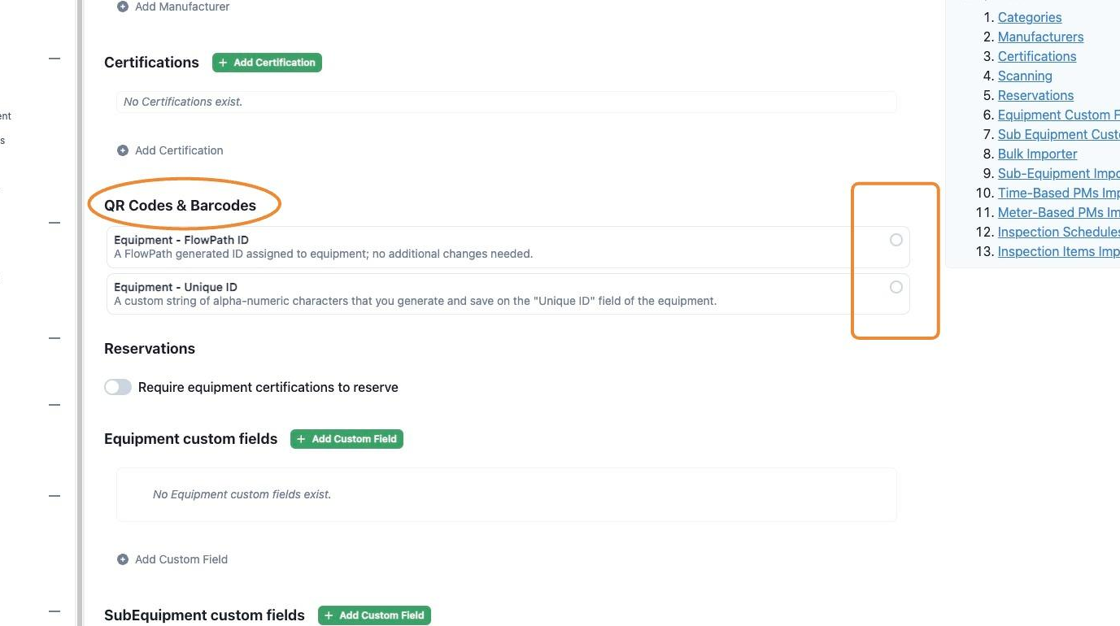
55. Toggle off and on if reservations are required for equipment and add any custom fields to either or both equipment and sub equipment.
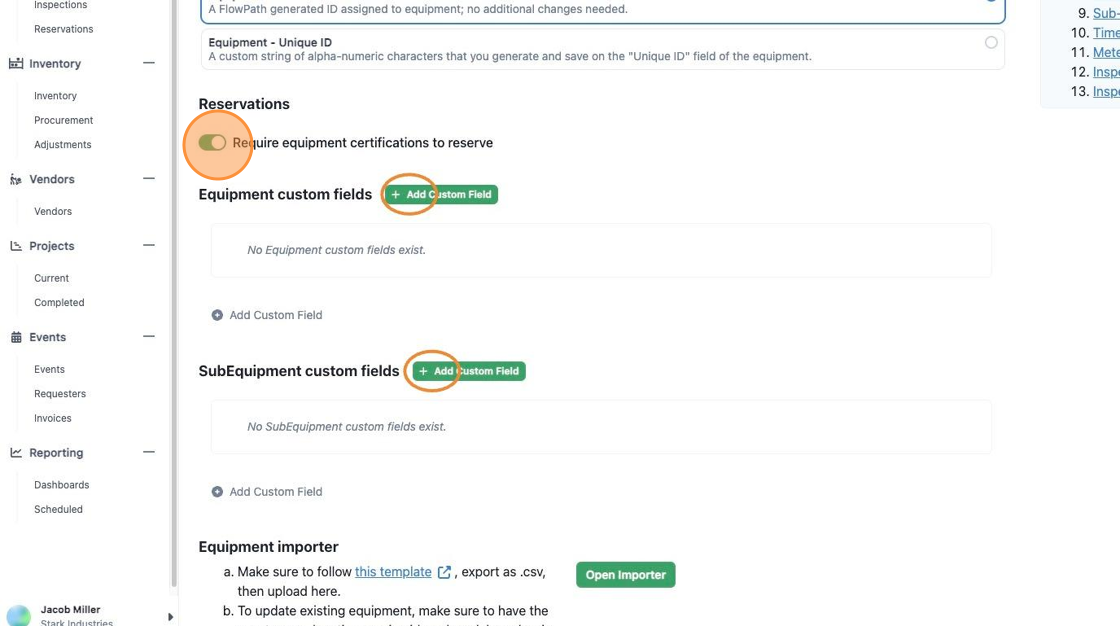
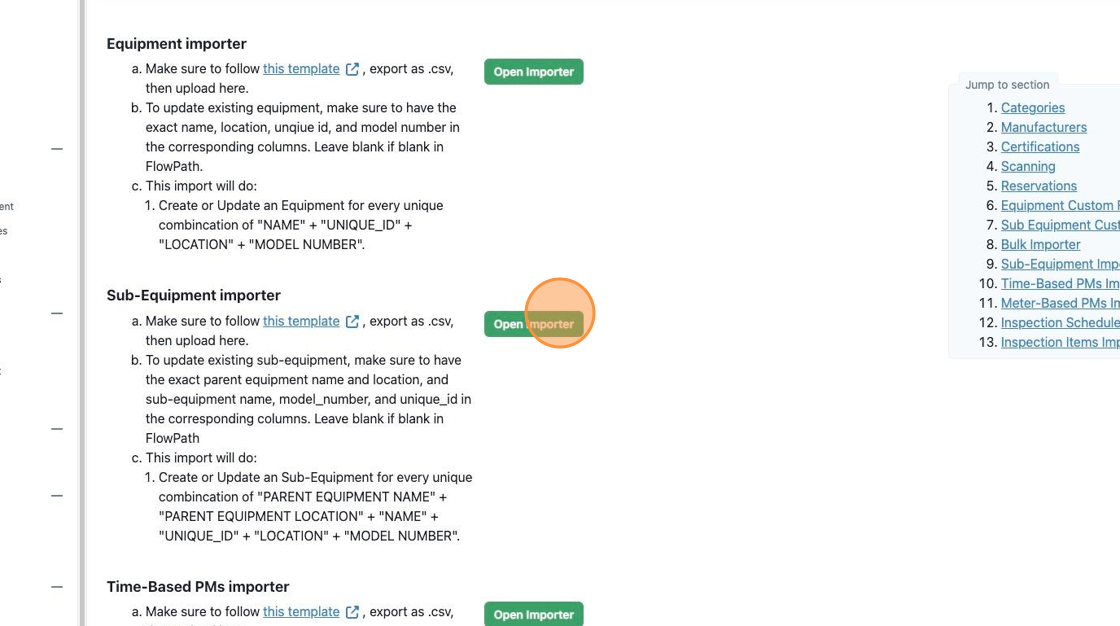
56. You can also import in bulk any equipment fields with the importer.
External Forms
External Forms
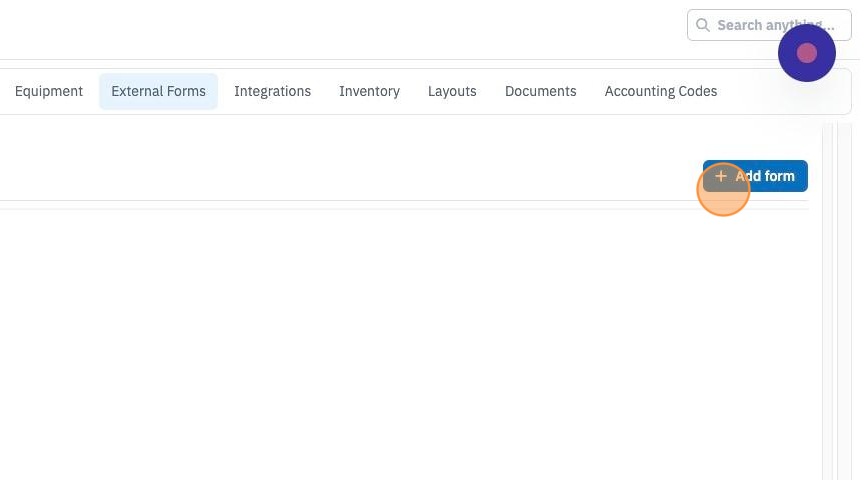
57. Add any external forms or view active or inactive forms.
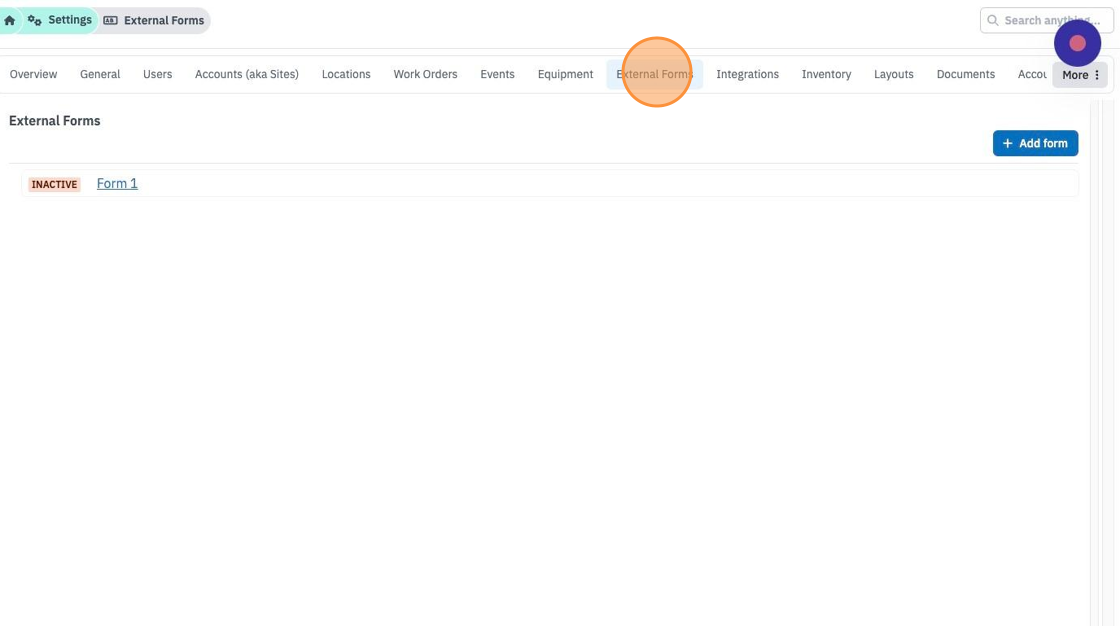
58. Click Add Form to create any new external forms.
Integrations
Integrations
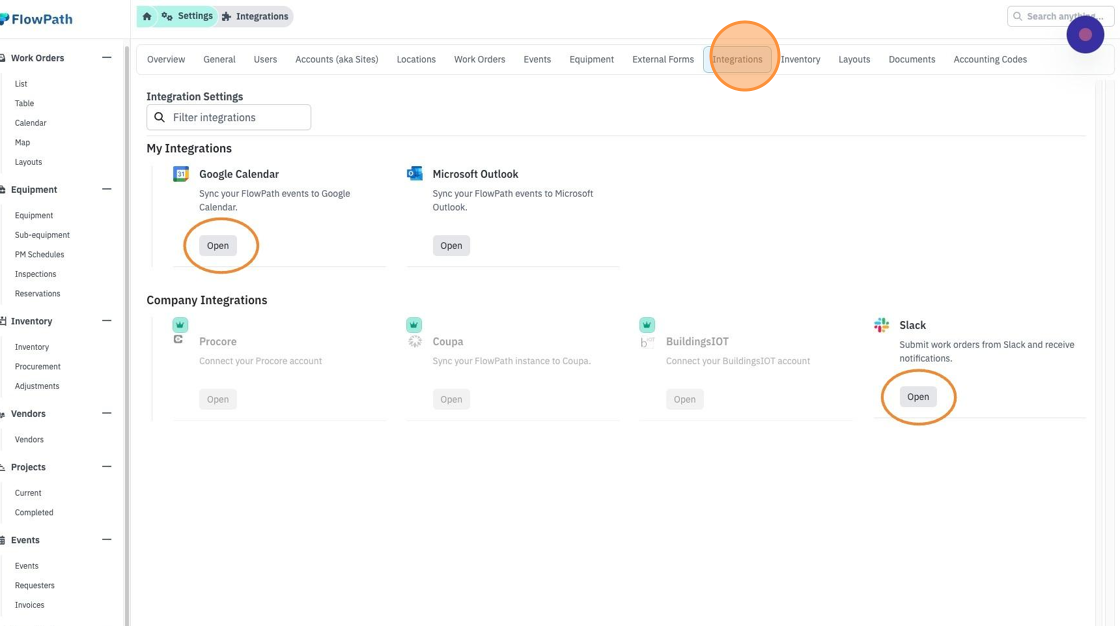
59. Integrate your FlowPath with other software.
Inventory
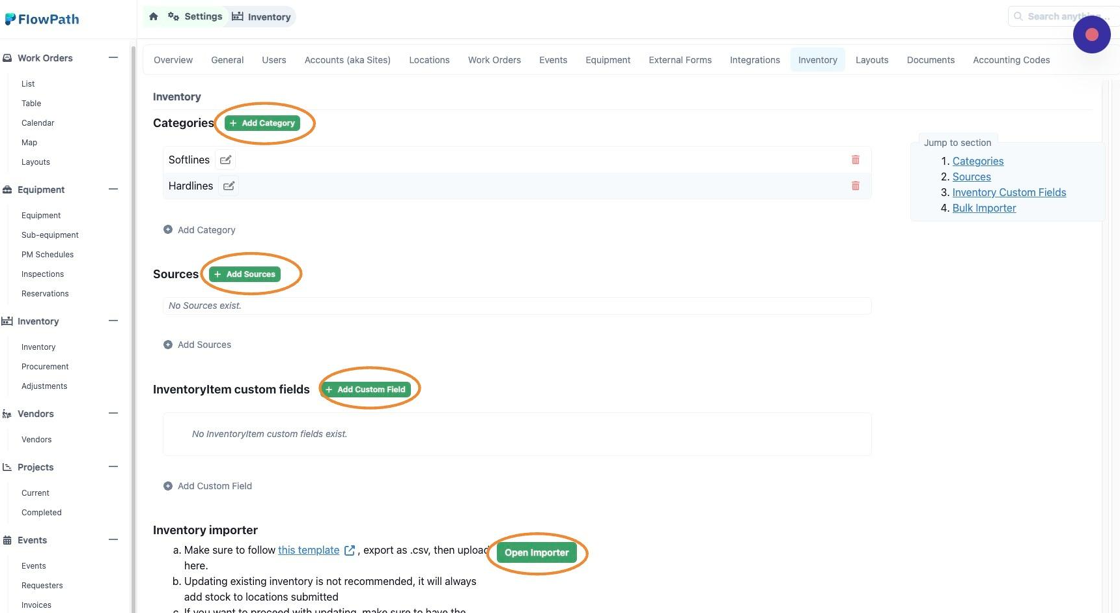
Inventory
60. Overview of your inventory, the categories and sources.
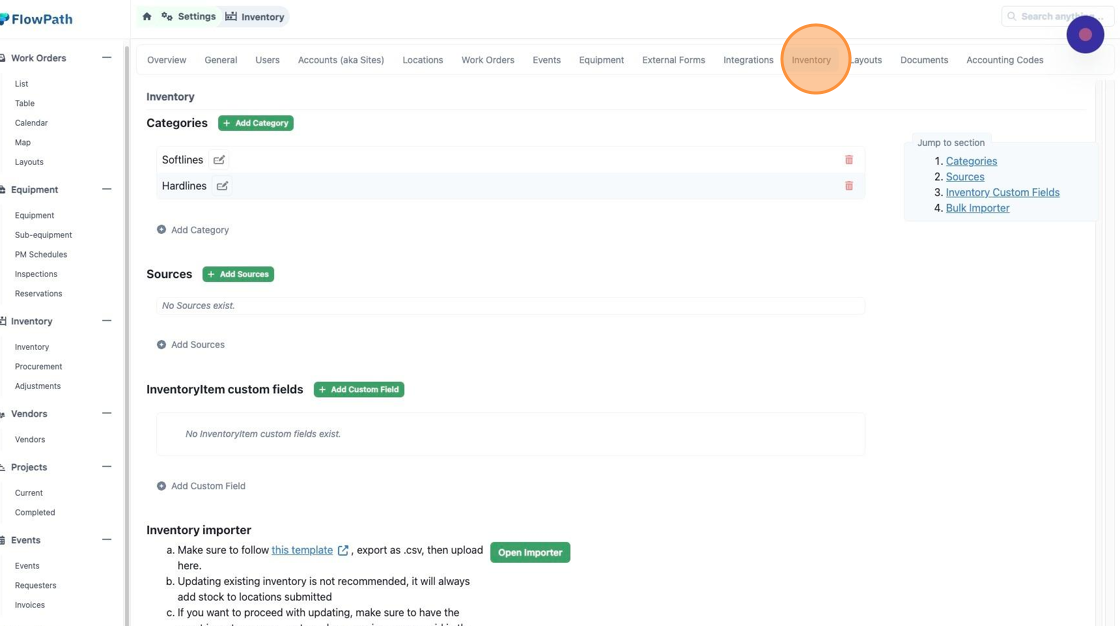
61. Add or delete categories, sources and add custom fields as well as use the importer for bulk uploads.
Layouts
Layouts
62. Layout tab will let you add layouts and managed pin layouts.
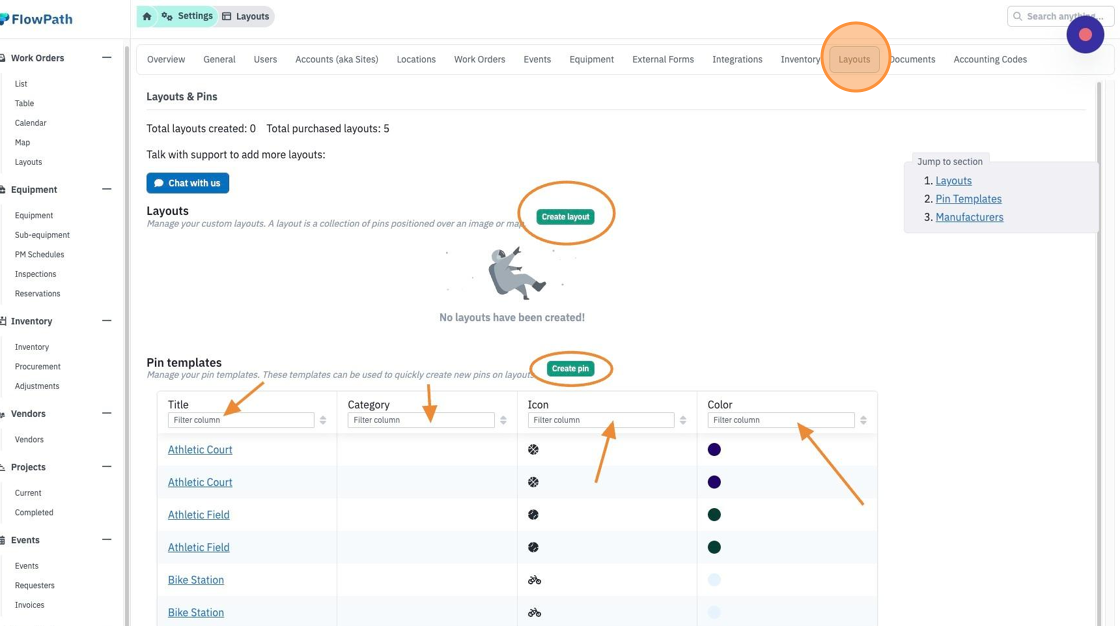
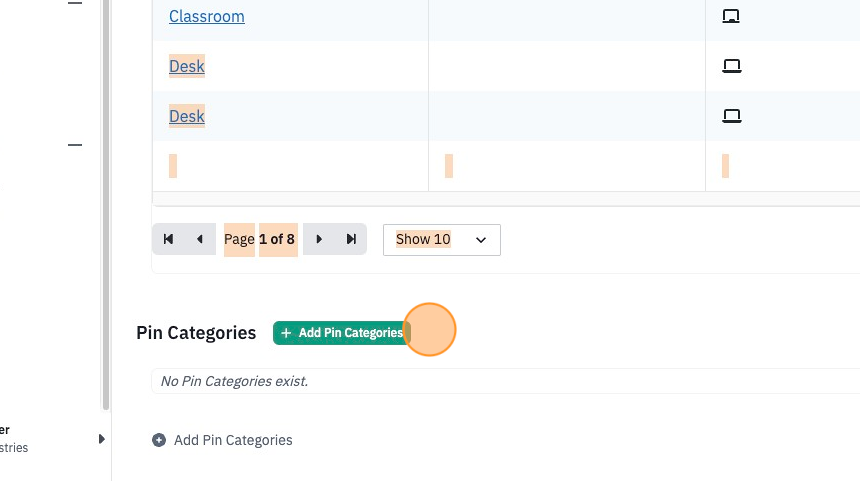
63. Pin categories if needed.
Documents
Documents
64. Document tab will have all current documents in FlowPath and you can use any of the filters to quickly sort.

Accounting Codes
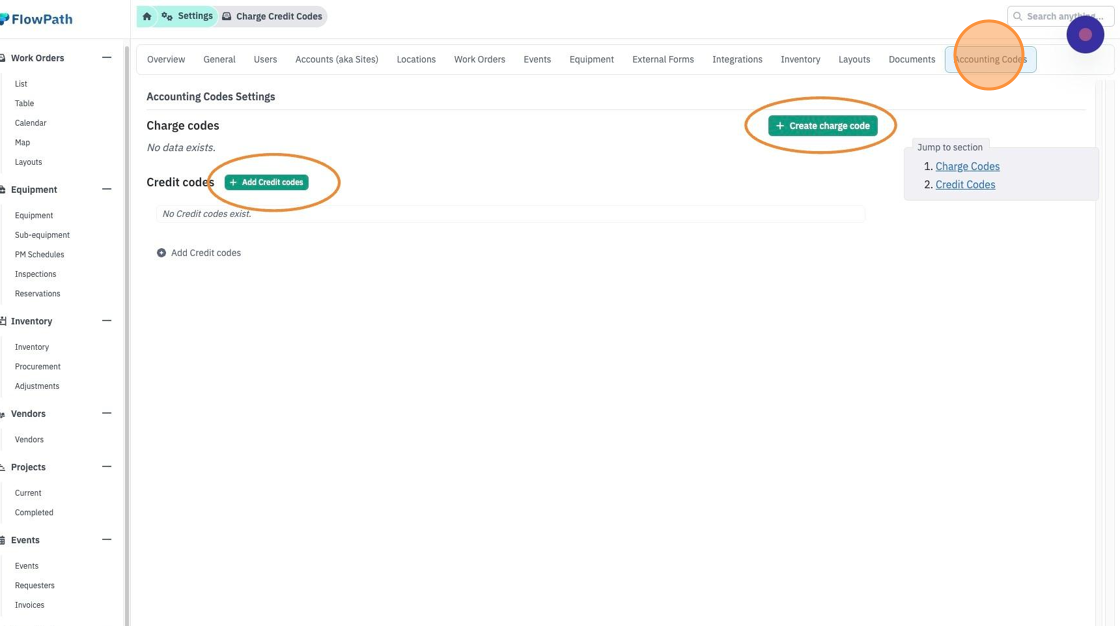
Accounting Codes
65. Charge Credit Codes tab will allow you to add and see and update all current charge codes you have in place.