
This feature is only available with the following products:

Collecting donations in the golf business is a common practice. A club may host a charity outing and collect donations for a cause. A golf association may collect donations for association-related causes.
Using the Donations feature, you can collect donations through a dedicated page on your website or incorporate them into your event registration process.
To use the Donations feature, you must have:
A Stripe merchant account to collect your payments.
The payment collection feature is enabled using Stripe (contact support to enable).
In this article, we will discuss how to set up, view, and manage donations.
Setting up the Donation Program
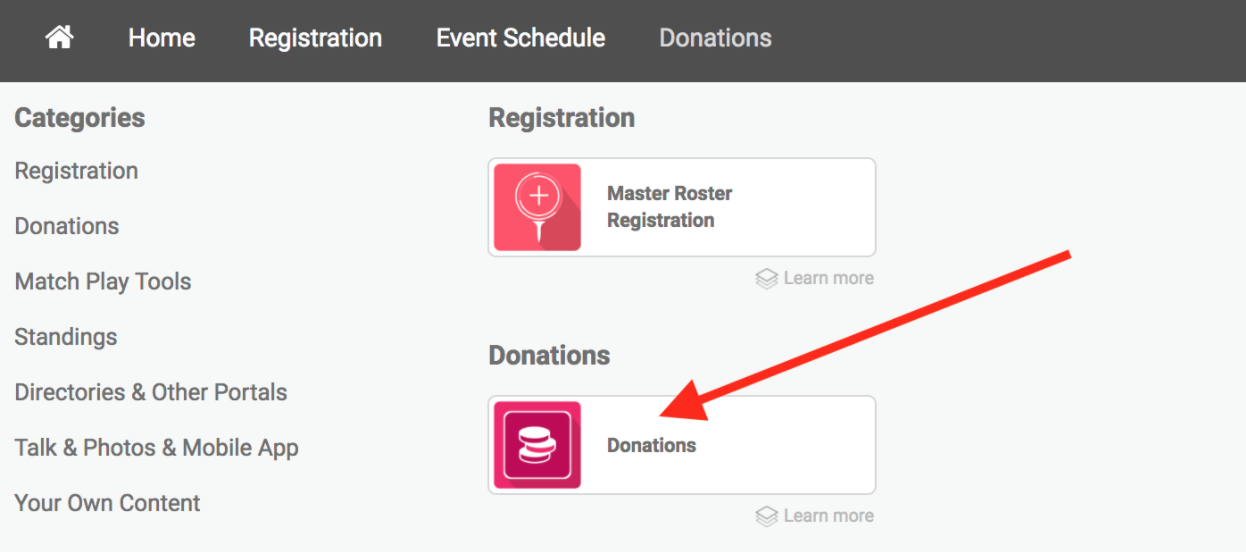
To set up a donation program, go to Customer Center > Payments Center > Donations, where you can specify:
Description: Description of the donation program to create awareness and entice individuals to donate.

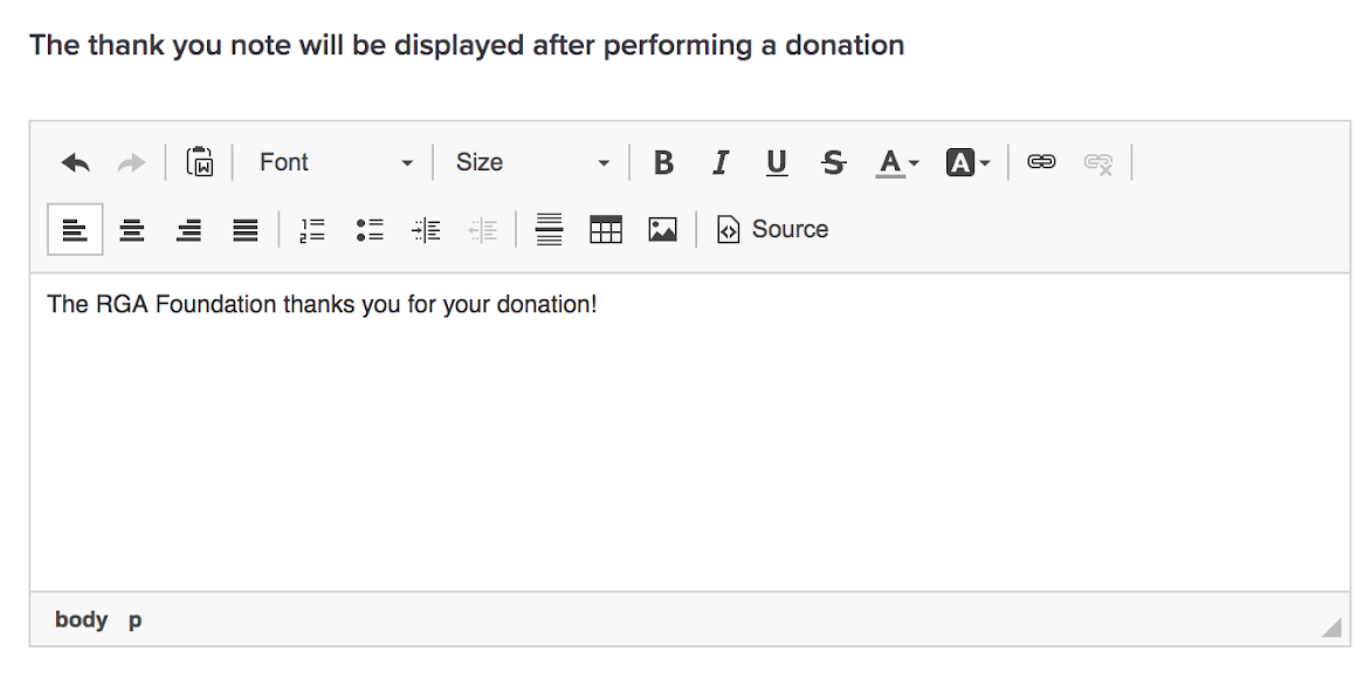
Thank You Note: Thank you message for individuals who submit a donation on a portal. After submitting payment, they will receive the Thank You note.

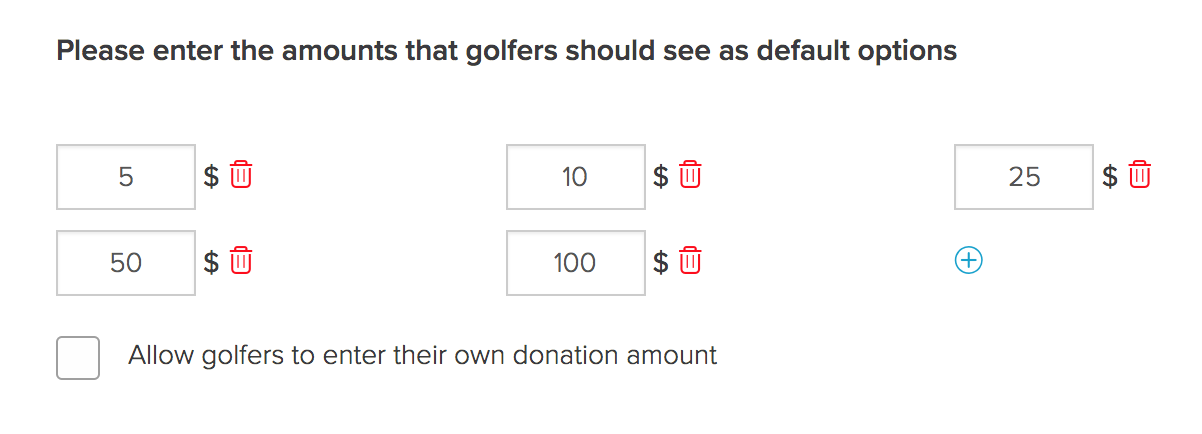
Donation Amounts: Donation amount options. Optionally, allow individuals to enter their own donation amount.

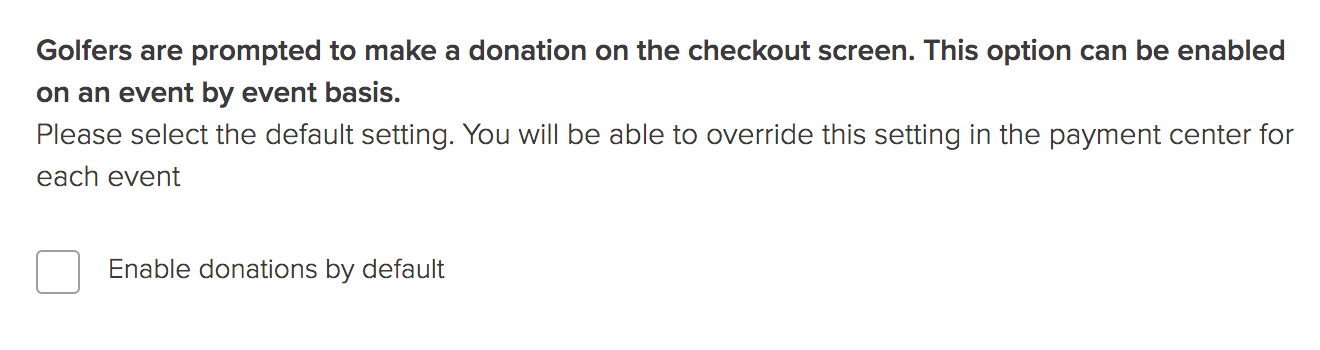
Default Event Setting: Indicate whether donations should be enabled by default for each event. You can later change this setting as needed for any specific event.

Merchant Account: The merchant account used to process donations depends on how the donation is collected:
Stand-Alone Donations: When collecting donations through a Donations Portal Page, the merchant account selected here in the Donation Program setup will be used to process the payment. Only the default portal can be used for stand-alone donations.
Event/League Registration Donations: When donations are collected as part of event or league registration, the merchant account associated with that event or league (Event/League > Registration Payments) will be used to process the payment.
Donation Reporting Fields (PGA of America Customers Only): The following options are automatically populated with a default value of None. Managers must update these values when editing donation information for the donation invoice to be sent to PGA HQ. Note: If these fields remain set to None, the donation can still be made, but the invoice will not be transmitted to the PGA of America, and an "X" will appear for that transaction in Transaction History.
Financial Event: Use this field to pick the specific event this donation belongs to. This ensures the money is tracked under the correct category in the PGA’s Workday system. The list of events is pulled directly from the PGA of America.
Payment Method: This identifies how the payment was made (like Stripe or AFS). It uses the same standard options you already use for tournament and event registrations, making sure your donation records match your bank deposits.
PGA of America Product: This links the donation to a specific PGA product category. Selecting the right product ensures that when the invoice reaches PGA headquarters, the funds are credited to the correct department or initiative.

Once you are finished with the donation set up page, click "Save". You can then use that donation program for a stand-alone donation or donation during event and league registration.
Setting up a Stand-Alone Donation page on the Default or Event/League Portal
Note: The merchant account used to process donations from the portal page is configured from the Customer Center in the Donation Program setup. For details on configuring the merchant account, see the Setting up the Donation Program section above.
A stand-alone donation can be offered on the Donations Portal Page within any portal. Individuals can donate on the portal page and the donation goes to the merchant account selected in the Donation program setup.
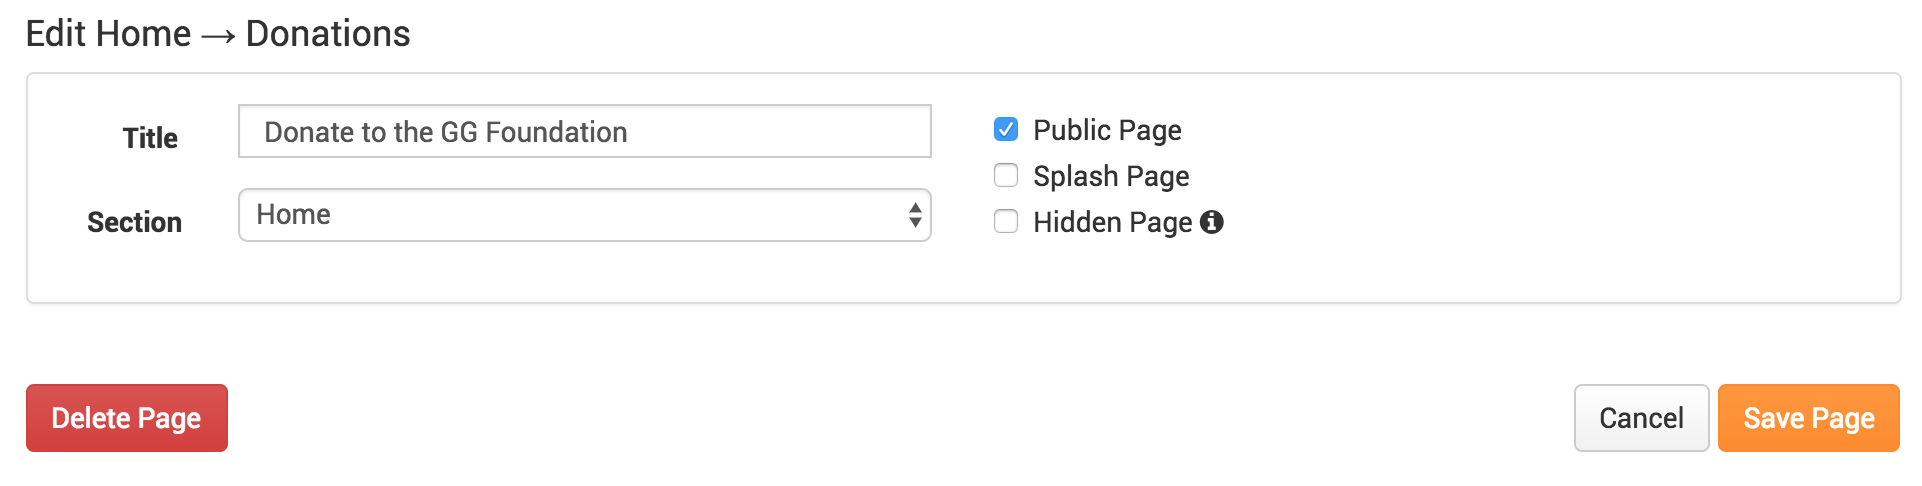
To set up a stand-alone donation, go to the portal and click "Add New Page" within the section where you'd like to display the Donations Portal Page. Select the Donations Portal Page.
Other possible actions include:
Renaming portal page to something more relevant or specific (This page is called "Donations" by default.).
Making the page public. If the page is private, only individuals who have logged in to the portal can make a donation.
Once created and saved, individuals can then make donations to the Donations Portal Page.
Below is an example of what a Donations Portal Page will look like when an individual would like to make a stand-alone donation.

They can select a donation amount. If you have enabled the individuals to specify a custom amount, they can click "Other". After selecting the amount, they can click "Enter Credit Card Details".

From there, they can enter their credit card information. After clicking "Next", they can view a donation confirmation along with a Thank You Note (if set up).
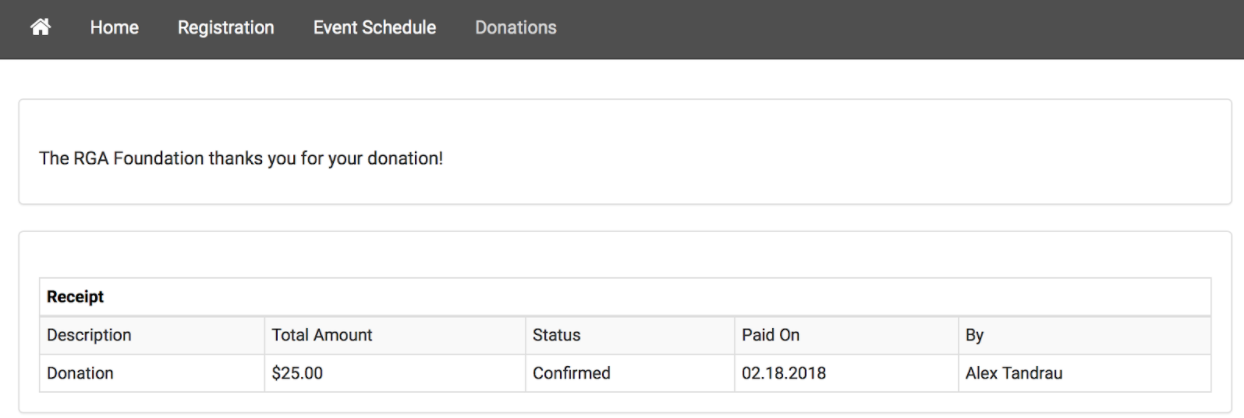
Once the payment process is complete, the player and all customer managers will receive an email confirming the donation (as shown below).

Individuals can always return to the Donations Portal Page to make additional donations. If logged in, they will also see a summary of their previous donations.
Note: The donation emails to players and managers are not editable.
Setting up Donations during Event and League Registration
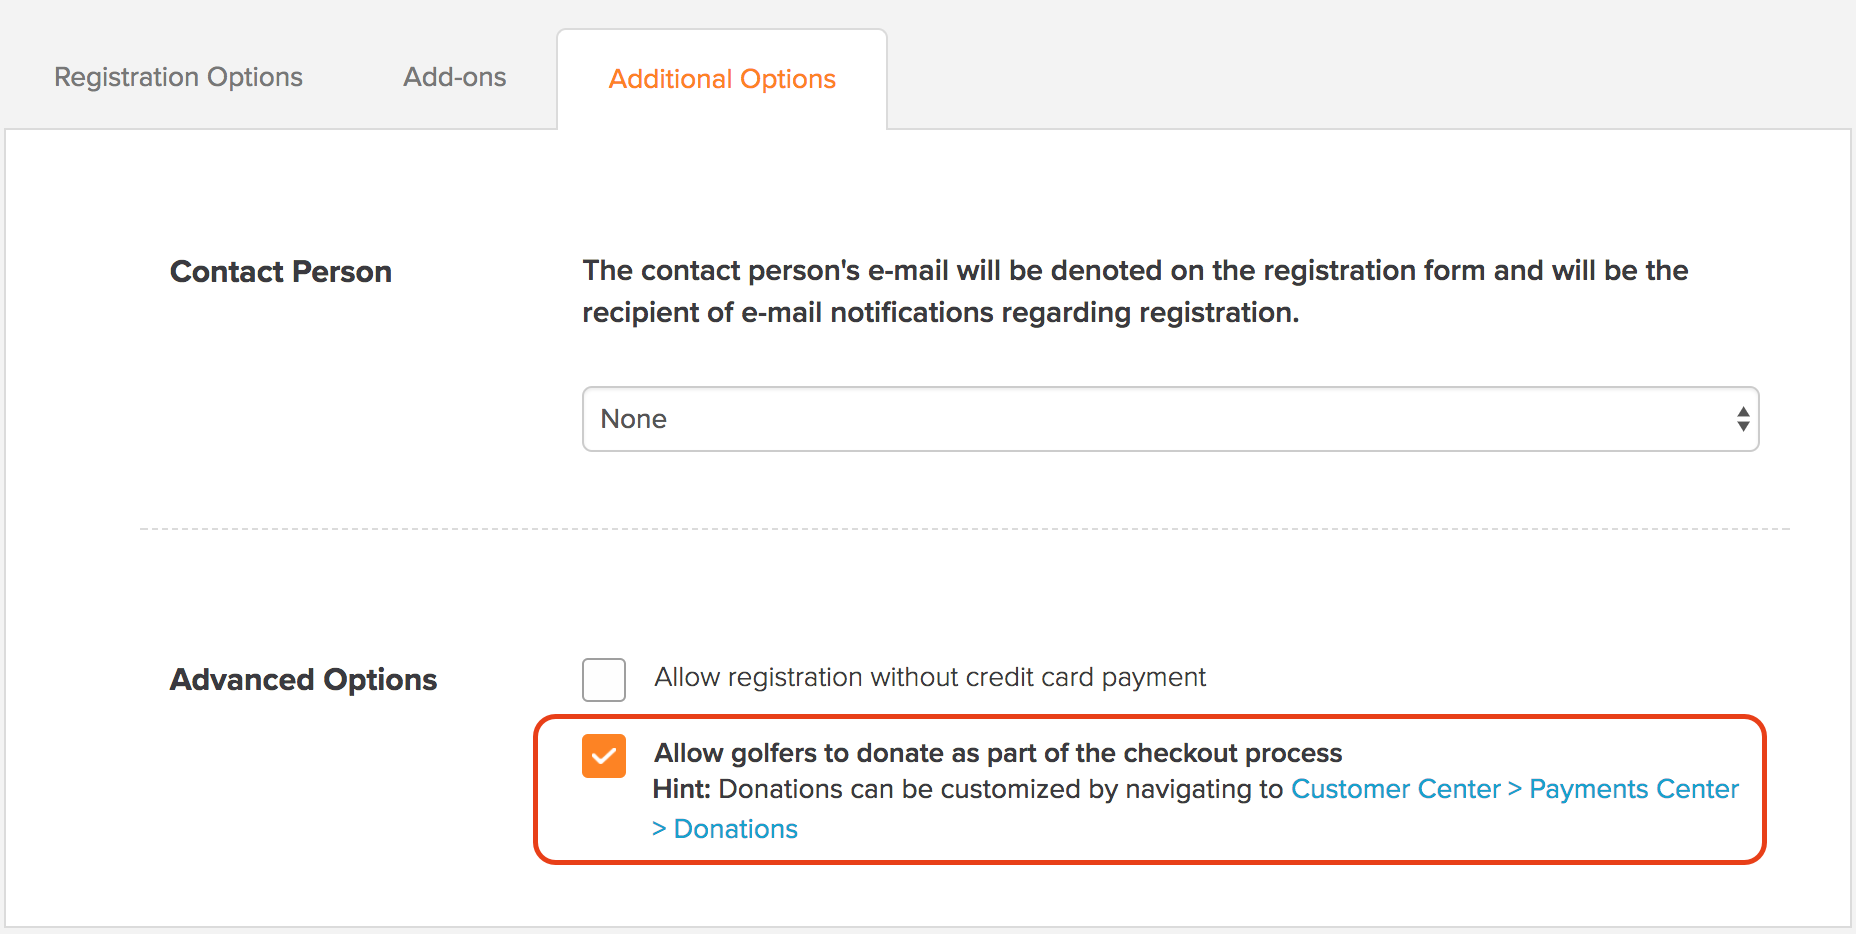
Players can also be offered the option to donate when registering for an event. To enable or disable this option within a specific event, go to Event > Registration Payments. Select a current registration option or create a new one. In the "Additional Options" tab, you can enable or disable the donations option.
When players register for an event that collects donations, they will go through the typical registration steps. However, on the final "Payment" step, they will be presented with an option to donate along with the description of the donation (as shown below).

After selecting a donation amount, the payment summary will be updated to reflect the donation and the new total (as shown below). The player can then enter their credit card details below and complete the registration process.

After entering their credit card details and clicking "Pay", they can view a donation confirmation along with a Thank You Note (if set up).

Once the payment process is complete, the player will receive an email confirming their registration, and all customer managers will receive an email confirming the donation.
Notes:
When allowing donations during registration, the registrant will not receive an email of the donation amount.
The donation email to managers is not editable.
When collecting donations during event or league registration, the merchant account associated with that event or league will be used to process the donation.
Viewing the History of Donations
Go to Customer Center > Payments Center > Donations > Donation Report to view a history of donations (as shown below). You can also search for specific donations by donor name on the top right.

You can also view donations in your Transaction History. Go to Customer Center > Payments Center > Transaction History. Apply any filters (if necessary). Donations are listed as a separate transaction.

In the example above:
Alex Tandrau made a stand-alone donation.
Jon Sirois made a donation while registering for the 2018 Individual Qualifier.