
An essential step when managing an event or league is setting the course and tee for your players. In order for Playing Handicaps to be computed, it is important to know the tees being played. There are a few different scenarios:
The playing field uses the same tee.
The playing field uses multiple tees.
The playing field uses multiple courses and tees.
In this article, we will discuss how to set the player course/tees for a round by the following methods:
Setting all players on the same course/tee
Setting players on different course/tees
Setting Players by Division or Flight
Setting players on different sides (Front 9 and Back 9)
Setting players on their default tees
Setting player course/tee using the "Tee" Custom Field
Setting player course/tee using the "Gender" Custom Field
Setting player course/tee using a "Single Answer" Custom Field
Setting player course/tee using a prior round
To watch a short instructional video, Click Here.
Note: The links below will provide instructions on setting the course/tee for round-robin schedules, bracket tournaments, and quick events.
Setting all players on the same course/tee:
If all players in the round are playing the same course/tee, follow these steps:
Go to Rounds > Edit Existing Pairings.
Click "Set Course & Tee".
Select the course/tee being played
Select Front 9, Back 9, or all 18.
Click "Select All Players" (The players will highlight above).
Click "Apply"
Click "Save Pairings".
See the process below.

Setting players on different course/tees:
In more complex cases, multiple tees are used.
Follow these instructions:
Go to Rounds > Edit Existing Pairings.
Click "Set Course & Tee".
Select the primary course/tee being played.
Click "Select All Players". (The players will highlight above)
Click "Go". At this point all players will be set on the primary tee, for the moment.
Select the other course/tee being played.
Click on the individual players above who are playing this other tee. (They will highlight.)
Click "Apply".
Repeat steps 5,6, and 7 for any remaining tees.
Click "Save Pairings".
See the process below as we set all players on the blue tee. Then move Ken Glangoy to the white tee.

Setting Players by Division or Flight:
If you have multiple divisions or flights in the round where the division/flights plays different tees, you can quickly set the course/tees by division/flight. For instructions, Click Here.
Setting players on different sides (Front 9 and Back 9):
In some cases, some of the pairing groups will play the front 9 and some of the players will play the back 9.
Follow these instructions to accomplish this:
Go to Rounds > Edit Existing Pairings.
Click "Set Course & Tee".
Select the course/tee for the front 9 pairing groups.
Select "Front 9" in the dropdown.
Select the front 9 players. (Note: You can quickly select multiple pairing groups at once by selecting the first player in one pairing group, clicking and holding "Shift" and selecting the last player in another pairing group. All players within that range will be highlighted.)
Click "Apply".
Repeat steps 2, 3, 4, and 5 for the back 9 players.
Click "Save Pairings".
See the sequence below.

Setting players on their default tees:
Creating default tees for the players in your Master Roster is an incredible time saver. When doing this, setting the course/tee for your players becomes very quick and easy. We highlight suggest taking the time to set up your players default tees. For instructions on this, Click Here.
To set players on their default tees (once set up), follow these instructions
Go to Rounds > Edit Existing Pairings.
Click "Set Course & Tee".
Select the course's default tee.
Select Front 9, Back 9, or all 18.
Click "Select All Players" (The players will highlight above).
Click "Apply"
Click "Save Pairings".
The players in the pairings will all be set on their default tee.
Setting player course/tee using the "Tee" Custom Field:
In events and leagues that have players who are not on the Master Roster, using default tees is not possible. An alternative solution would be to use the "Tee" custom field (as shown below).
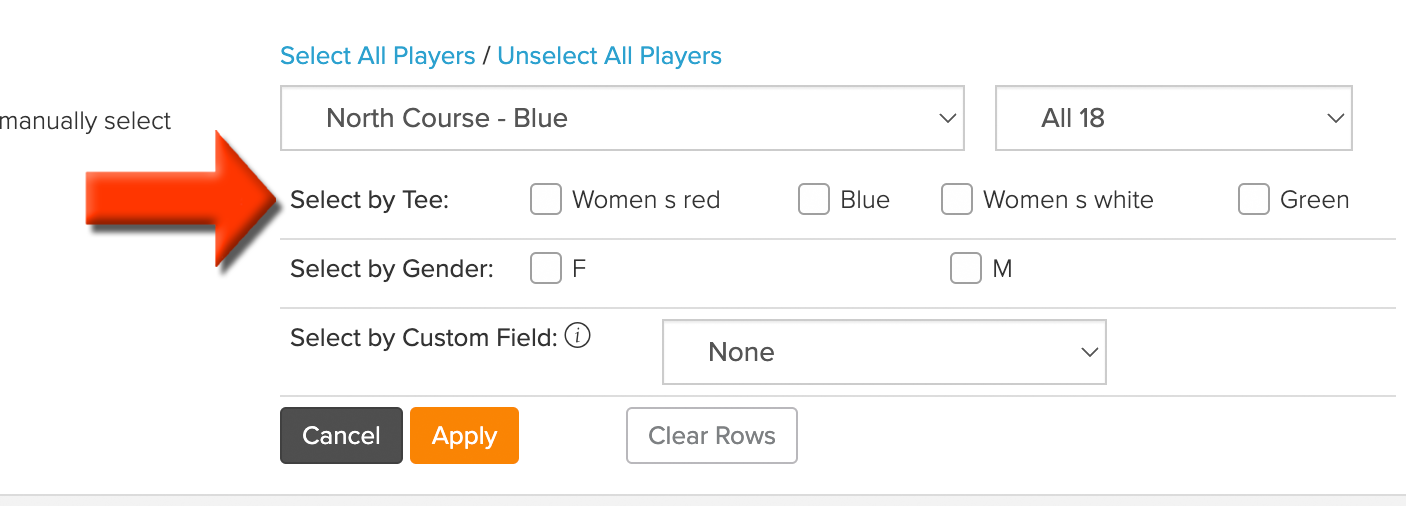
For instructions, Click Here.
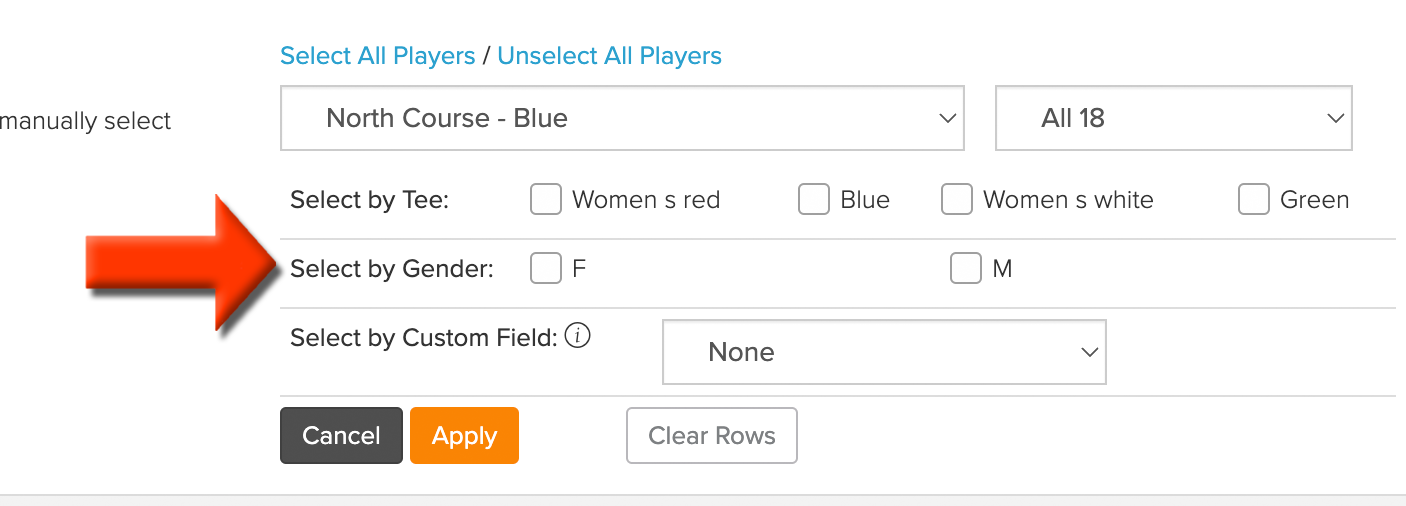
Setting player course/tee using the "Gender" Custom Field:
If you have captured the gender custom field for your players, you can set the tee using the "Select by Gender" options (as shown below).
Setting player course/tee using a "Single Answer" Custom Field:
If you have captured the tee using a "single answer" custom field for your players, you can set the tee using the "Select by Custom Field" options (as shown below).
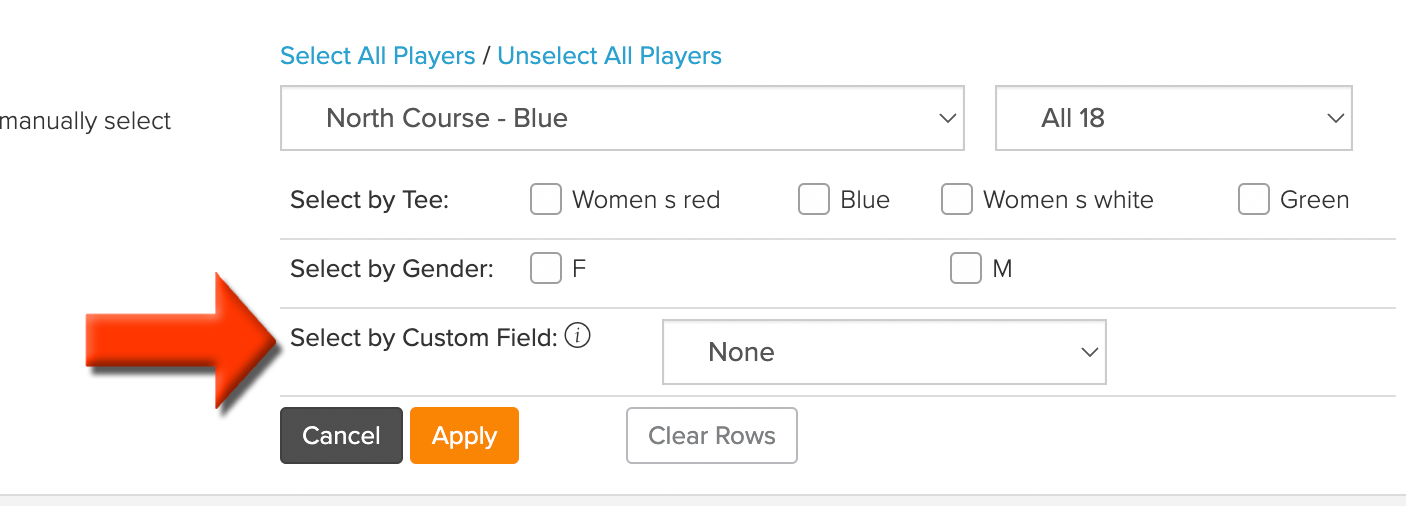
For complete details using this method, Click Here.
Setting player course/tee using a prior round:
In events and league that have multiple rounds, you can set the course and tee based on a prior round. After creating new pairings you will be able to define more scheduling options. Check the box for "keep players on the same course and tee as in the prior round" and select the previous round to be used. For more details, Click Here.