This feature is available for the following products:

Note: If you would like this feature enabled, please contact the support team.
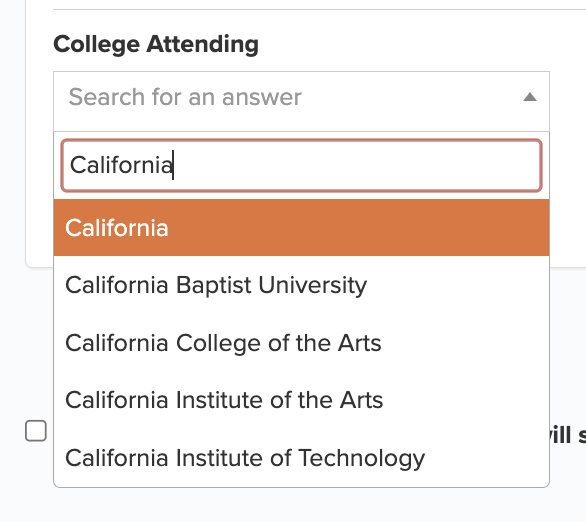
Specific custom fields may contain many potential answers, making presenting them as radio buttons or options in a short dropdown menu impractical. As an alternative, the Multiple Choice - Single Answer (Large Data Set) custom field type enables you to upload a spreadsheet of responses and make selections from the data set via the search menu (as shown below).
In this article, we will guide you through the following:
Creating a Multiple Choice - Single Answer (Large Data Set) Custom Fields
Uploading an Answer List
Editing this Answer List.
Creating a Multiple Choice - Single Answer (Large Data Set) Custom Fields:
This type of custom field will have to be created manually. Custom fields can be created by following these directions:
Creating the custom field from one of the following locations:
Customer Center Level: For custom fields that are used across all events/leagues (e.g., phone number, bag storage, membership type), add them as customer-level custom fields. These fields can be accessed by going to Customer Center > Customer Settings > Custom Fields.
Event/League Level: Add custom fields specific to an event or league (e.g., dinner selection, flight, tee gift) as event-level custom fields. These fields can be accessed by going to Event/League > Custom Fields.
Click "New Custom Field."
Enter the following details about the custom field:
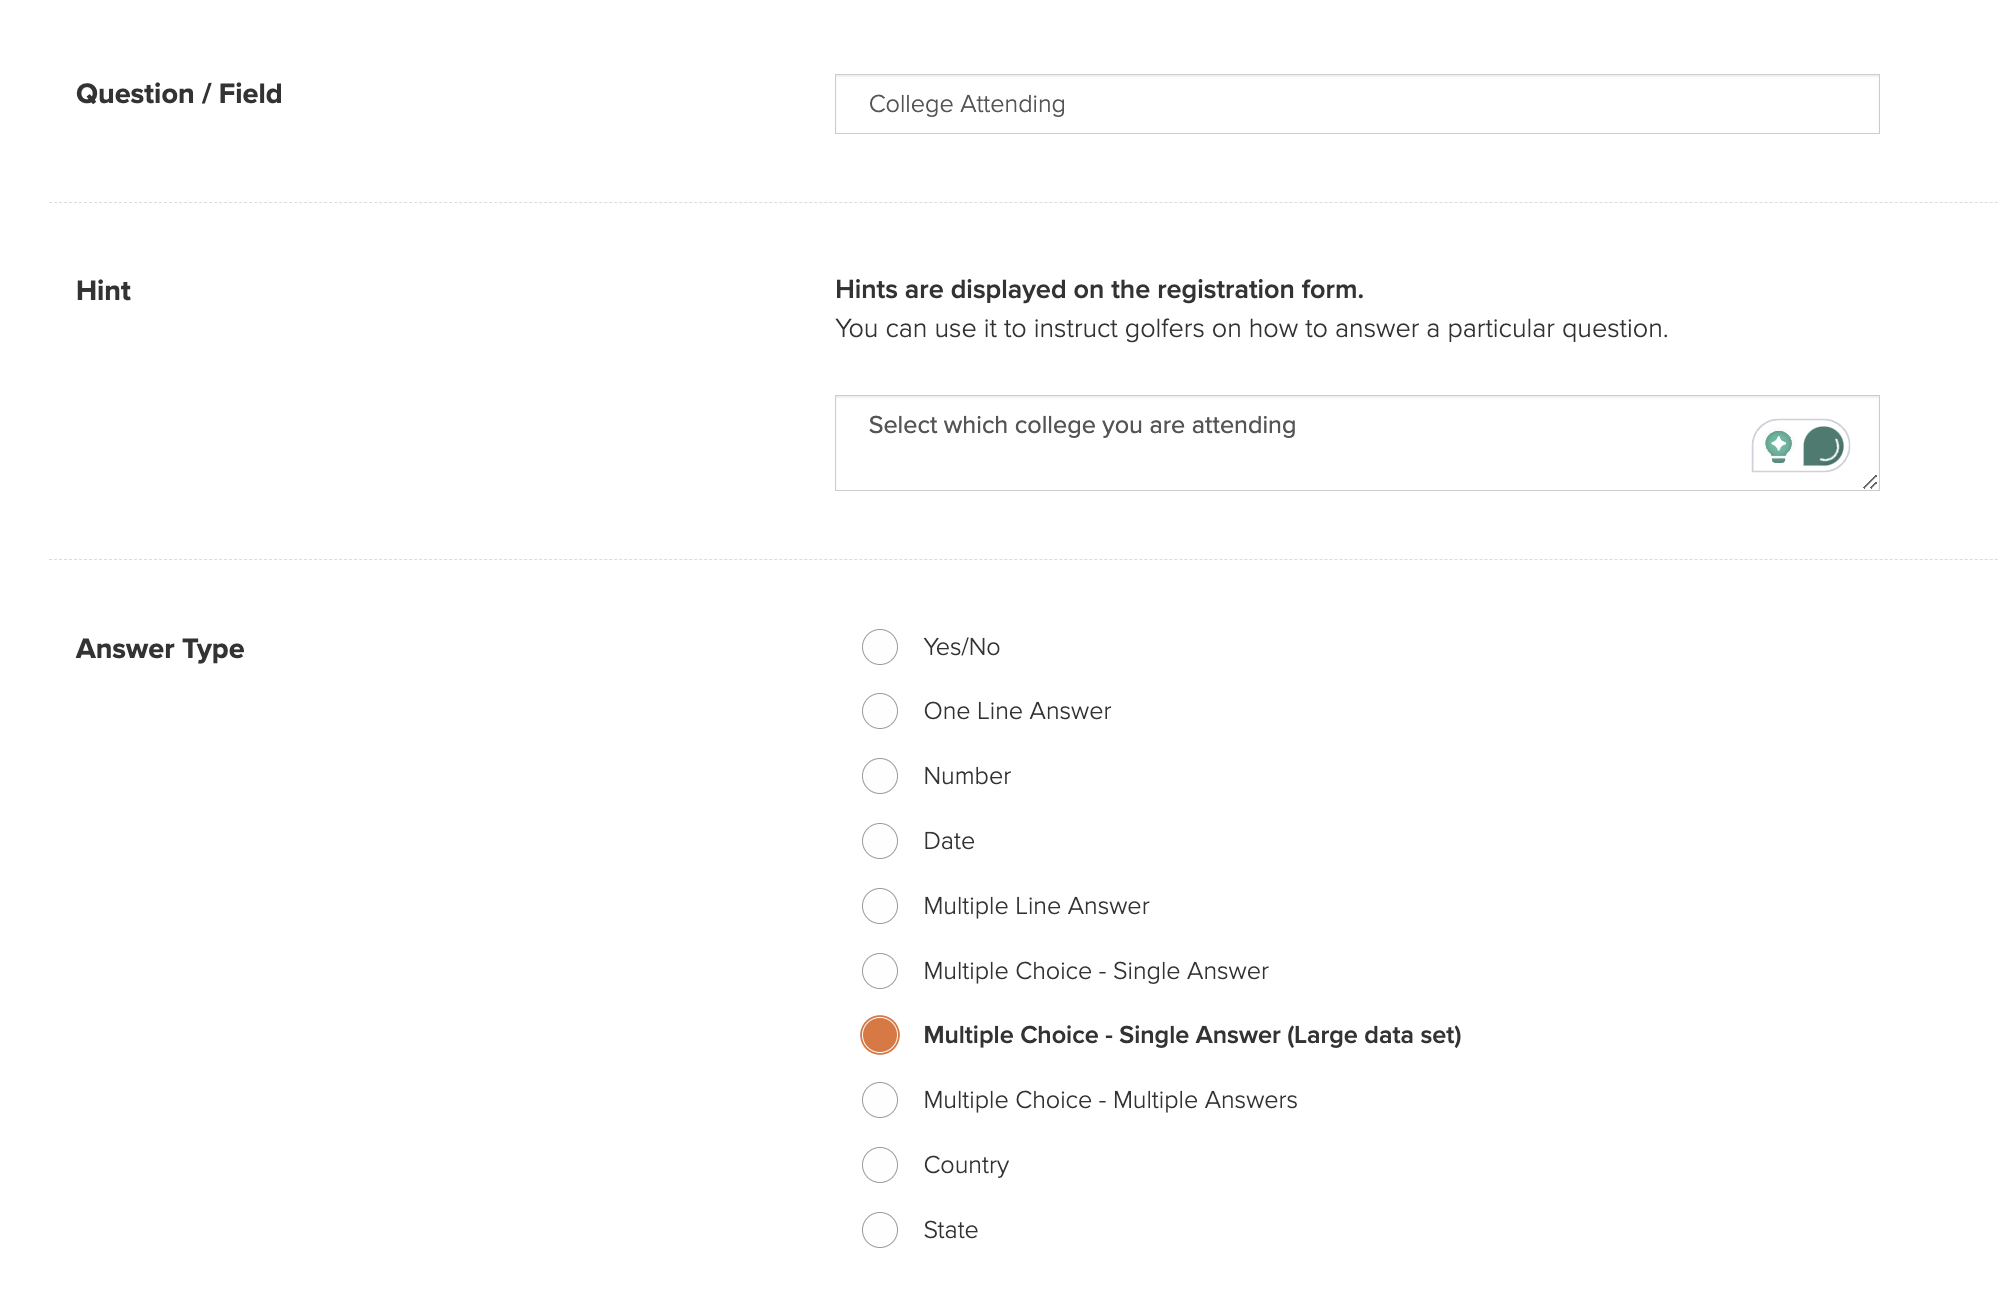
Question/Field: Name used to identify the custom field.
Hint: Provide a hint in case the custom field needs more explanation than the title.
Answer Type: Select the type "Multiple Choice - Single Answer (Large data set)" (as shown below).

Member Portal: If you have the Golfer Profile page available in the portal, allow/disallow players to enter/edit the answer.
Event/League Registration: Include (and optionally require the guest to answer) the custom field in the guest form. For instance, if it is important to know if the guest has a food allergy, you can require that the registrant answer the custom field question to complete registration. For more details on Event Registration, Click Here.
Click "Save," and the custom field will be created.
Uploading an Answer List
Once you have created the custom field, you can upload an answer list from a spreadsheet. You can also amend the custom field over time by uploading additional lists using this process. To Upload an answer list, follow these directions:
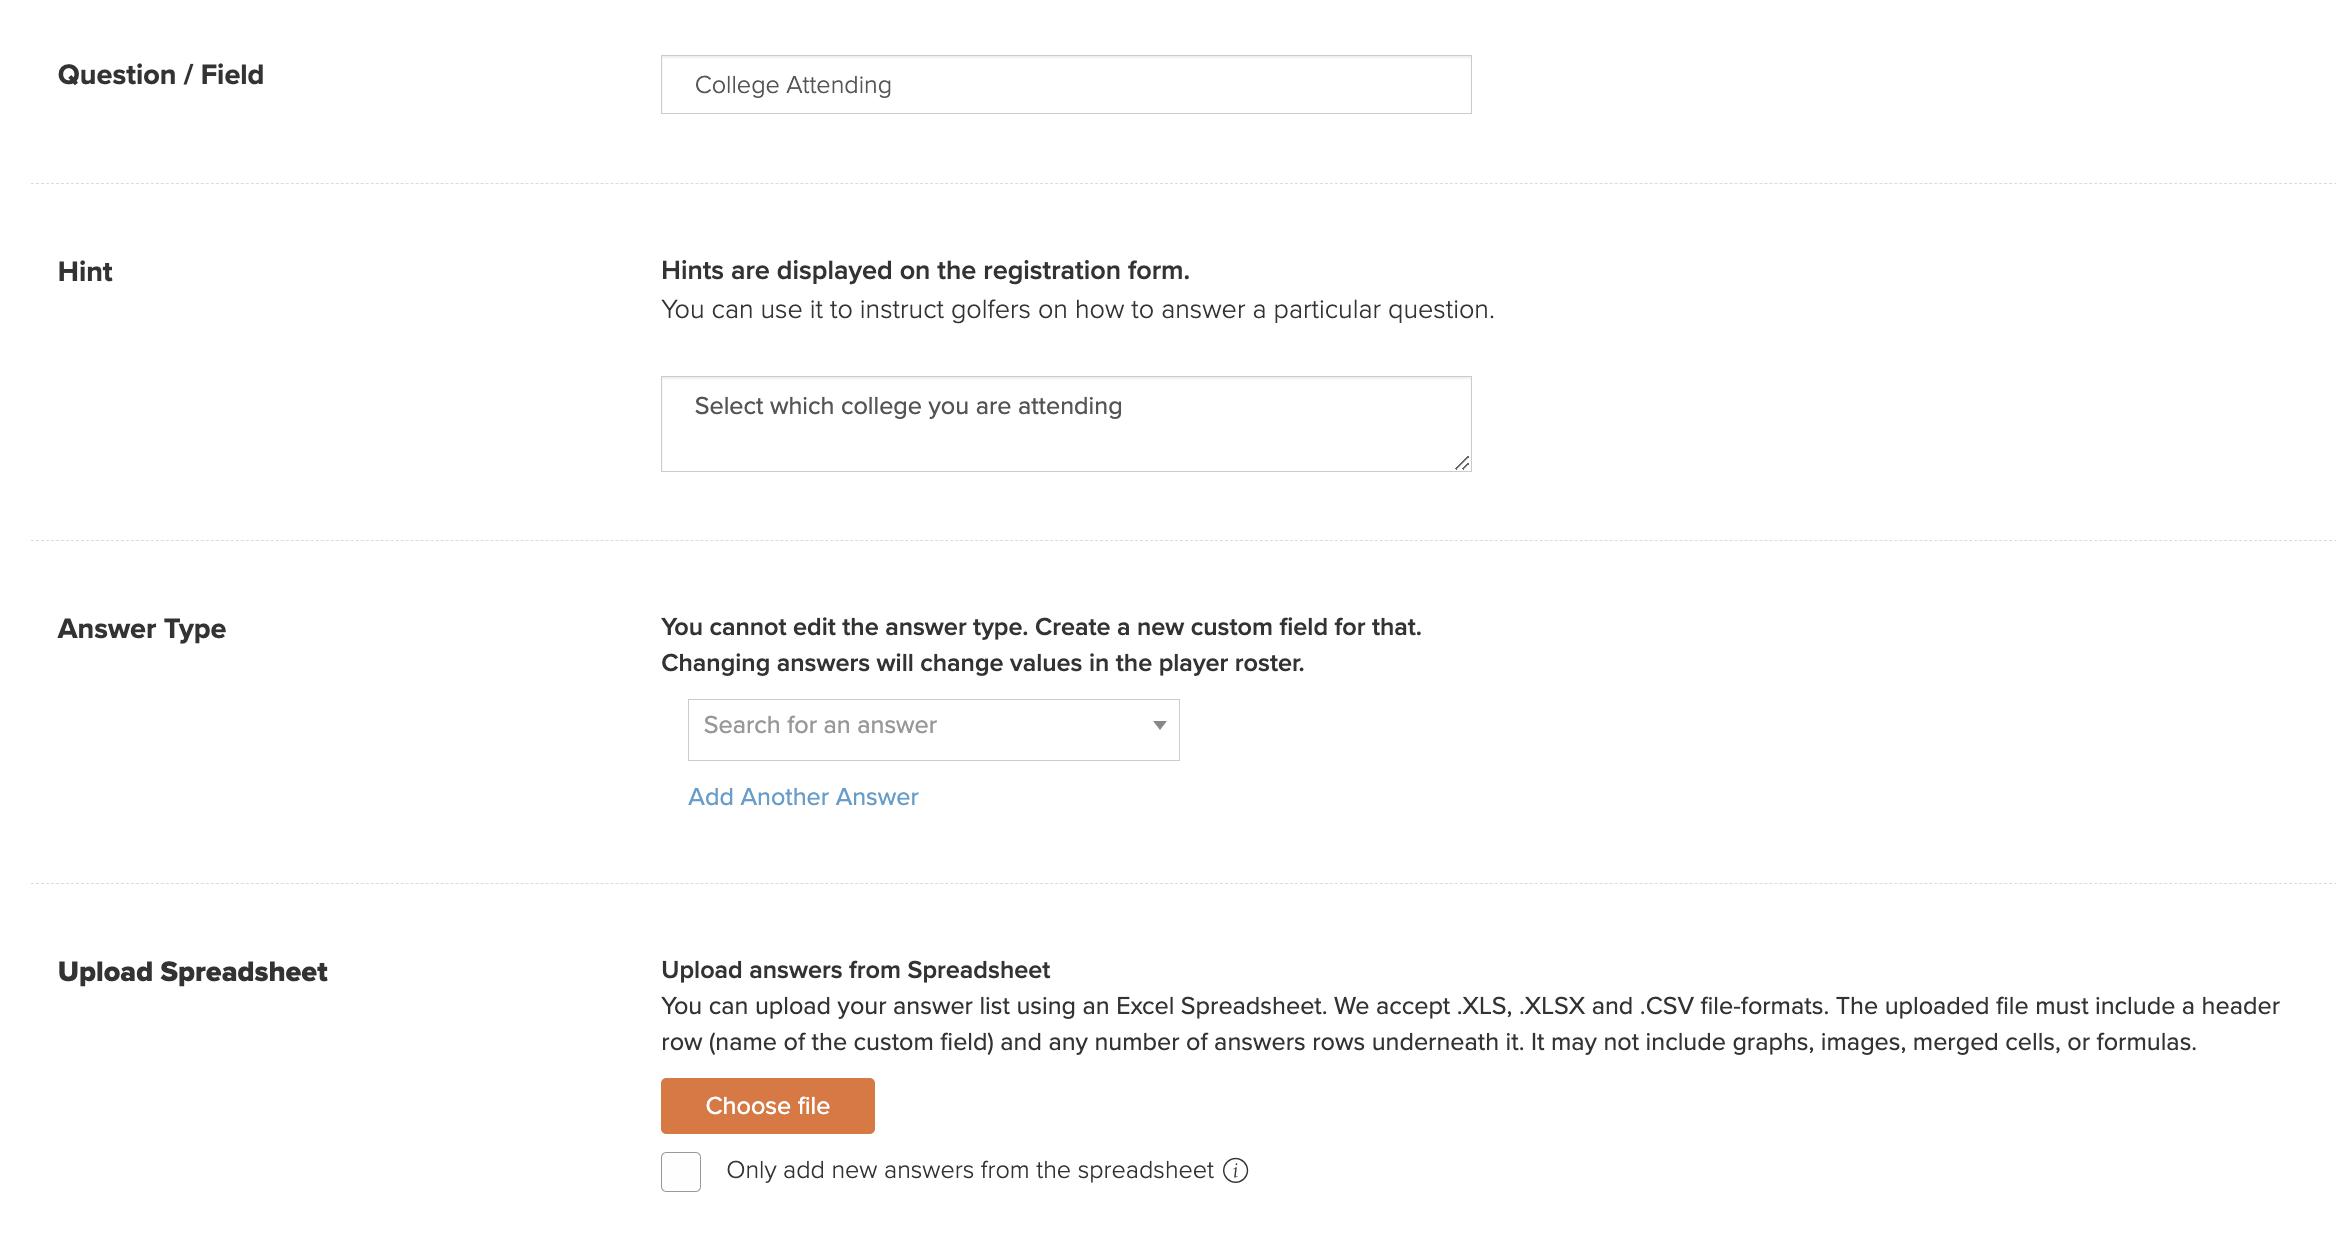
Create an Excel spreadsheet of your answer list. We accept XLS, XLSX, and CSV file formats. Note: The uploaded file must be one column with a header row name that is the same (i.e., capitalization, spelling, etc.) as the custom field and any number of answer rows underneath it. It may not contain graphs, images, merged cells, or formulas.
Edit the custom field at one of the following locations (dependent upon where you created it):
Customer Center Level: Accessed the custom field by going to Customer Center > Customer Settings > Custom Fields.
Event/League Level: Accessed the custom field by going to Event/League > Custom Fields.
Find the field and click "Edit" (as shown below).

In the section "Upload Spreadsheet," click "Choose File."
Drag the file to the popup or click "Choose File," navigate to, select, and click "Open," and the file will be uploaded.
For subsequent uploads (an answer list has already been added), take the following action on the check box for "Only add new answer from the spreadsheet":
Checked: Only answers not already uploaded will be added.
Unchecked: The current answer list will be overwritten by the new uploaded list.
Click "Save."
Editing this Answer List:
At some point, you may wish to remove answers from the answer list and add additional answers manually. This can be done by editing the custom field.
To remove an answer from the answer list, you have two options:
Replace the entire list via spreadsheet upload (see details above).
Remove individual answers
To add an answer from the answer list, you have two options:
Add answers via spreadsheet upload (see details above).
Add individual answers
Removing Individual Answer:
To remove individual answers from the custom field, follow these directions:
Edit the custom field from one of the following locations (dependent upon where you created it):
Customer Center Level: Accessed the custom field by going to Customer Center > Customer Settings > Custom Fields.
Event/League Level: Accessed the custom field by going to Event/League > Custom Fields.
Find the field and click "Edit".
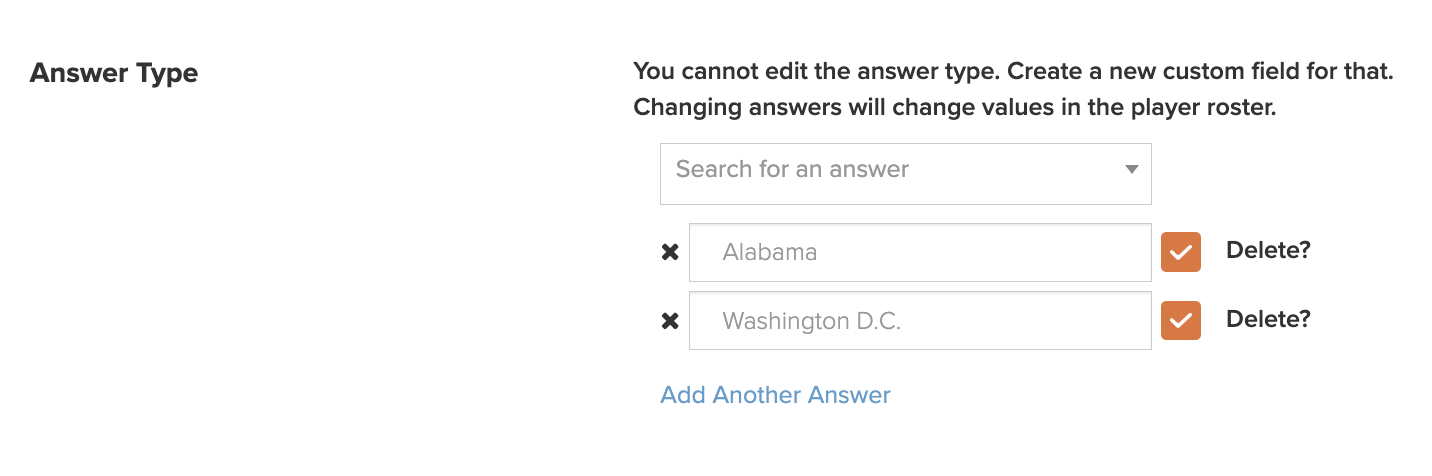
In the section "Answer Type," search for the answer you wish to delete and select it from the dropdown.
Check the box "Delete?" (as shown below).

Repeat steps 4-5 for additional answers you wish to delete.
Click "Save," and the answers will be deleted.
Adding Individual Answer:
To add individual answers to the custom field, follow these directions:
Edit the custom field from one of the following locations (dependent upon where you created it):
Customer Center Level: Accessed the custom field by going to Customer Center > Customer Settings > Custom Fields.
Event/League Level: Accessed the custom field by going to Event/League > Custom Fields.
Find the field and click "Edit".
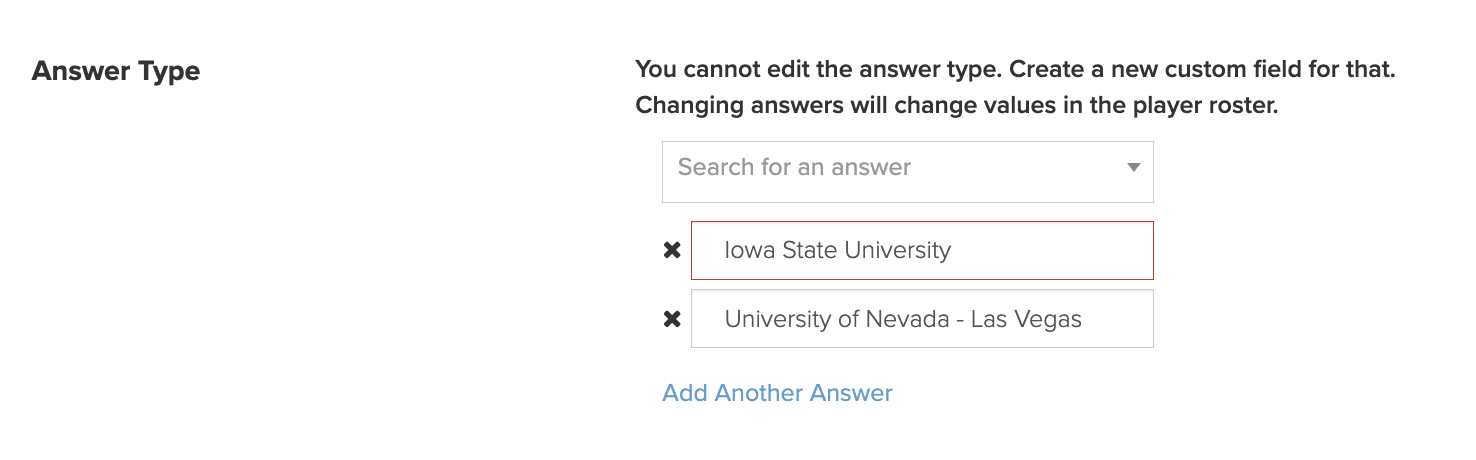
In the section "Answer Type," click "Add Another Answer."
Enter the new answer (as shown below).

Repeat steps 4-5 for additional answers you wish to add.
Click "Save," and the answers will be added.