In the club environment, players will almost always have a tee they play most often. We call this their default tee. Assigning your players to their default tee will save you time throughout the season as you create pairings and set the course/tee.
In this article, we will discuss how to assign default tees to your members and how to use these default tees. If you would prefer to watch a short video on this subject, Click Here.
(Note: This article discusses how to set the default tee for players to be used across multiple events/leagues throughout the season. If you are looking to set default tees by division for a specific event or league, Click Here. If you are looking to set default tees by flight for a specific event or league, Click Here. If all the players in your event/league are not on your master roster, Click Here, to see about setting your tees by custom field.)
Setting the Player Default Tees:
Assigned at the player level in the Maste Roster, default tees can be set individually for each player. Our default tee filtering tool allows you to quickly filter and set these default tees in bulk as well. Player Default Tees are simply an override to the Gender Default tees set for the course.
Individually: To set the Player Default tees individually, go to Customer Center > Master Roster > View Master Roster, select the player, and go to the "Default Tees" tab. Initially, the Player Default tees for all courses will be unassigned for the player. If left unassigned, the default tee will "fall back" to the Gender Default tee. Select the Player Default tee for the desired course(s) and Save. These assigned default tees will go in effect for all future rounds in any of your events and leagues. The sequence below shows the process:

In Bulk via Filtering: Instead of setting the Player Default tees individually, you can use the filtering tool to assign the default tees in bulk, thus saving you time. To do this, go to Customer Center > Master Roster > Manage Player Default Tees. Your players will be listed on this page with their current Player Default tee (if any). There will be a column for every course. In the far left column, you can select the players individually or by "Selecting All".

You can set filter rules by age, gender, Handicap Index, Date of Birth, and other custom fields. If selecting to filter by age or Handicap Index, there will be slider bars that can set the minimum and maximum value. You can also add multiple filtering rules at once.

After filtering, make sure the desired players are selected, then click "Set Default Tee". All of your courses will be listed. Select the default tees to be used for the group of players that are selected, then click Save.

After saving, you will see the players will now be assigned to the desired default tees.To help you find certain players you can search for them on the top right. You can also use the filtering tool to narrow down the set of players you are looking for. To do this, click on "Optionally, filter the set of players".

Print a copy of the Default Tees:
You can download a copy of the player default tees to a spreadsheet and then print from there. To do this, go to Customer Center > Master Roster > Manage Player Default Tees >Download Spreadsheet (as shown below).

Using the Default Tees:
Once default tees are assigned, you can now start to use them for your future rounds. There are a few different ways to use default tees:
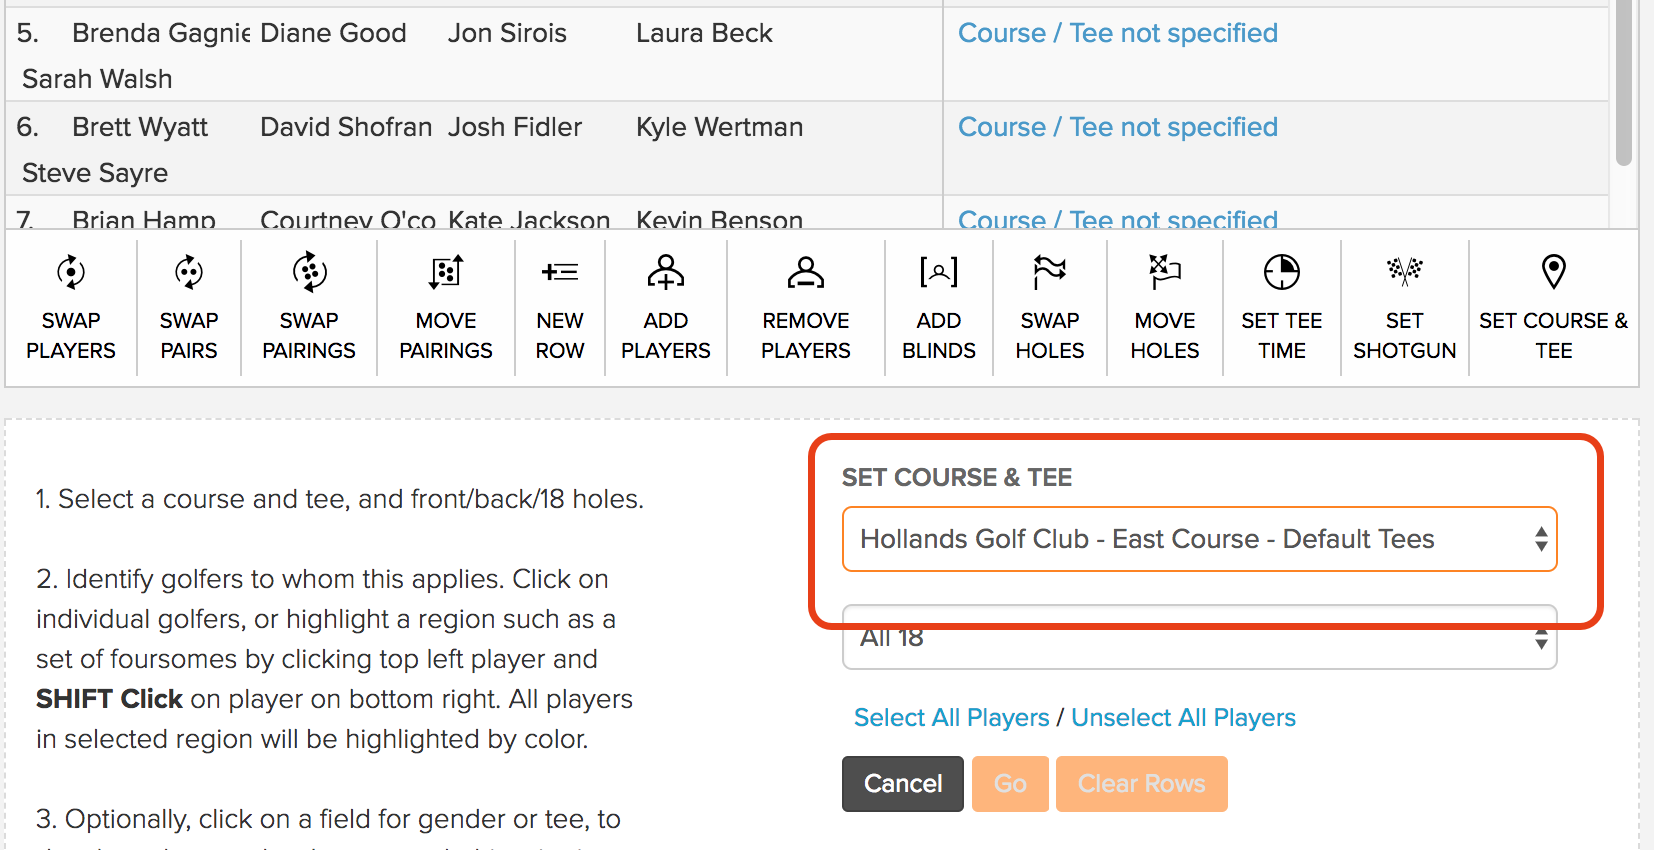
When Setting Course/Tee for a round:

When Setting the Course/Tee for a Round Robin Schedule:

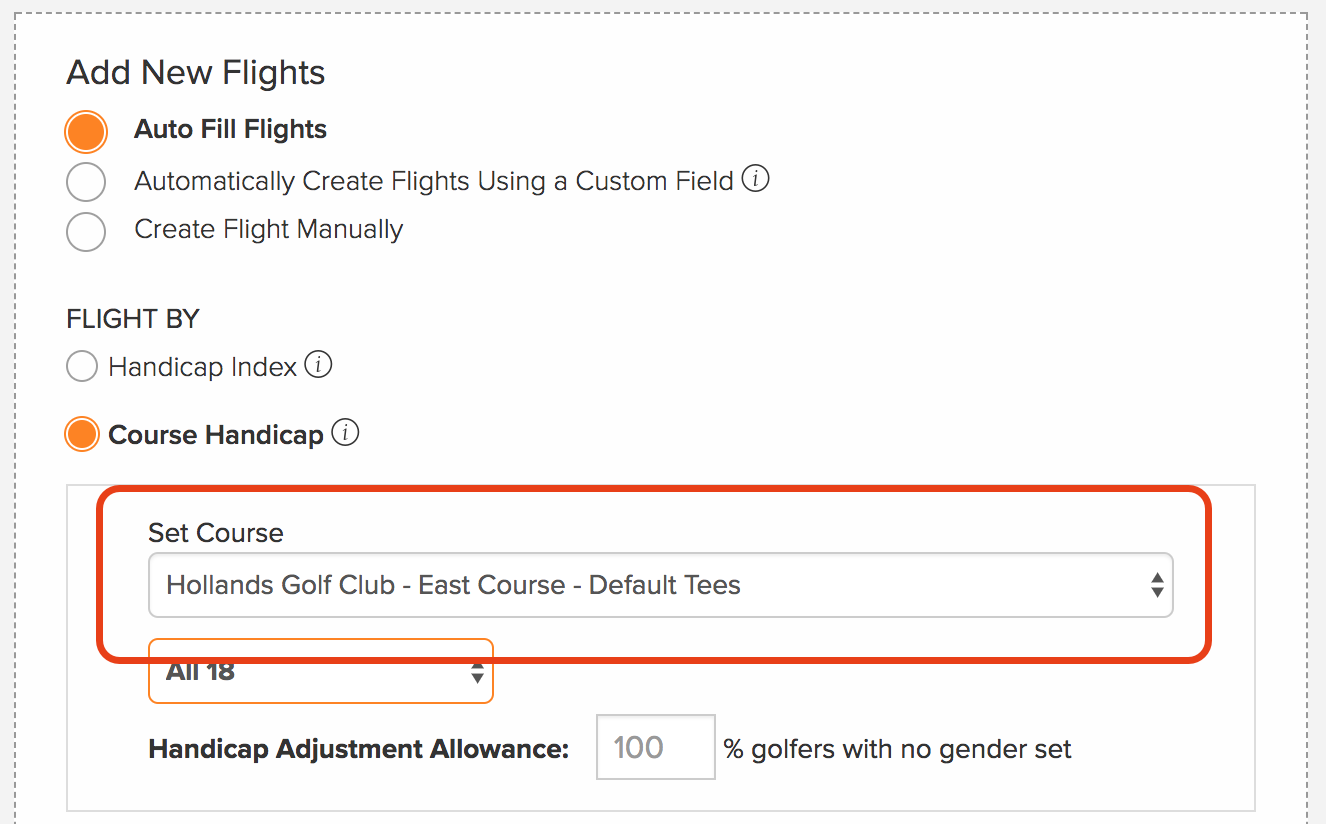
When Creating Player Flights by Course Handicap:

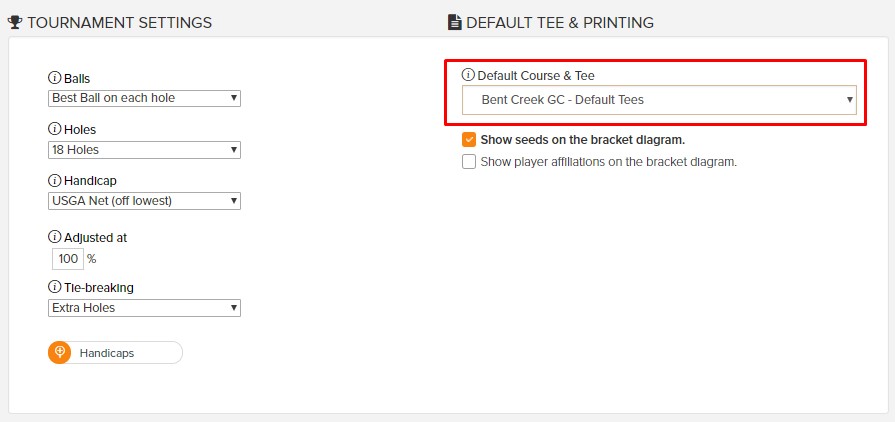
When Creating a Bracket Tournament: