
This feature is available for the following products:

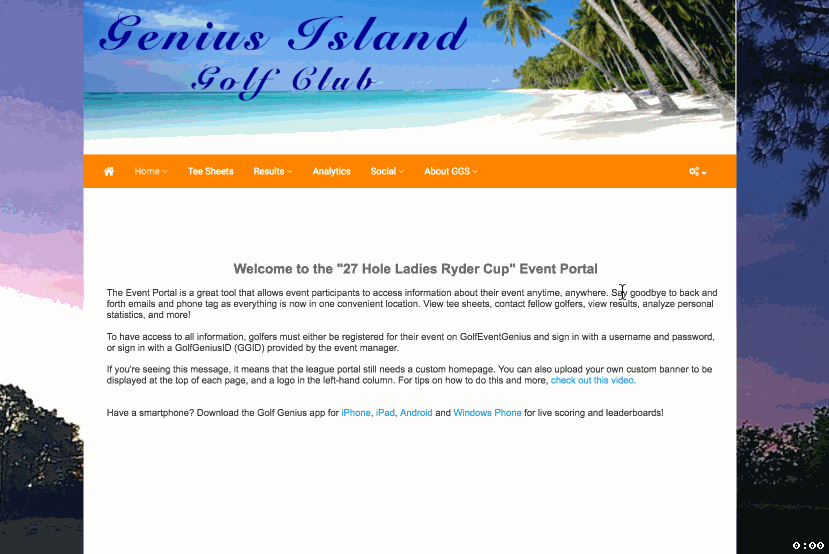
Creating event and league portals for your players is a great way to enhance communication and add value to your event or league. Attractively designed portals create a professional and welcoming look for your players as they access them to view event and league information.
In this article, we will discuss the various steps you can take to enhance and customize your portals.
If you would like to display your portals in multiple languages, Click Here for more details.
(Important Note: Always design and customize your Default Portal before creating your events and leagues for the season. Changes made to the Default Portal do not propagate to events and leagues already created.)
Accessing the Portal:
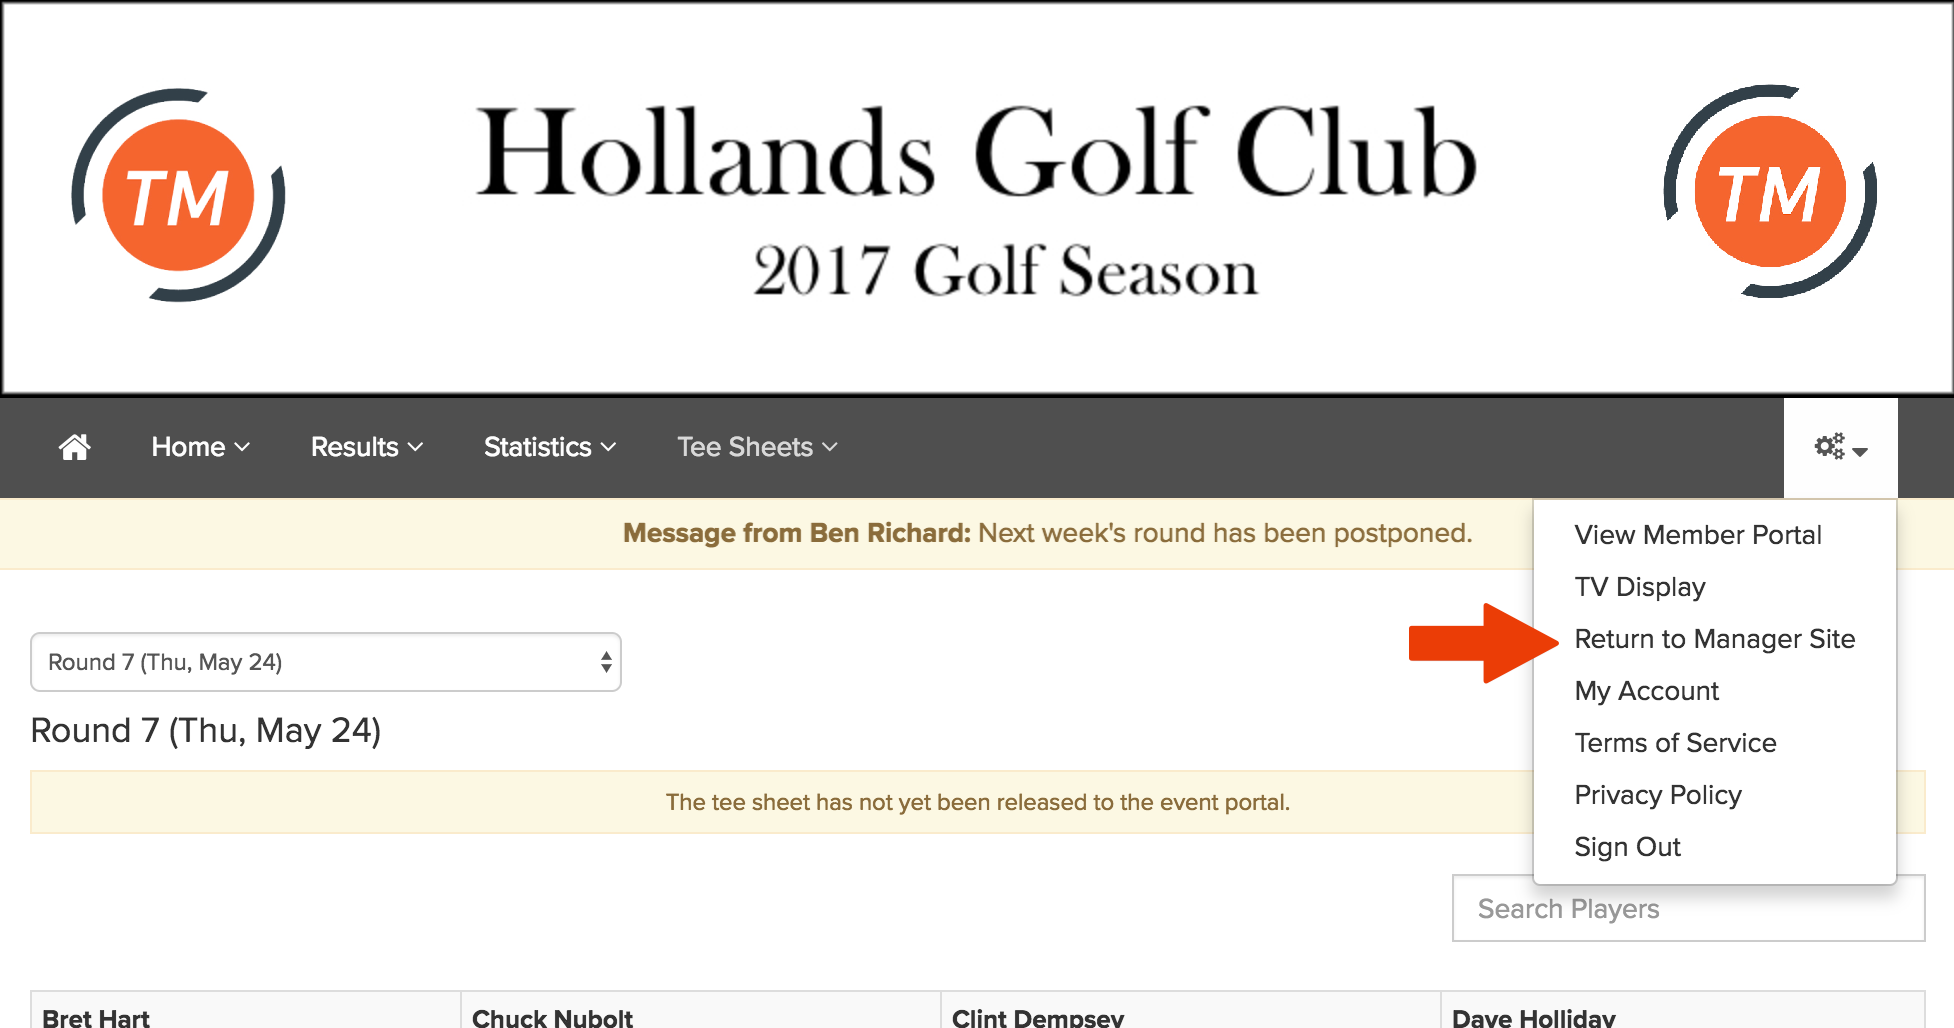
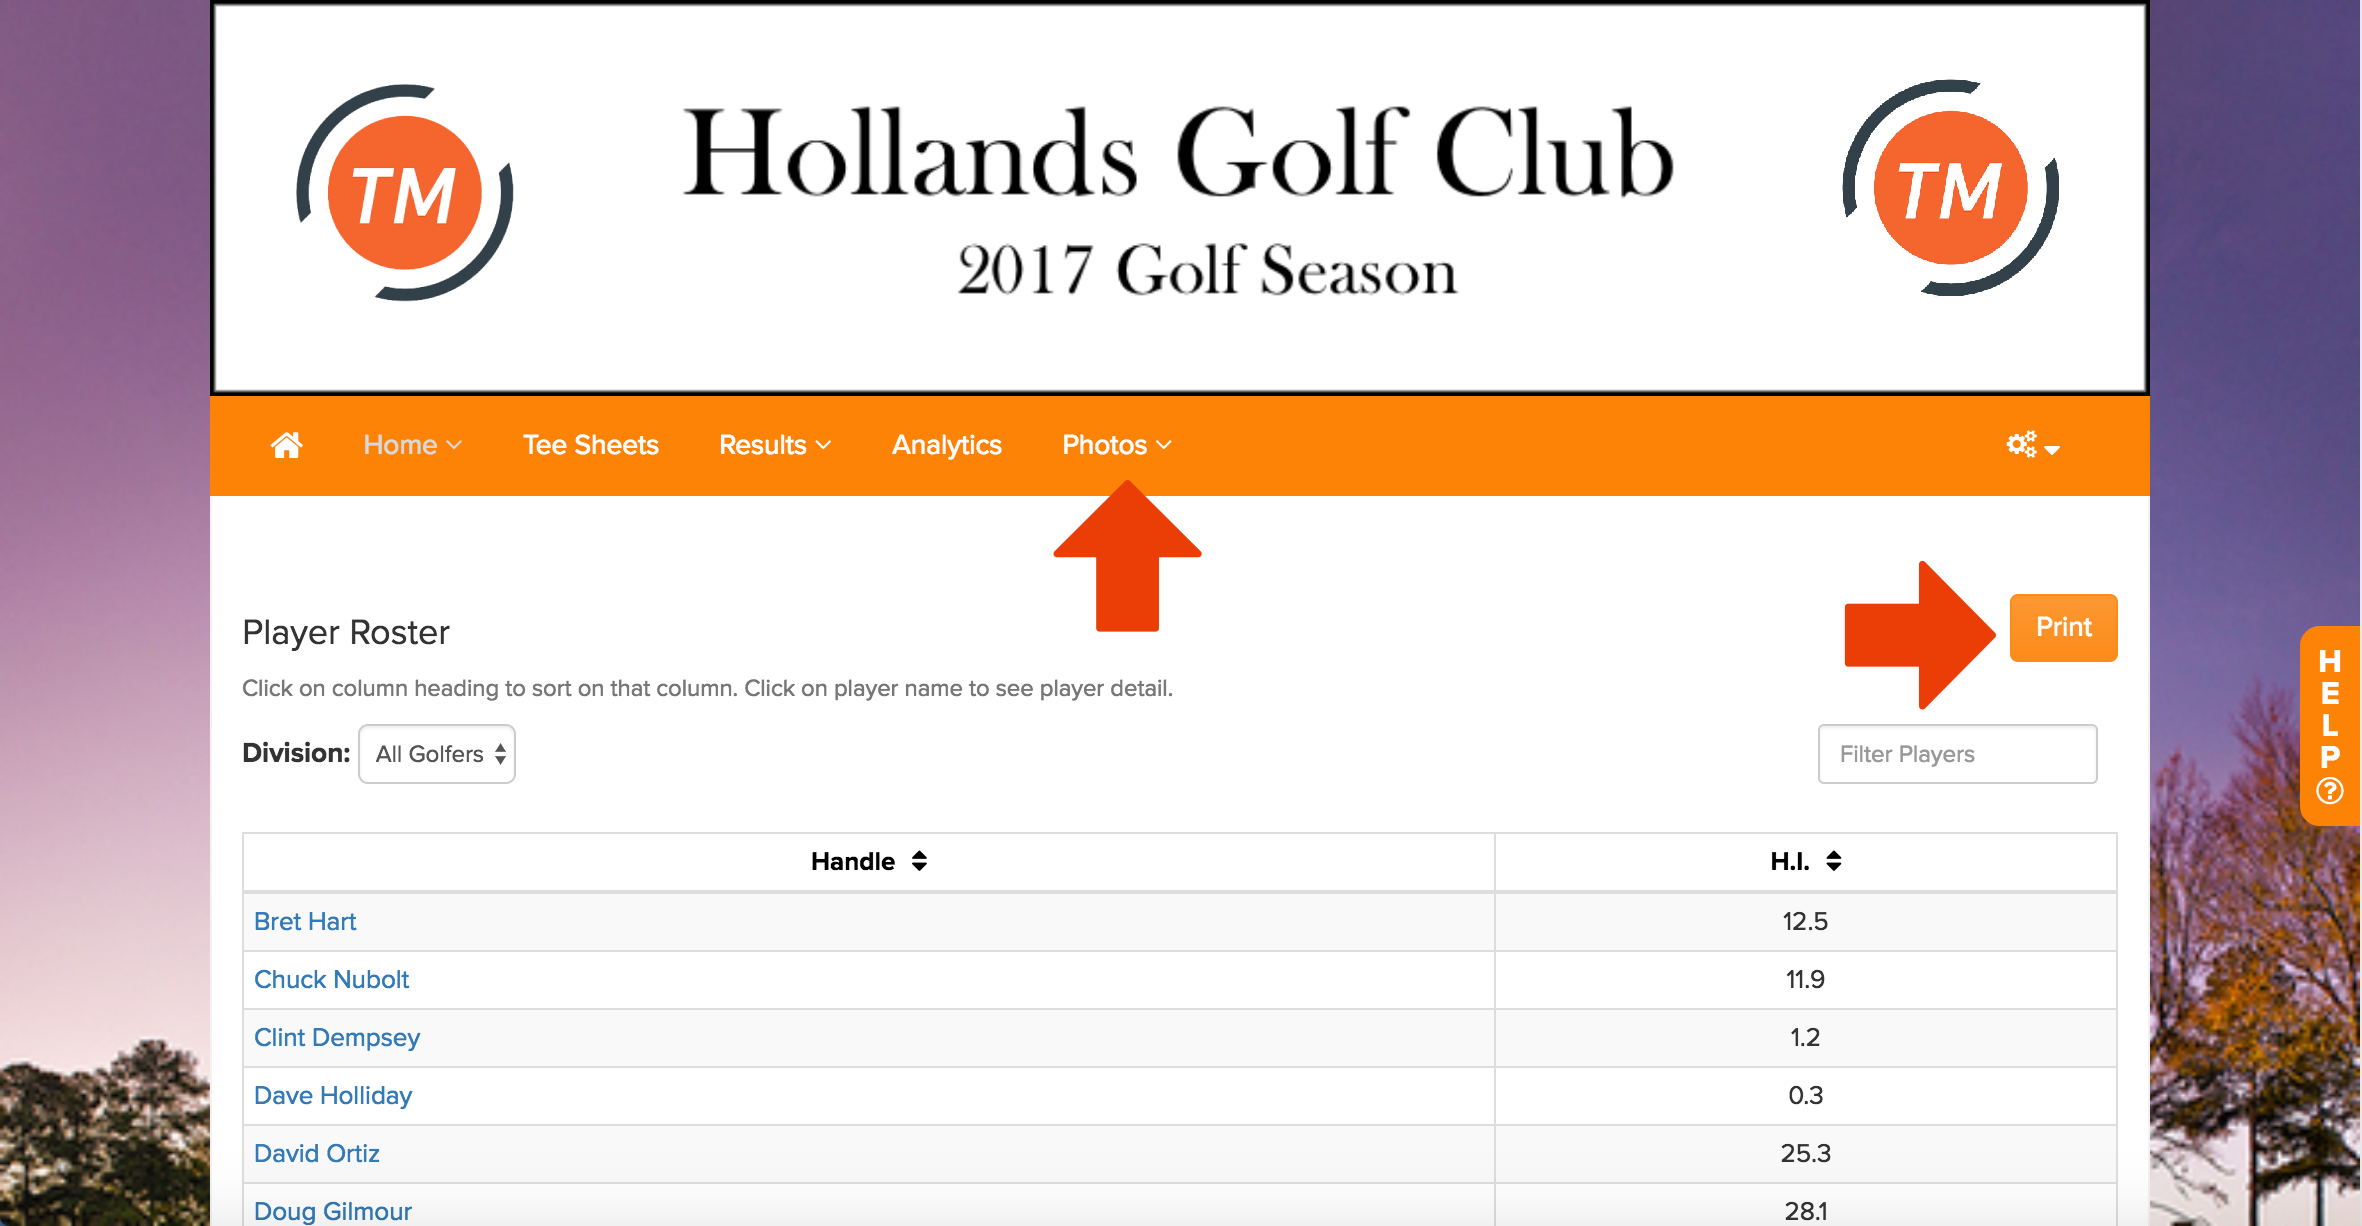
To access and customize the portal for an event or league, go to Apps > Member Portal Address. To get back to the Manager Site from the portal, click the gear box on the top right and select "Return to Manager Site" (as shown below).
Add Logo:
The primary logo of your event or league can be displayed on the portal within each section (as shown below).
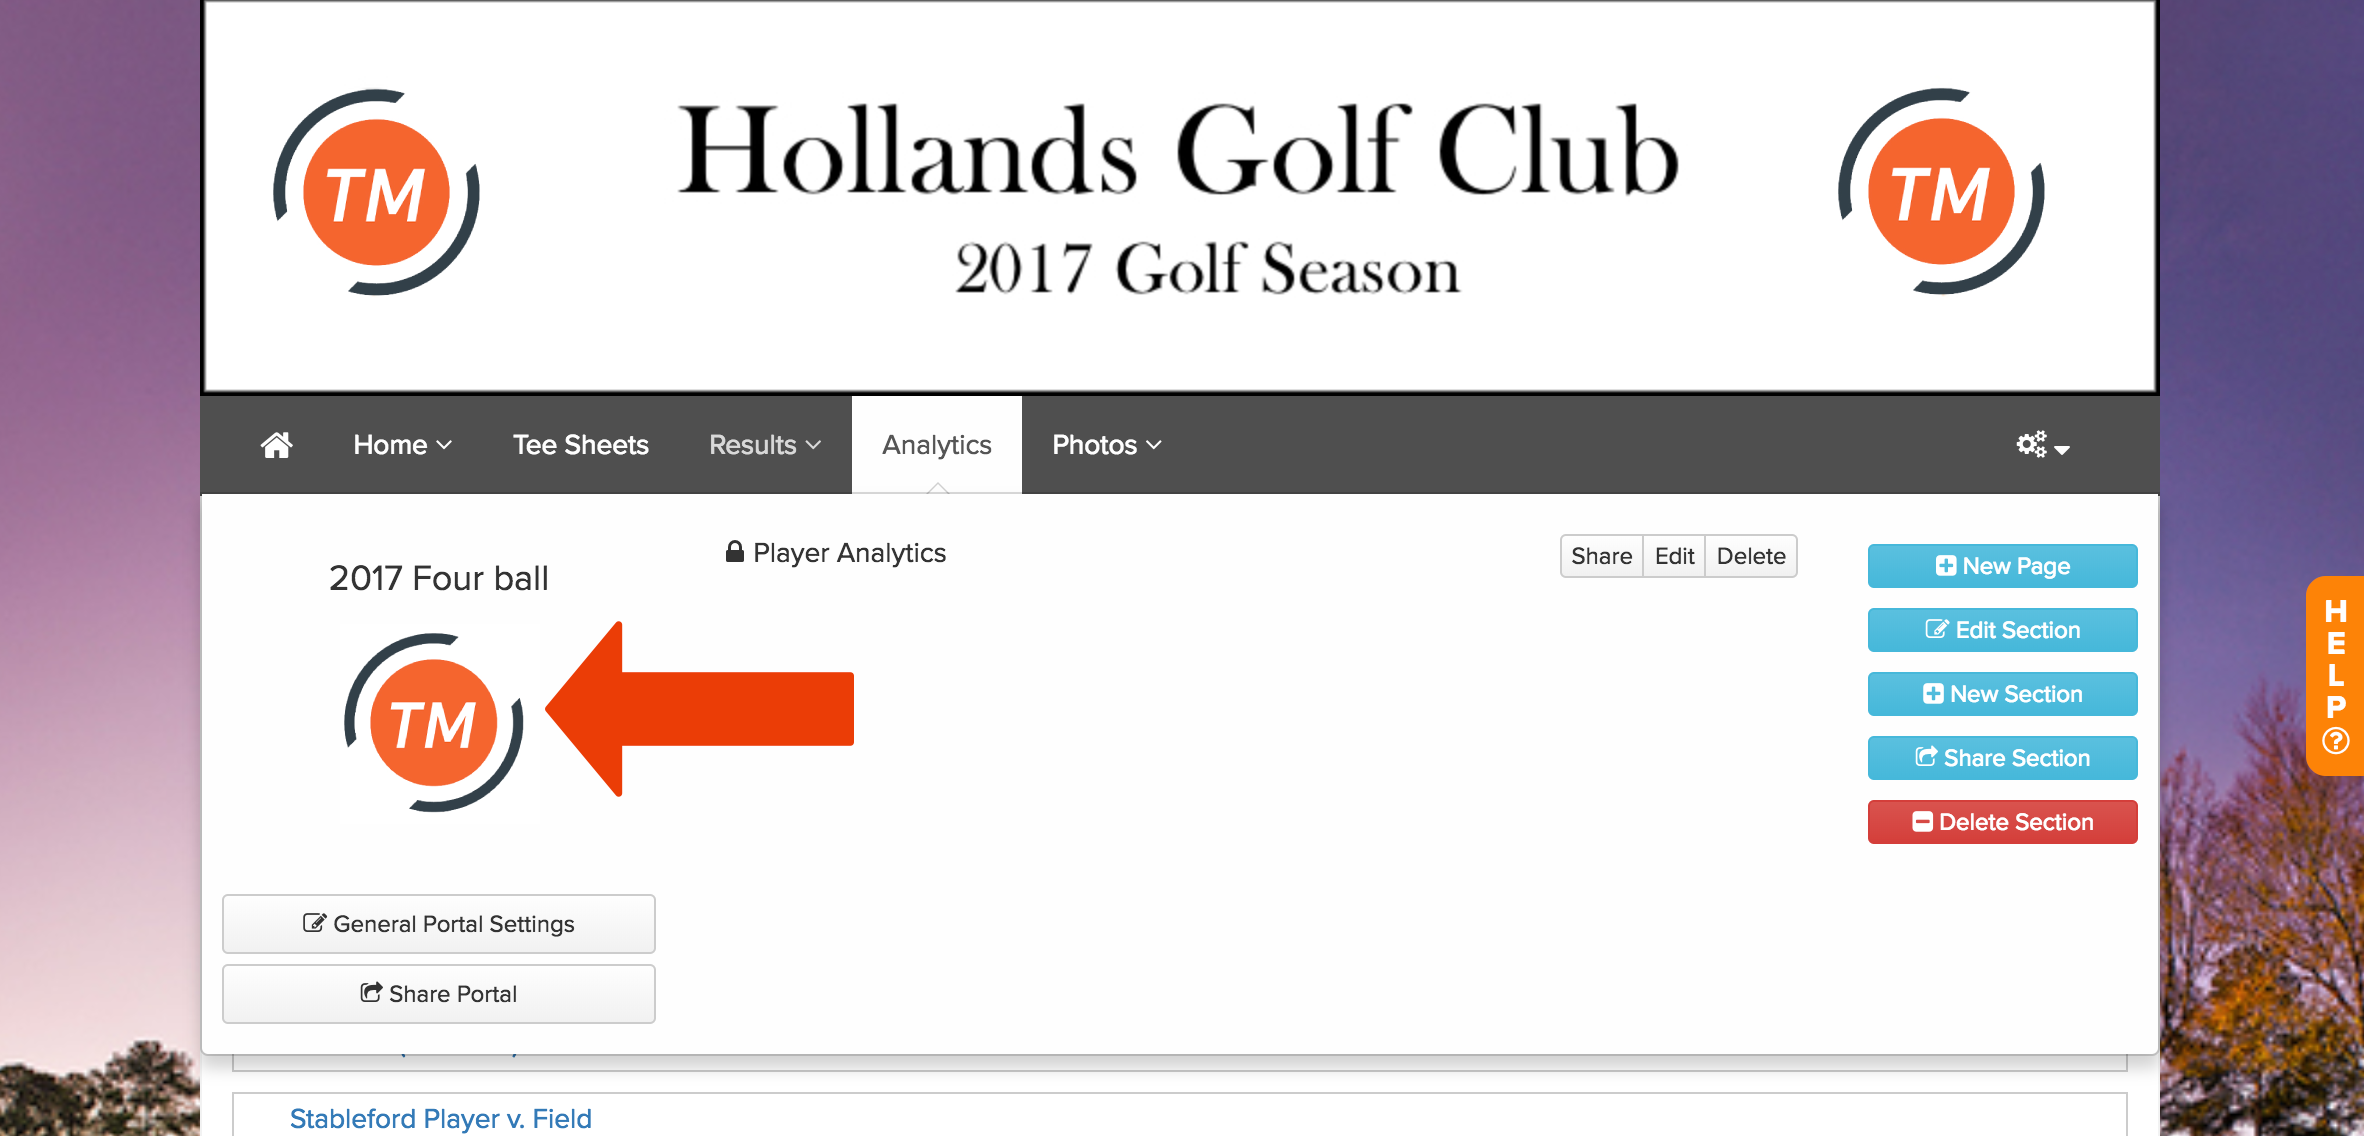
To upload or change the logo, go back to the Manager Site > League/Event > Logos, Banners, and Backgrounds > Logos. If using an existing logo, check the box for "Primary Logo" or upload a new logo and set it as the primary logo. Go to "Change Logo/ Banner Settings" and ensure the option to display the logo on the portal is selected.

To upload a logo to your default portal, go to the Customer Center > Customer Settings > Logos Banners and Backgrounds > Logos.
For more details on logos, Click Here.
Add Banner:
The banner is displayed at the top of the portal (as shown below).
You can use many different photo editing programs to design and create your own banner. For the banner to be displayed perfectly aligned on the portal, the image width must be 980 pixels. Banner heights typically range from 180 pixels to 250 pixels.
If you already have a banner uploaded for your event/league, then it may already be displayed on the portal. However, if you would like to add or change the portal banner, follow these instructions:
Hover over any section in the portal and select "General Portal Settings".
Select "Another Banner" (as shown below).

Select a banner to display on the portal (or upload one from your computer).
Click "Save Settings".
To upload the banner to your default portal, go to the Customer Center > Customer Settings > Logos Banners and Backgrounds > Banners.
For more details managing banners, Click Here.
Add Background Image:
The background image covers the entire backsplash of the portal (as shown below).
It is highly recommended to use a high resolution image to avoid grainy imaging.
If you'd like to upload or change the background image to a portal, follow these instructions:
Hover over any section in the portal and select "General Portal Settings".
Select "Another Portal background Image."
Select the new background from existing uploaded images or click "Choose File," select the file from your computer, click "Upload Background Image" and click "Select Image" to used the new uploaded image (as shown below).
You can also adjust the opacity of the background image. Lightening the opacity sometimes makes it easier to read the pages on the portal. To do this, go back to the portal, hover over a section, select "General Portal Settings". Move the slider bar to adjust the opacity (as shown below).

For more details on managing background images, Click Here.
Select Color Scheme:
The color scheme is the color used for the area below the banner as well as the buttons included in the pages of the portal (as shown below).
To change the color scheme, hover over a section, select "General Portal Settings", and select a color (as shown below).

There are a few standard color options for the color scheme as well as a color code picker where you can enter HEX or RGBA color code values to find a specific color.
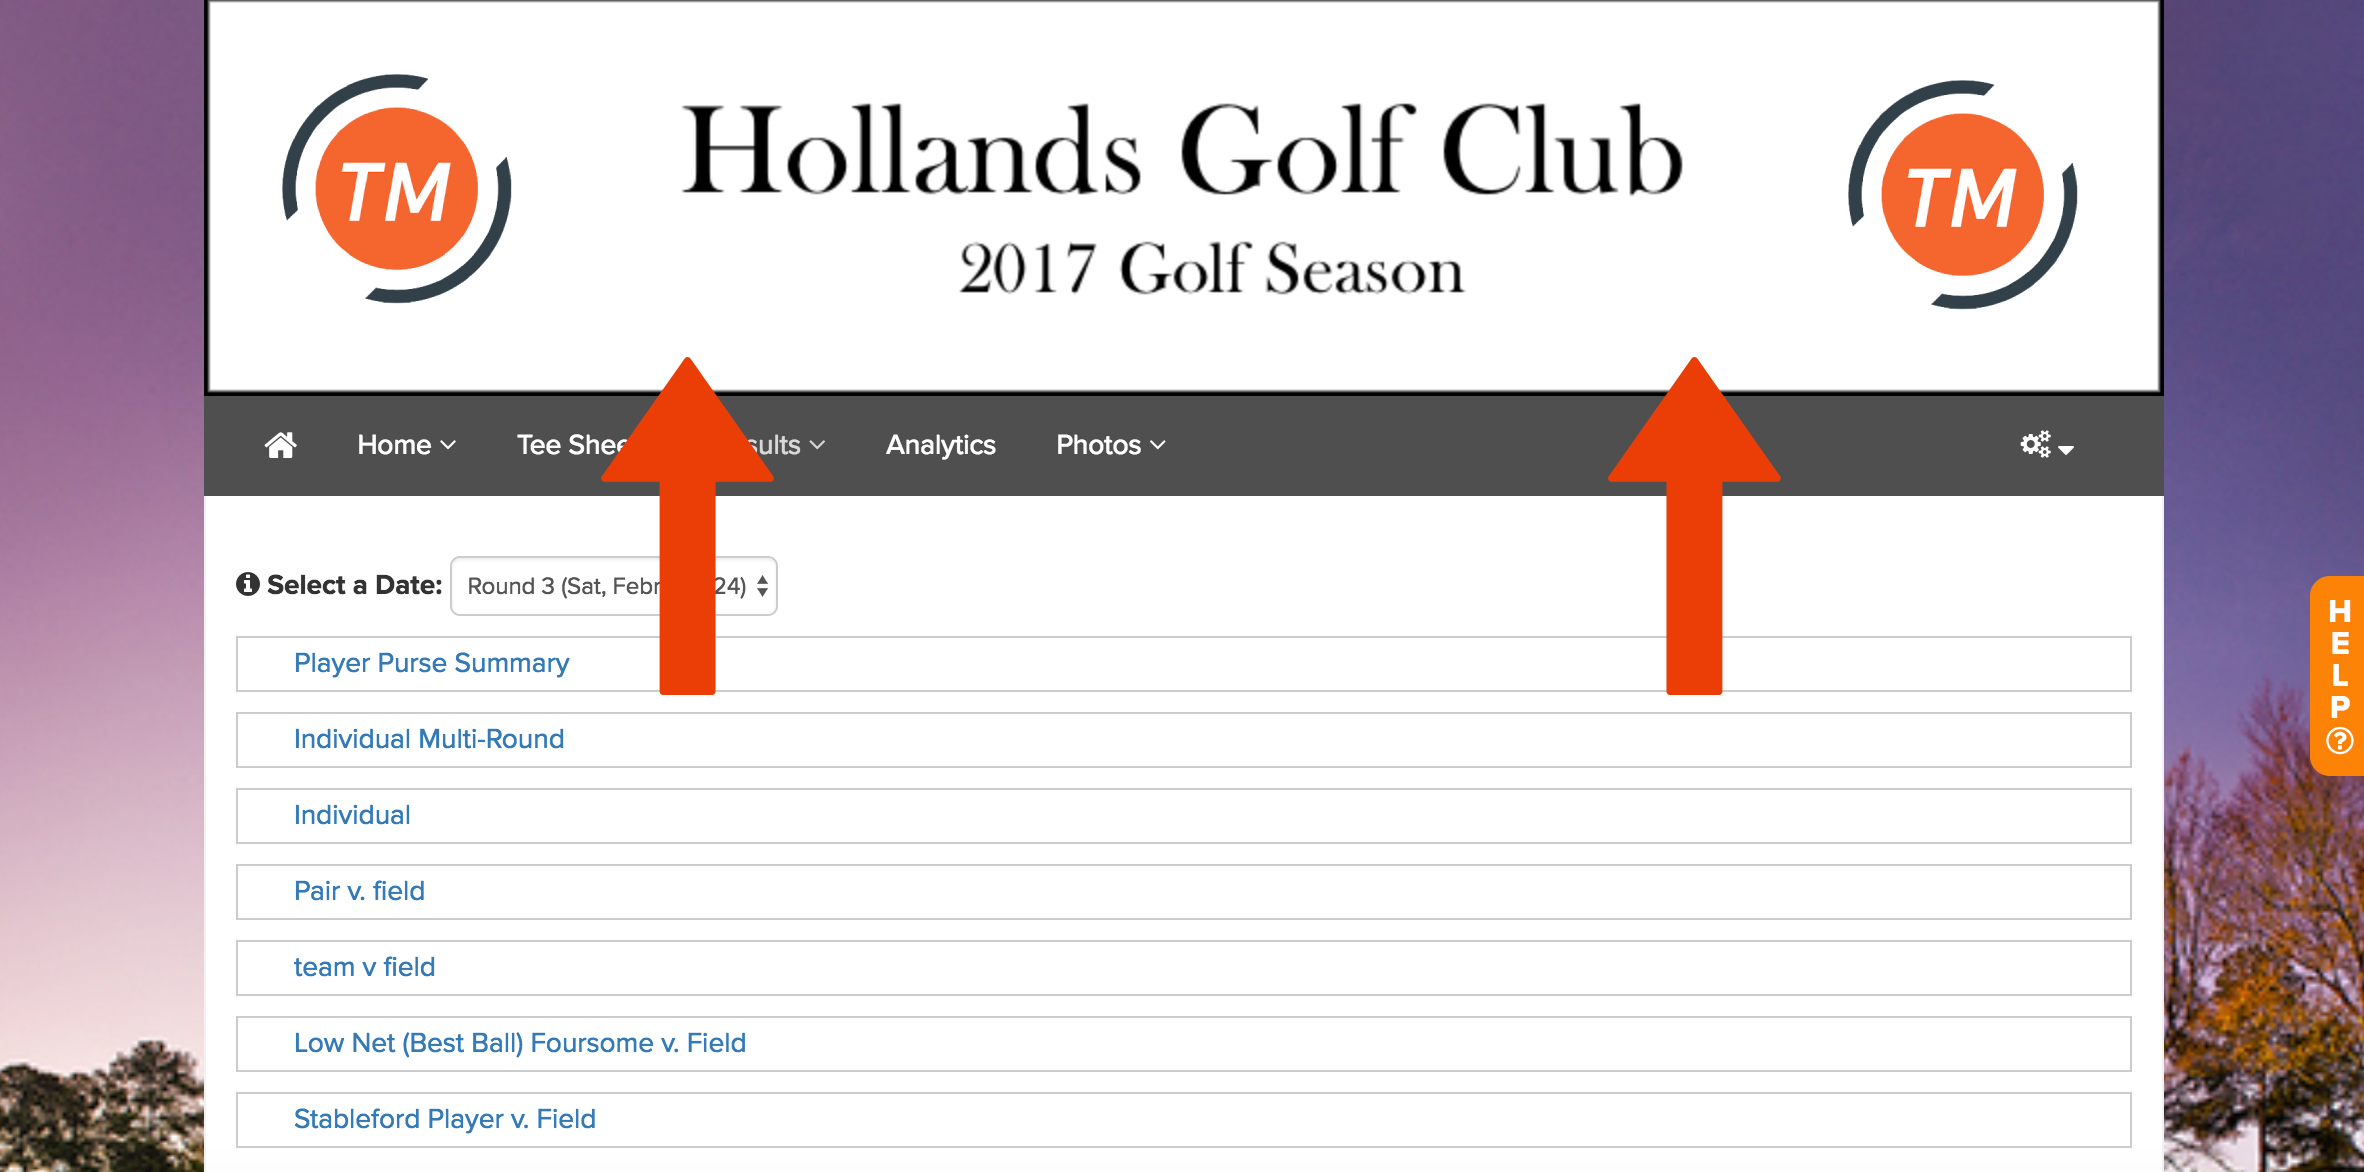
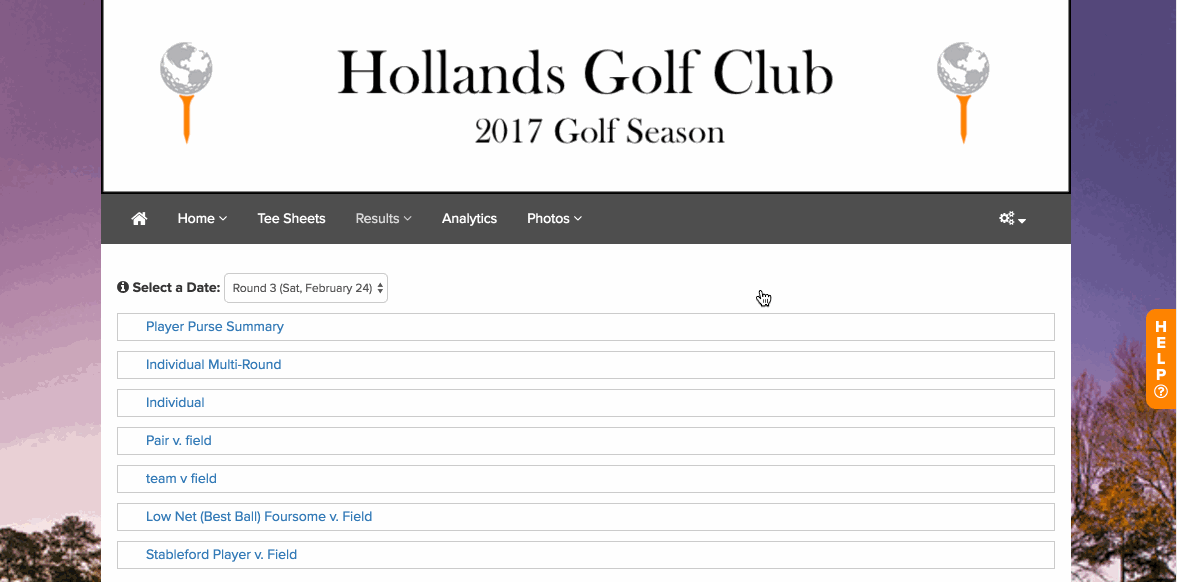
Manage Sections:
Sections are listed below the color scheme and banner.
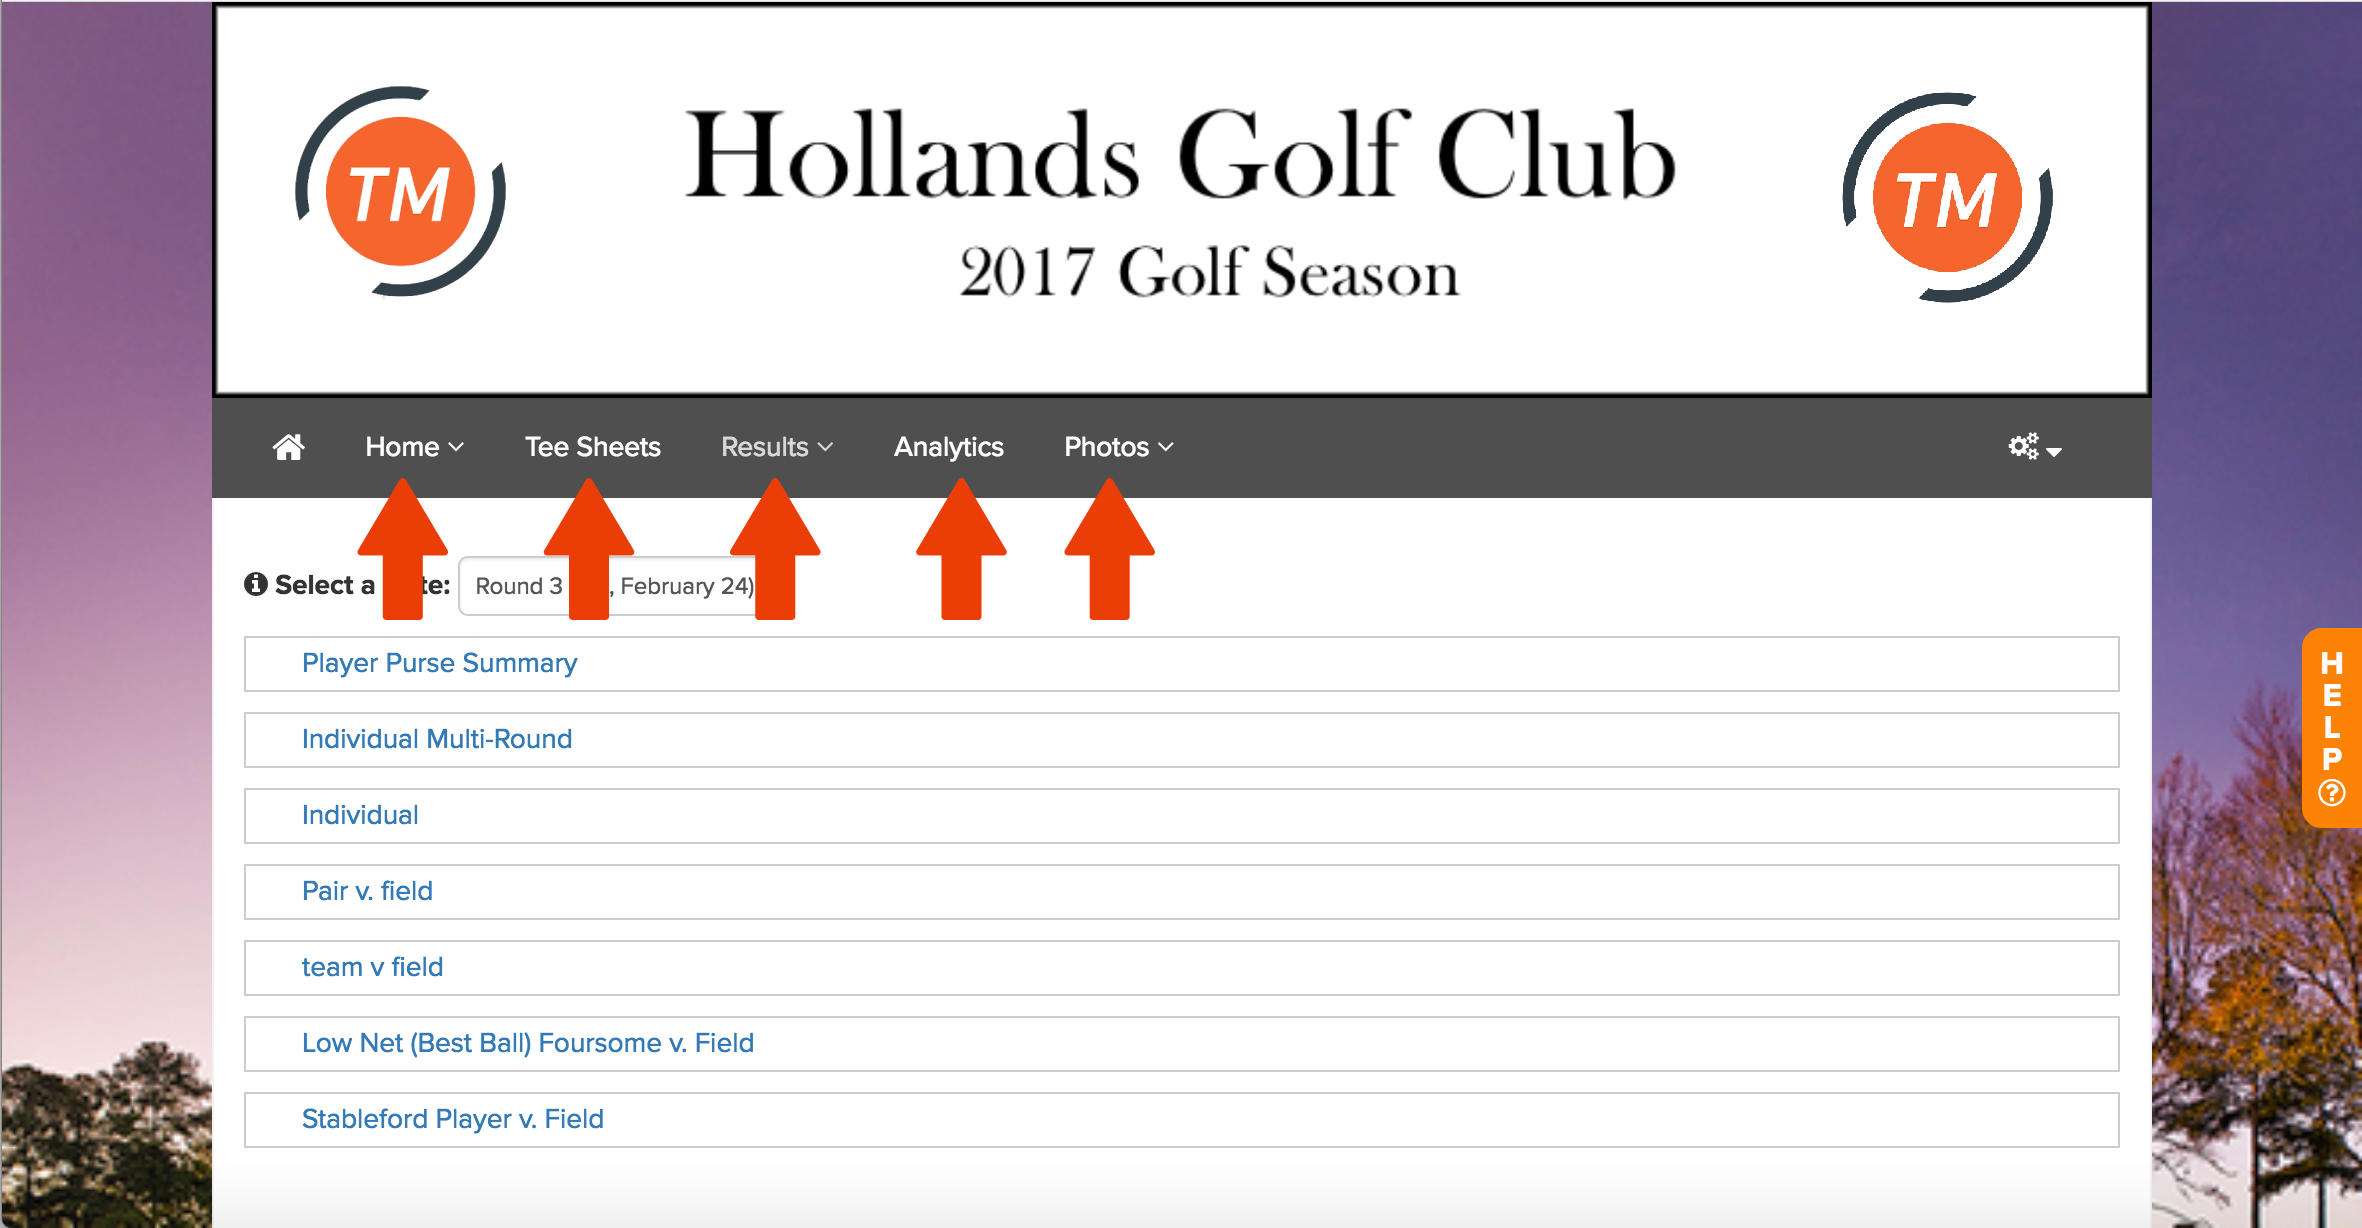
Sections are used to organize the pages in the portal. You can take the following actions to organize your sections:
Add New Section: Hover over a section, click "New Section", name the section, and save (as shown below).

Delete Section: Hover over the section and select "Delete Section" (as shown below).

Rename Section: Hover over the section, click "Edit Section", rename the section, and save (as shown below).

Re-order Pages within Sections: Hover over the section, click "Edit Section", click and drag the pages to re-order, and save (as shown below).

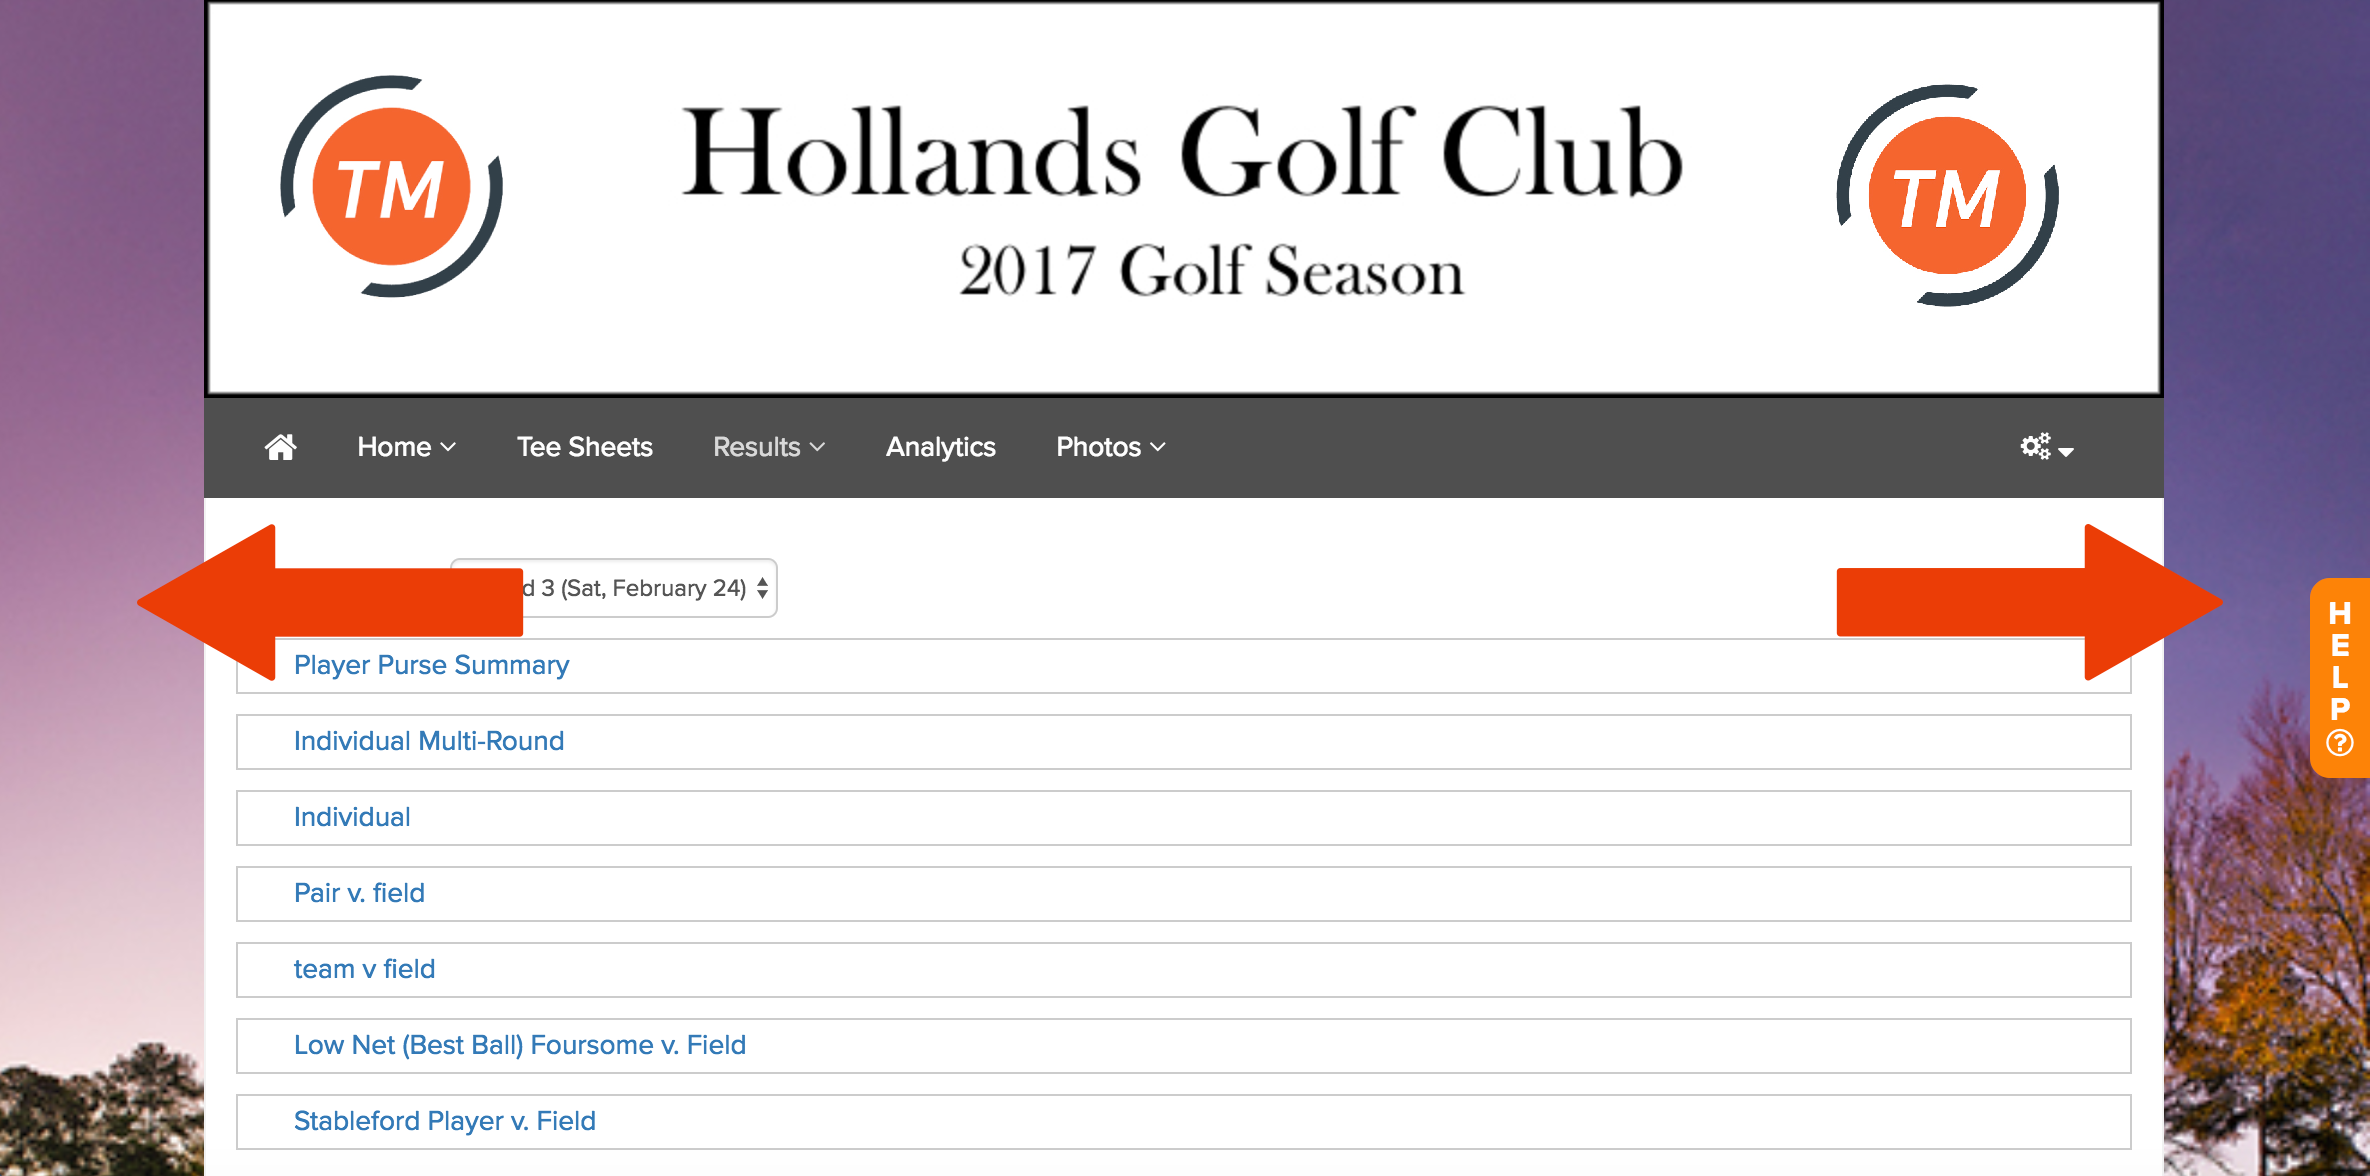
Re-order Section: Hover over any section, click "General Portal Settings", click and drag the sections to re-order them horizontally (as shown below).

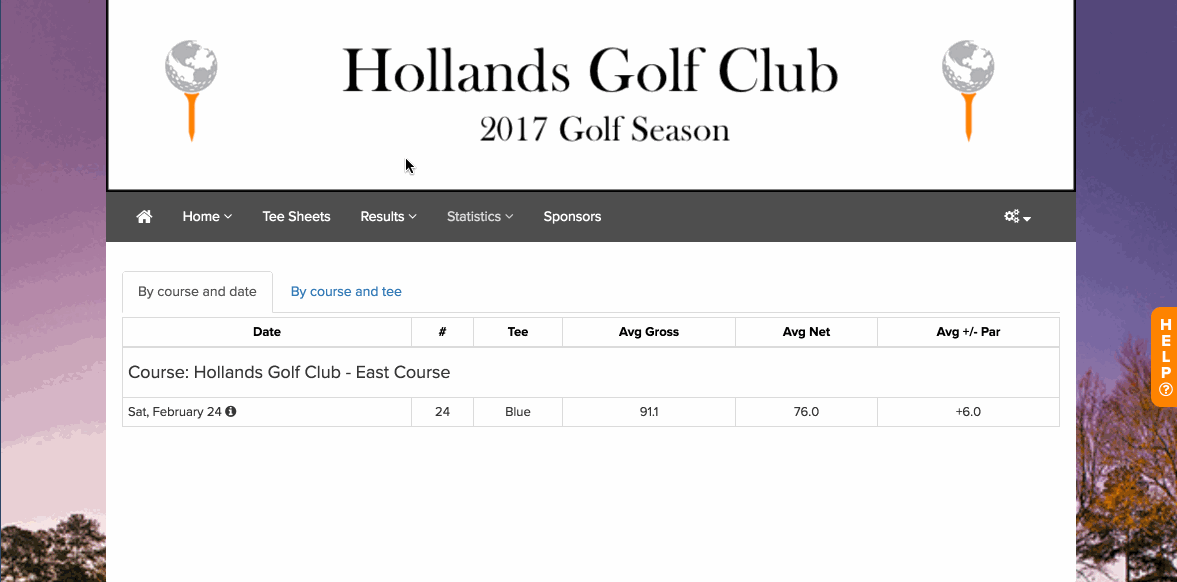
Manage Pages:
Portal Pages are listed within each section. There are many pages available to be added to your portals. To view details on all the available pages, Click Here.
You can take the following actions to manage your pages:
Add New Page: Hover over the section where you'd like to add a new page, click "New Page", and select the page (as shown below).

Delete Page: Hover over the section where you'd like to delete a page and click "Delete" to the right of the page (as shown below).

Move Page to another Section: Edit the page, click the "Section" dropdown and select the section to move the page to (as shown below).

Rename Page: Edit the page, change the title, and save (as shown below).

Make Page Public or Private: Pages can be public or private. When public, players can access the page without logging in with their email/password, GGID, or SSO from their club website. If private, the players will be prompted to log in with their email/password or GGID before viewing. To make a page public or private, edit the page, then check or uncheck "Public Page" (as shown below).

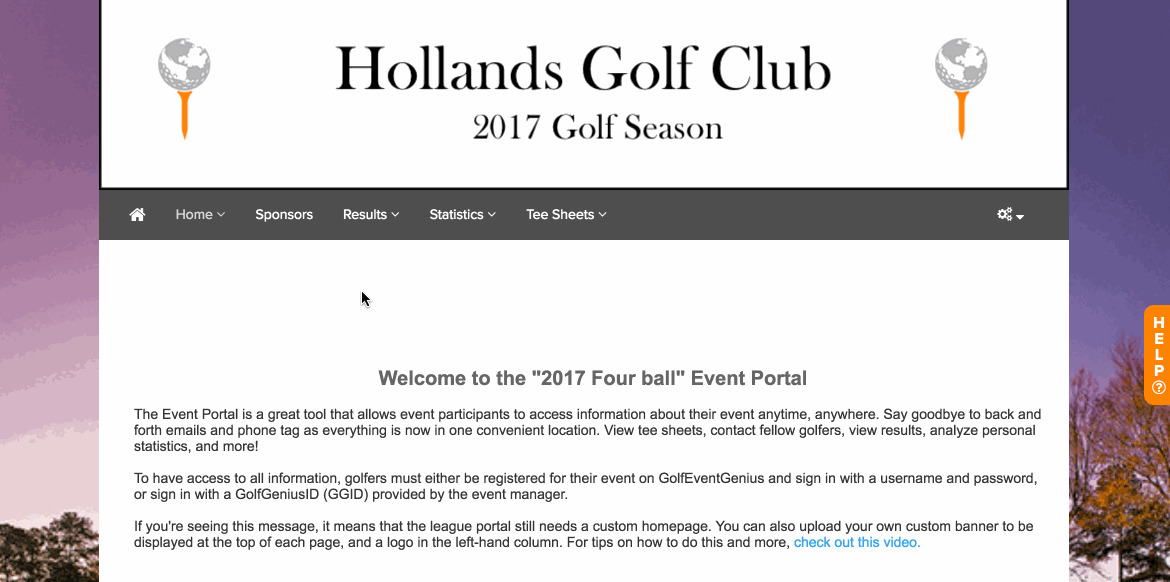
You can bulk set pages public/private from the "General Portal Setting." For more details, Click Here.Set Splash Page: A splash page is your portal's home page. You can only have one splash page in every portal. Whenever a user logs in or navigates to your portal, they will be directed to the splash page. To select the splash page, edit the desired page, select "splash page", and save (as shown below).

If you typically have an event information page as the splash page, consider creating a Default Event Description that can be used for all of your event and league portals.
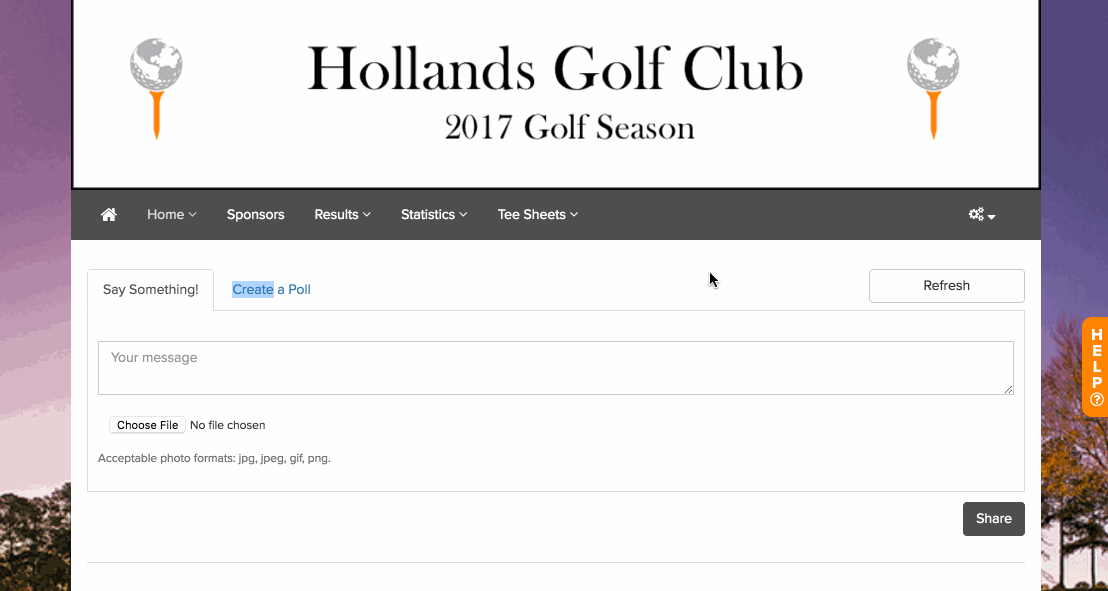
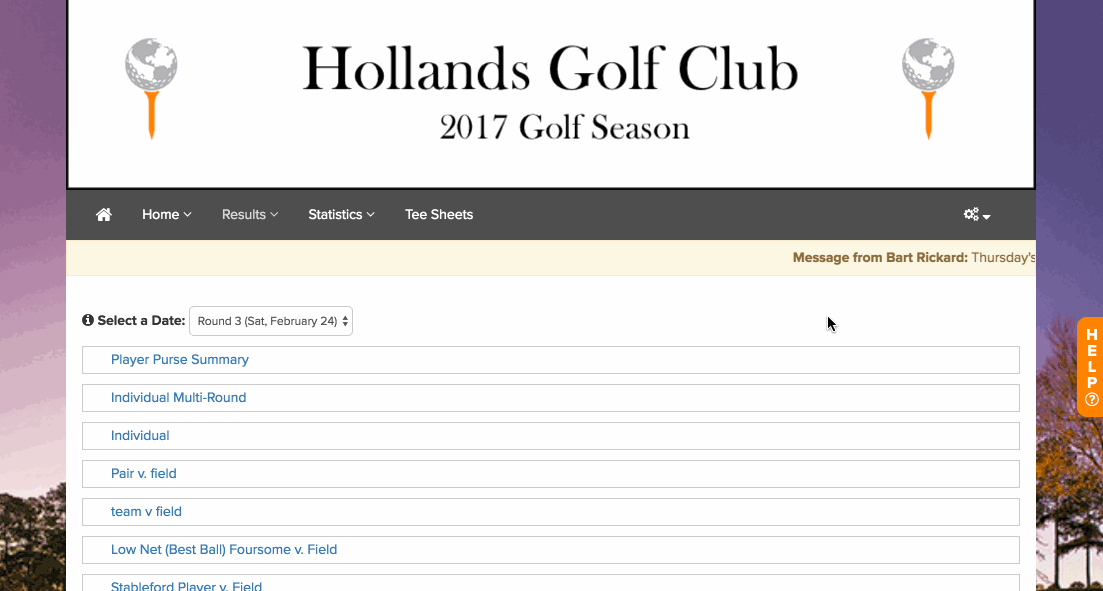
Add Flash Message:
You can display an optional Flash Message that scrolls across your portal (as shown below).
To set a Flash Message:
Hover over any section
Select "General Portal Settings"
Enter the Flash Message.
Select to include (or not include) the manager's name in the message.
Click "Save Settings".
The sequence below shows the process of adding a flash message.
You can change or remove the current Flash Message at any time by going back to "General Portal Settings".
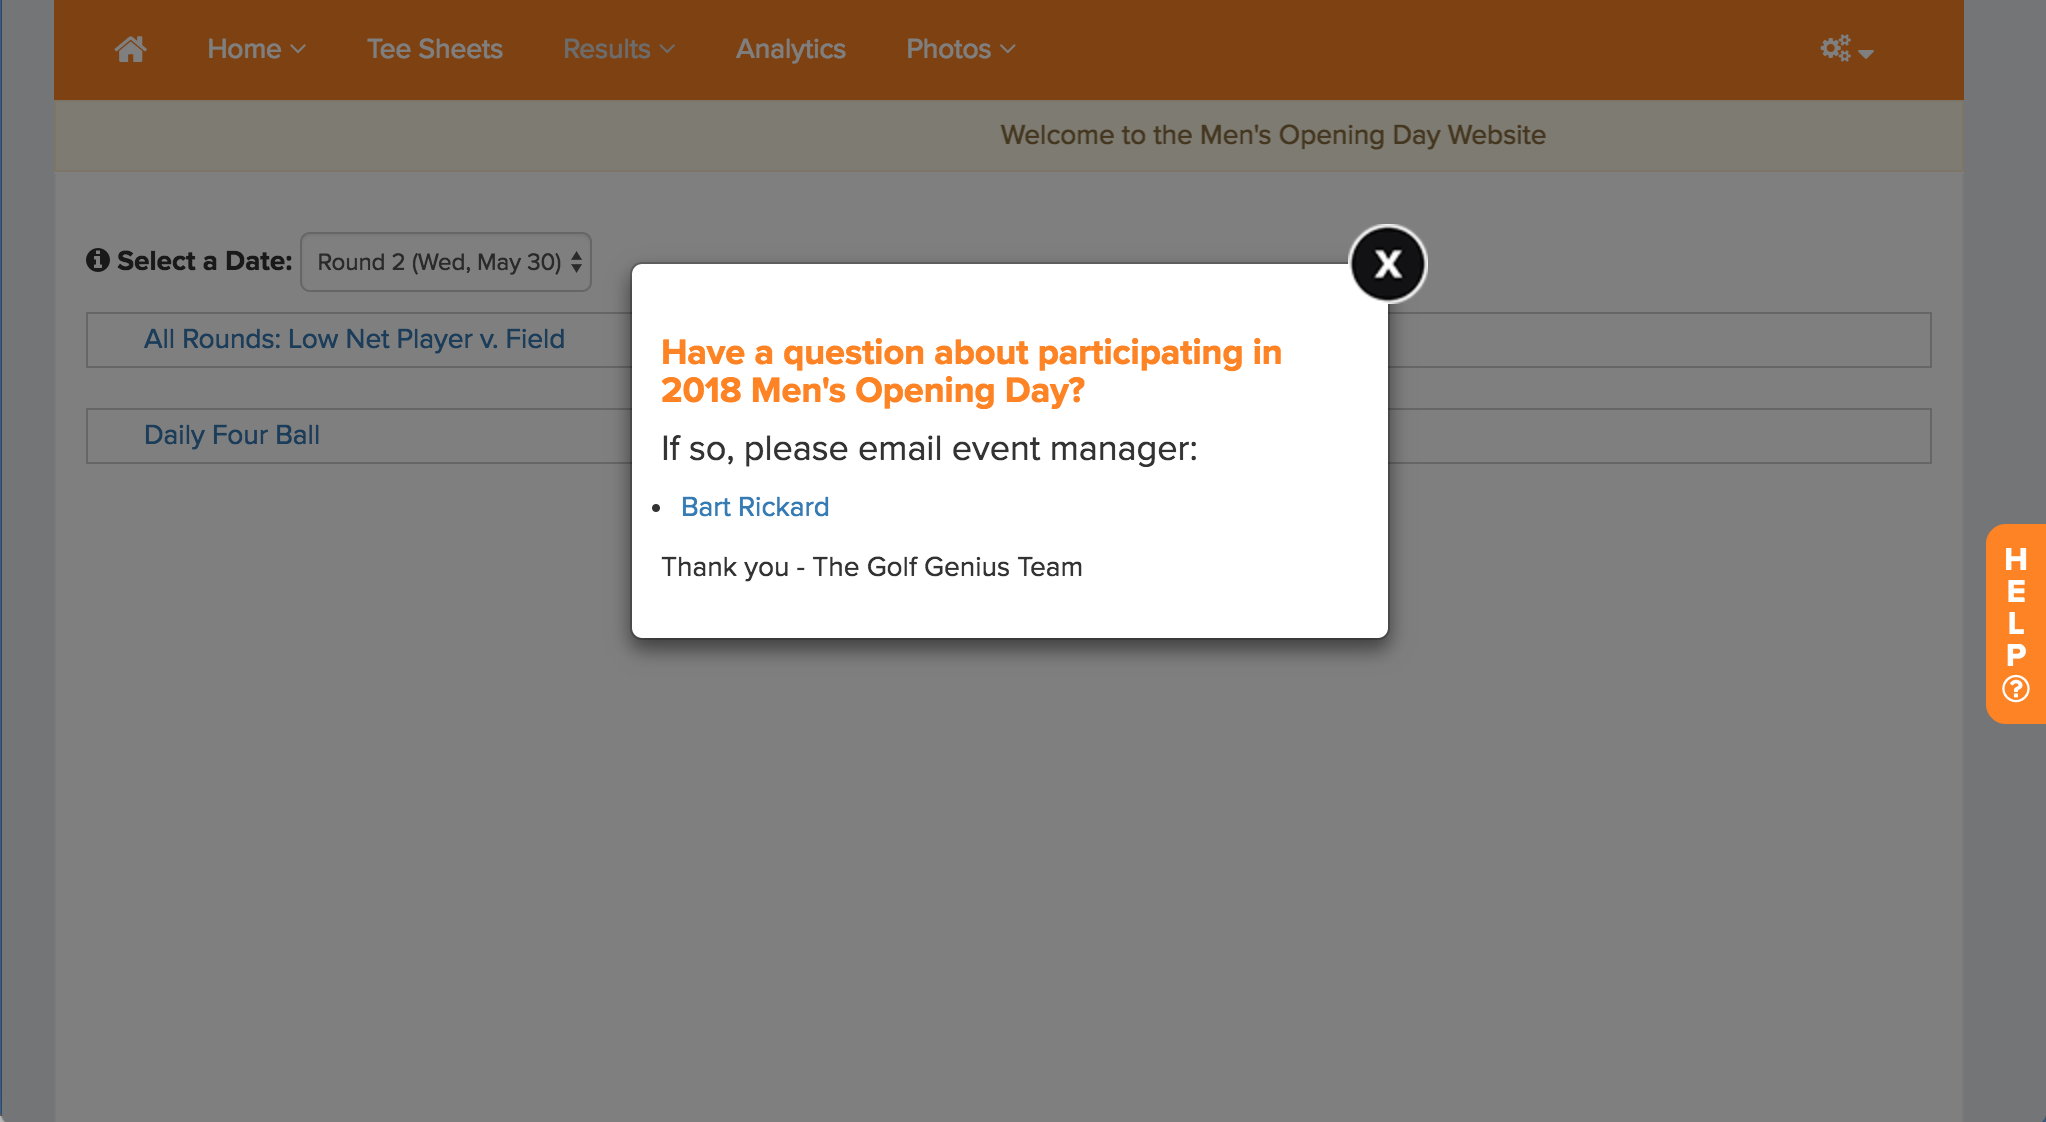
Select the Support Managers:
When a player clicks the "Help" icon on a portal, they receive a message that displays the Support Managers responsible for the portal (as shown below). They can send the Support Manager an email by clicking on their name.
To select the Support Managers for a portal, follow these instructions:
Hover over any section
Select "General Portal Settings"
Select the Support Managers (as shown below).
Save the settings

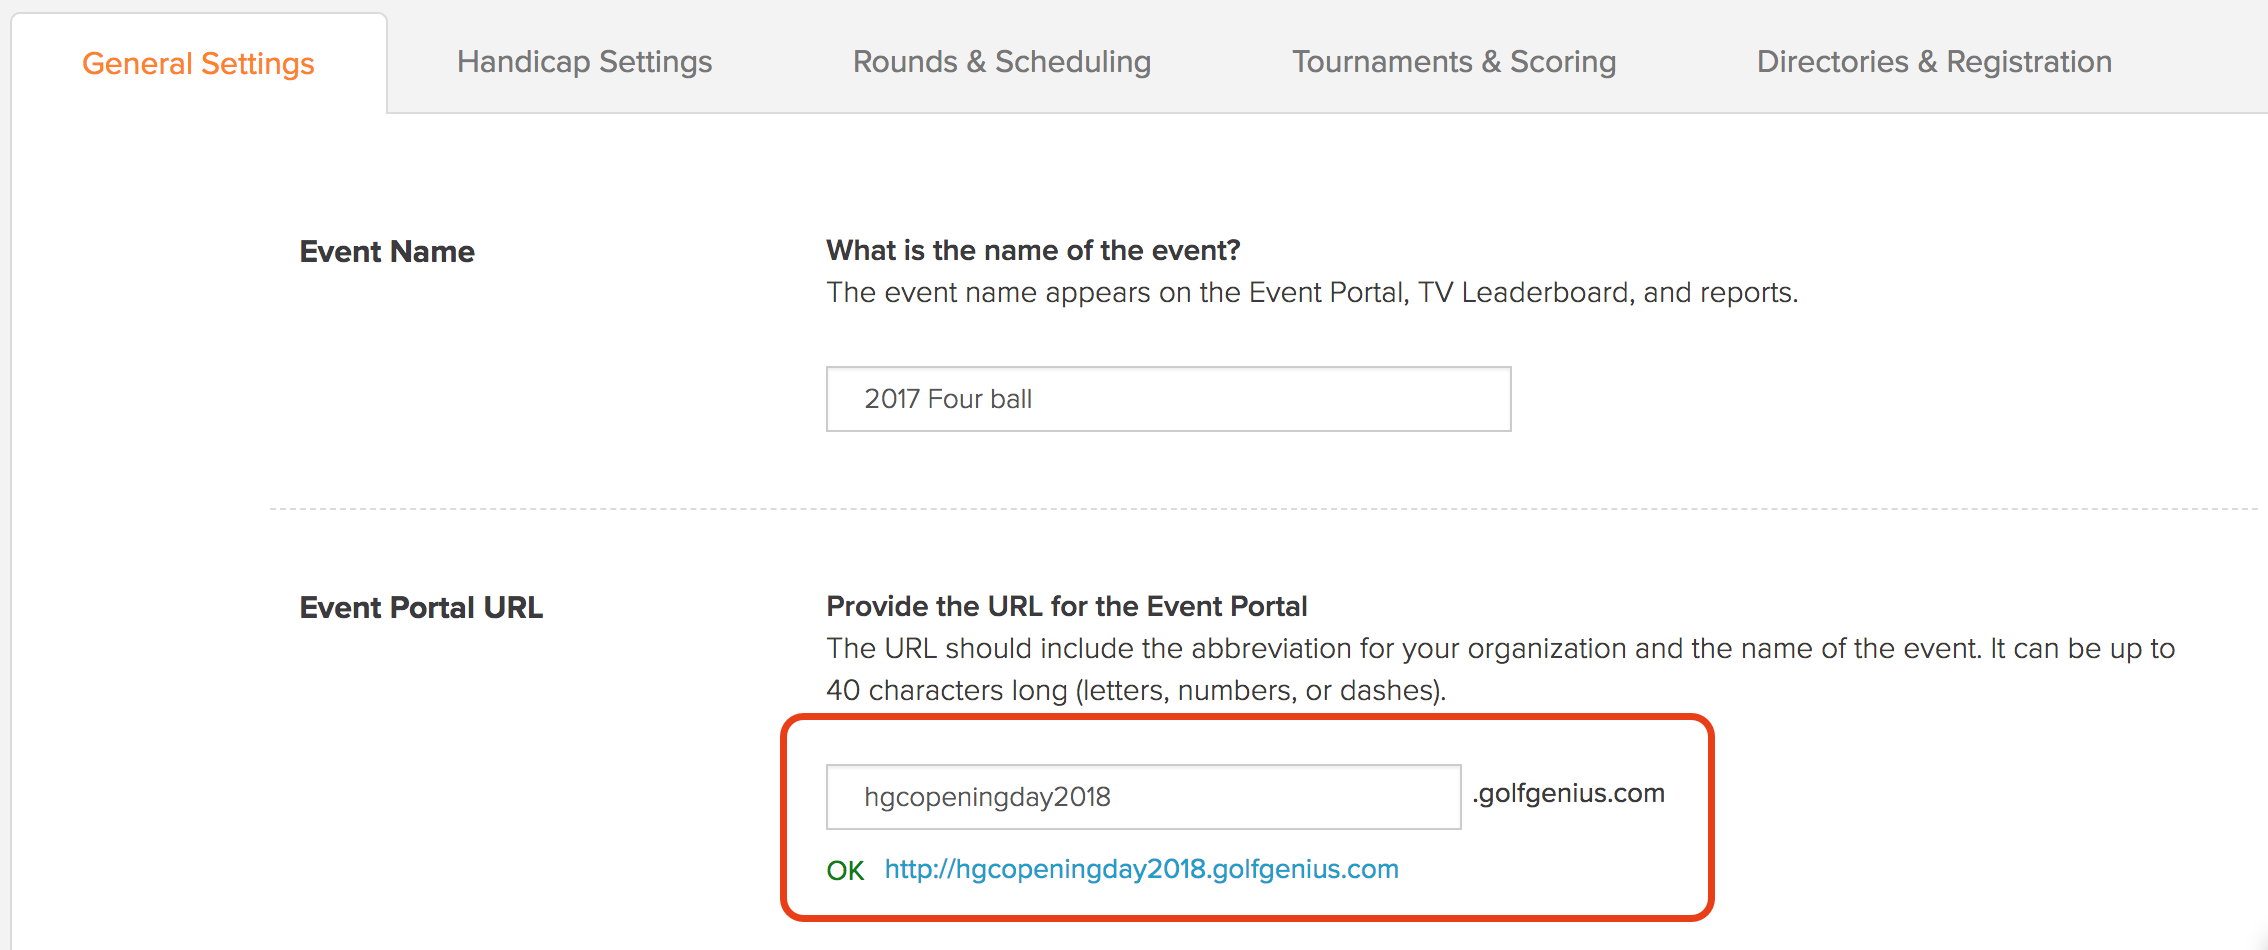
Change Portal URL Address:
When a new event or league is created, a URL address is generated for the portal. The portal URL address is [prefix].golfgenius.com. You can always change the prefix by going to Event/League > Event/League Profile > General Settings tab.
Include Default Event Description:
If you typically include an event information page (e.g., event time, format, agenda, cost, etc) on most portals, you can set up a Default Event Description. By doing this, you will not have to create an event information page (from scratch) for every portal. To learn more, Click Here.
Customize the Look of the Portal with HTML Code Changes:
You can add custom HTML to the top and bottom of your portal. This is typically done to place external ads within the portal. For instructions, Click Here.
Use a Multi-Widget Page:
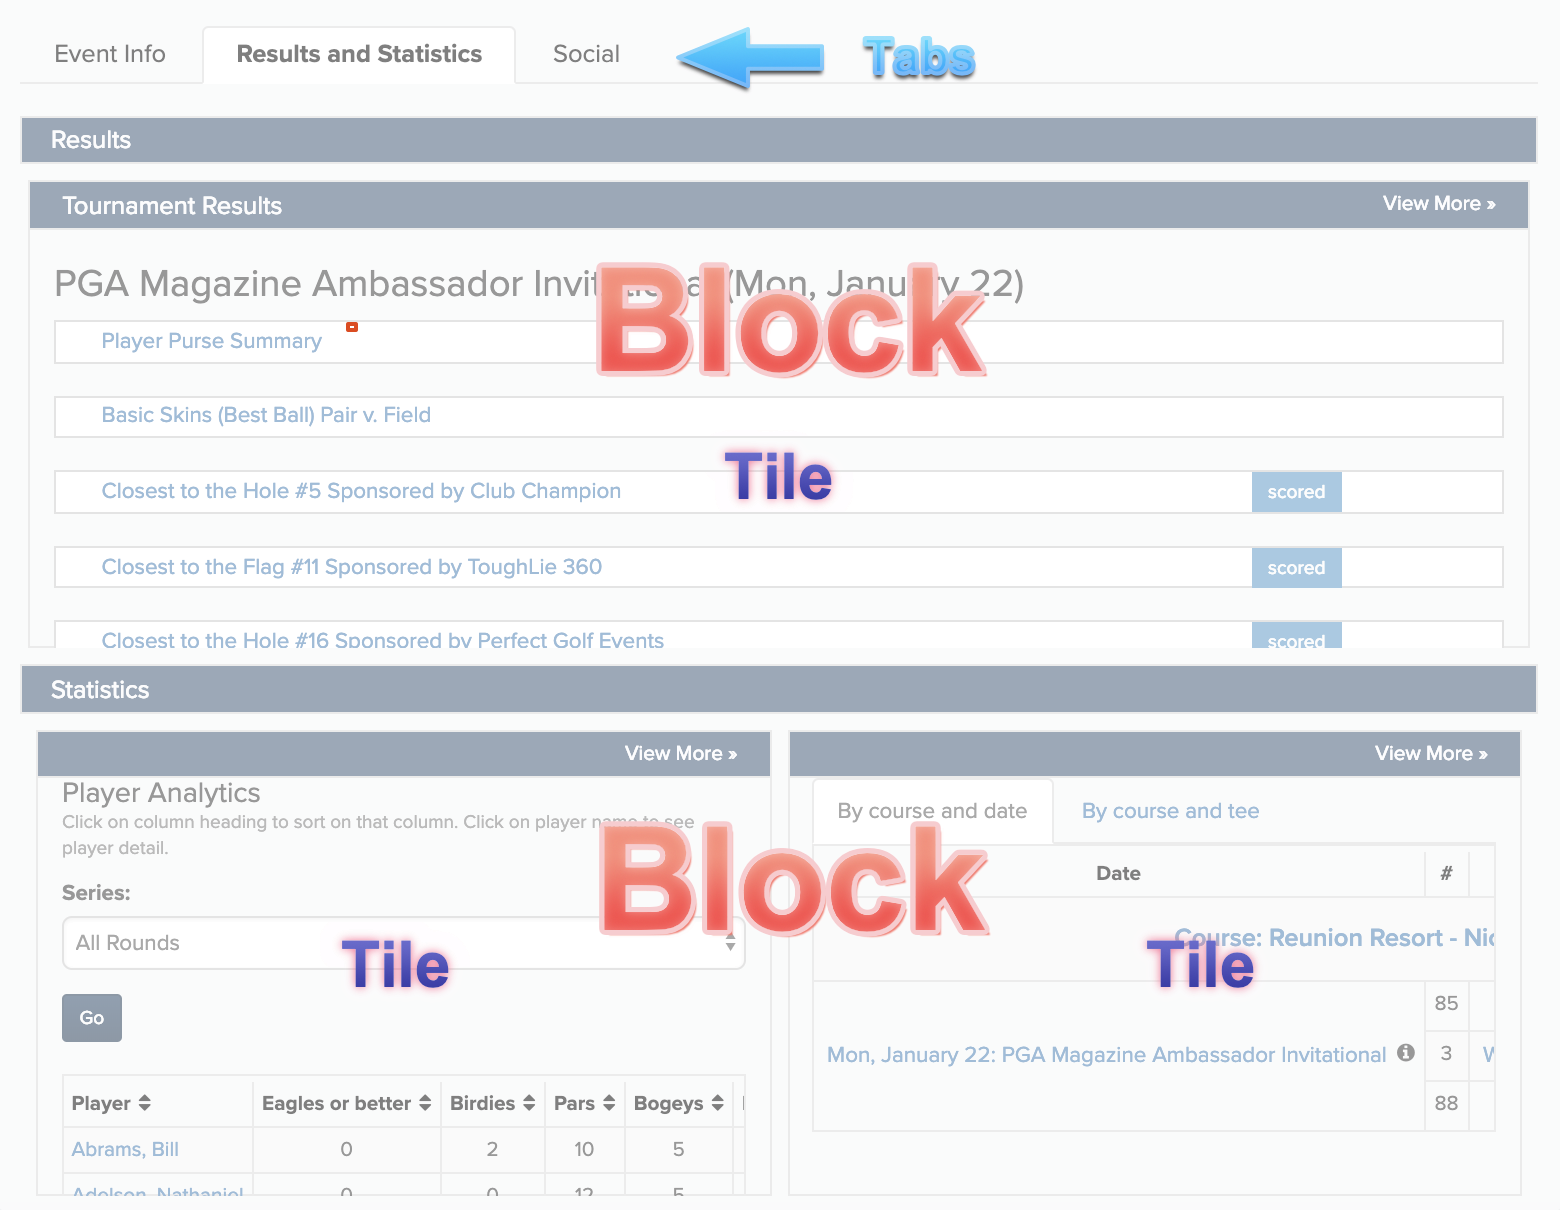
Portals typically consist of sections with one or more pages within each section. As an organizational alternative, you can add a Multi-Widget page that includes all of the portal content on one page, making navigation quick and easy. When doing this, sections are no longer needed. Multi-Widget pages are organized into tabs, blocks and tiles (as shown below).
For more details on Multi-Widget Pages,Click Here.
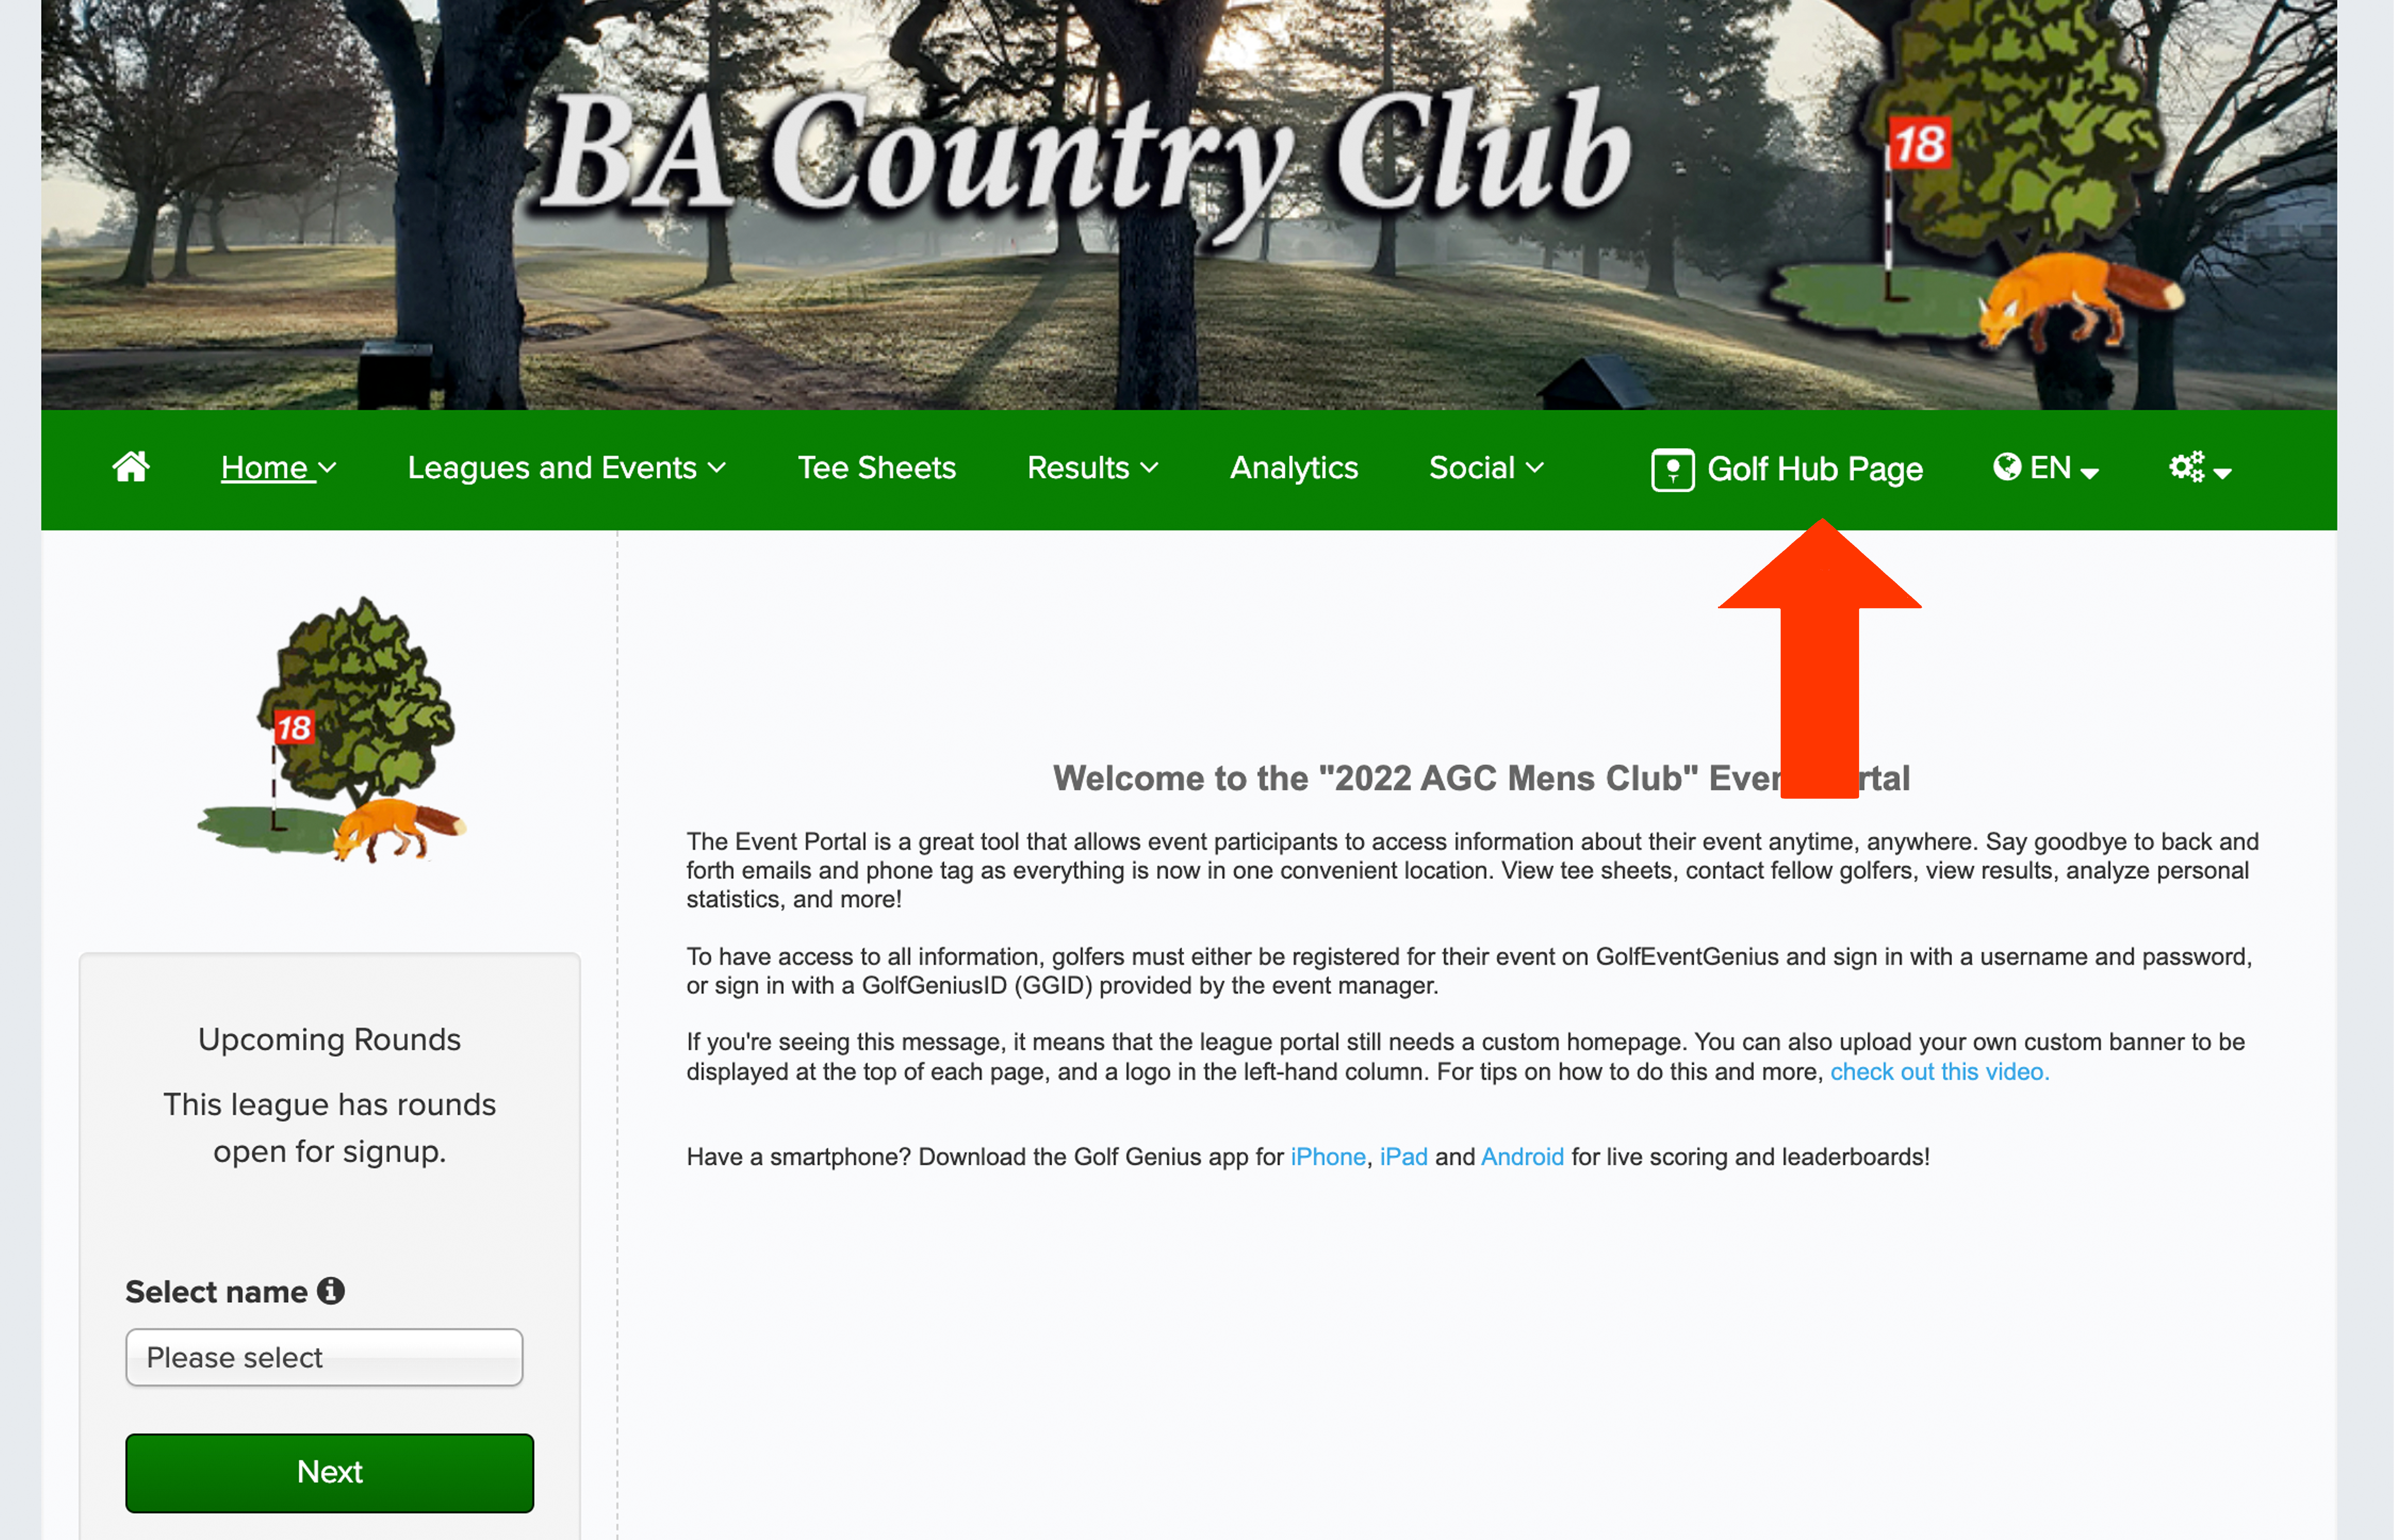
Golf Hub Page Access:
If you have published a Golf Hub Page for your event/league, a link will be visible on the portal, providing access to the Golf Hub Page (as shown below).
For more details on publishing a Golf Hub Page, Click Here.