Mailouts allow you to track who has viewed and read your orientation message, this is really important for a number of reasons:
Quickly provide accreditation evidence of who has had an orientation (with reporting functionality)
Provide access to important clinical information and time saving measures
Improve clinician wellbeing by reducing anxiety, stress and burnout (Clinicians experiencing burnout are likely to make twice the amount of mistakes).
Setup your hospital orientation message (Mailout)
If you already have setup your orientation template, skip this step!

Why should yo do this?
Any clinician starting at your hospital will be anxious about working in a new environment. Give them a a succinct summary of where to find information on how your hospital works!
When should this be used?
This is best used when you invite clinicians to the Med App platform, however it can also be sent after they have been invited to individually.
What should be included?
At a minimum you should include links to hospital maps, key contacts, term descriptions, procedural guides and escalation strategies.
How do I do this?
How to link content - video
Tips for using the editor - video
Sending a orientation Mailout after they requested access to the platform
Once clinicians have requested access and they have been approved into the Med App database, it's important that you send your orientation message. This method can be a bit tedious, which is why we recommend admin lead onboarding, to efficiently orientation clinicians at the same time.
Assuming clinicians have already been accepted to Med App;
Key steps to sending orientation Mailout
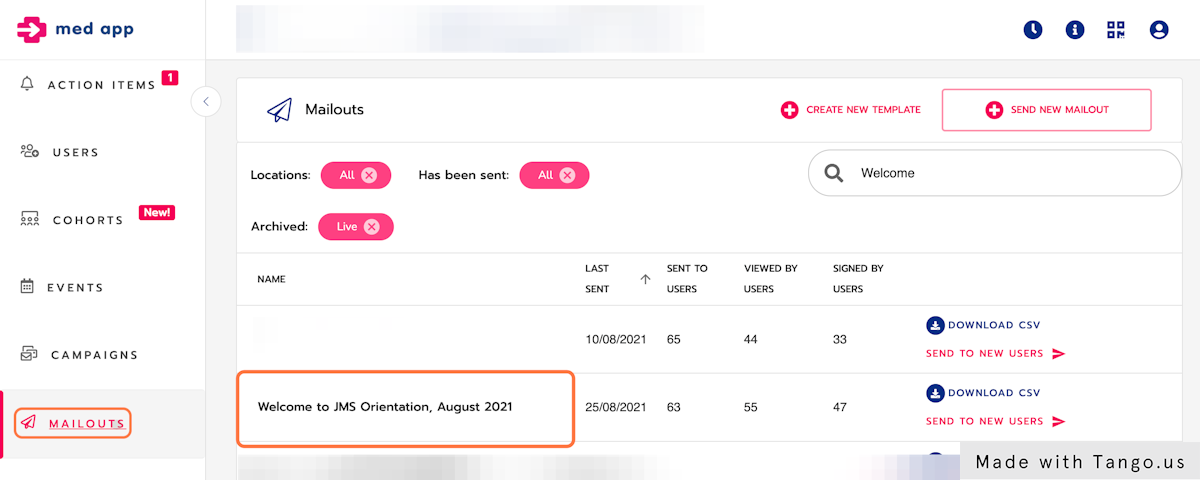
Open Mailouts feature from the left hand feature list
Select your orientation Mailout template
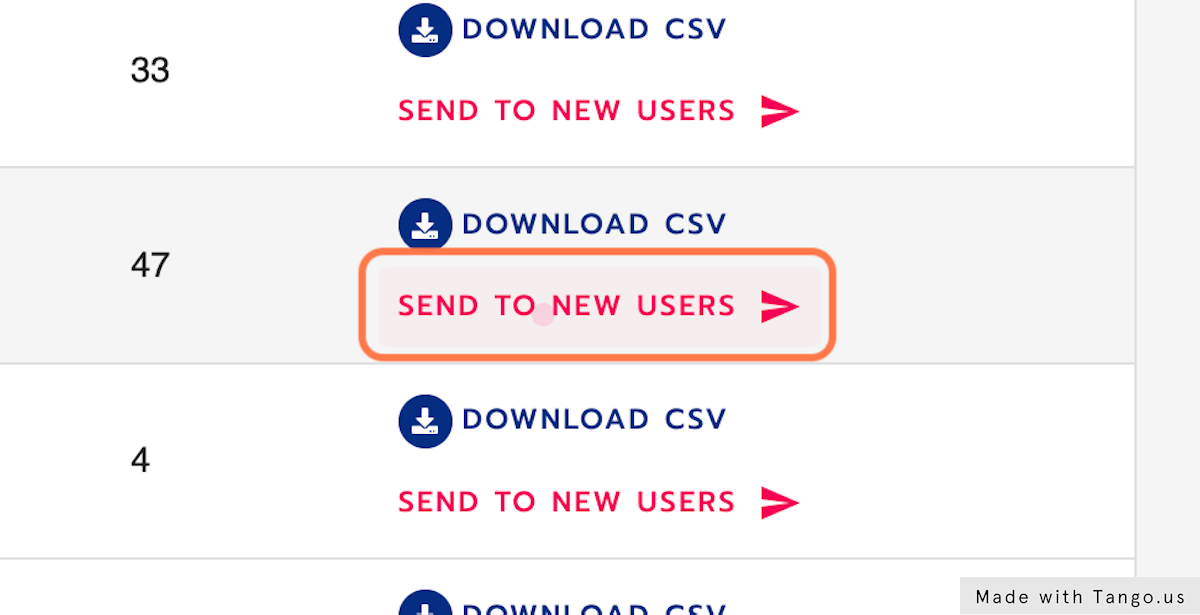
Click send to new users
Locate the name of the clinician or clinicians you want to send the message to
Next steps
You can either follow the detailed sep by step instructions below or read on how to measure engagement
Detailed steps in Med App
1. Click on MAILOUTS and find your orientation template
2. Click on SEND TO NEW USERS
3. Find your newly onboarded clinicians
Option 1 is to filter down on roles and select each clinician you want to send the Mailout to.

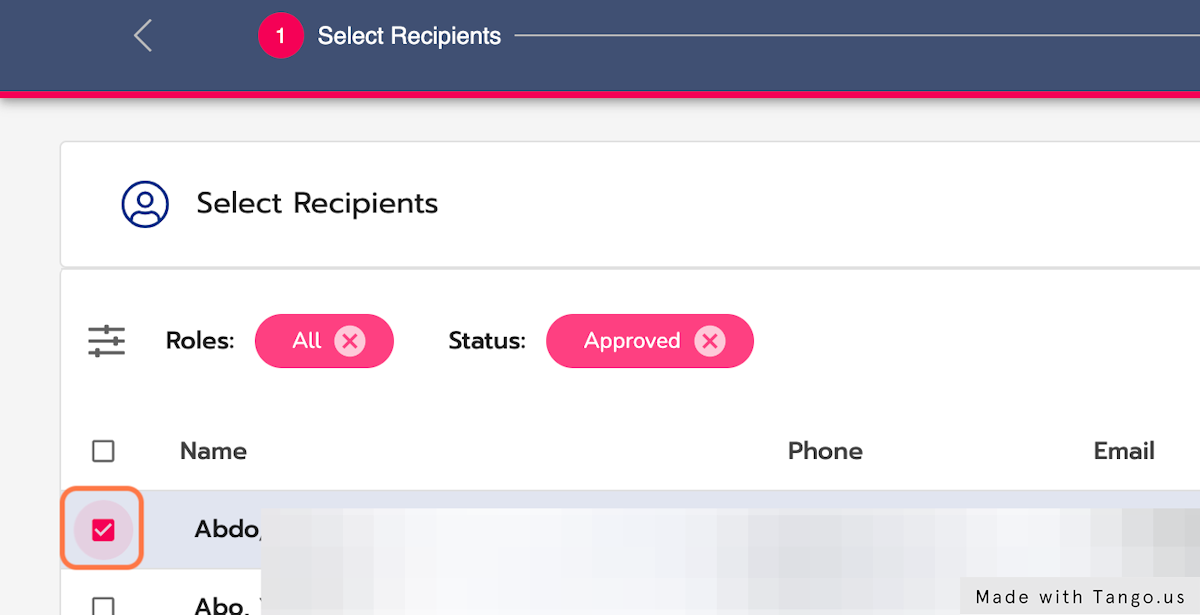
4. Select the appropriate role
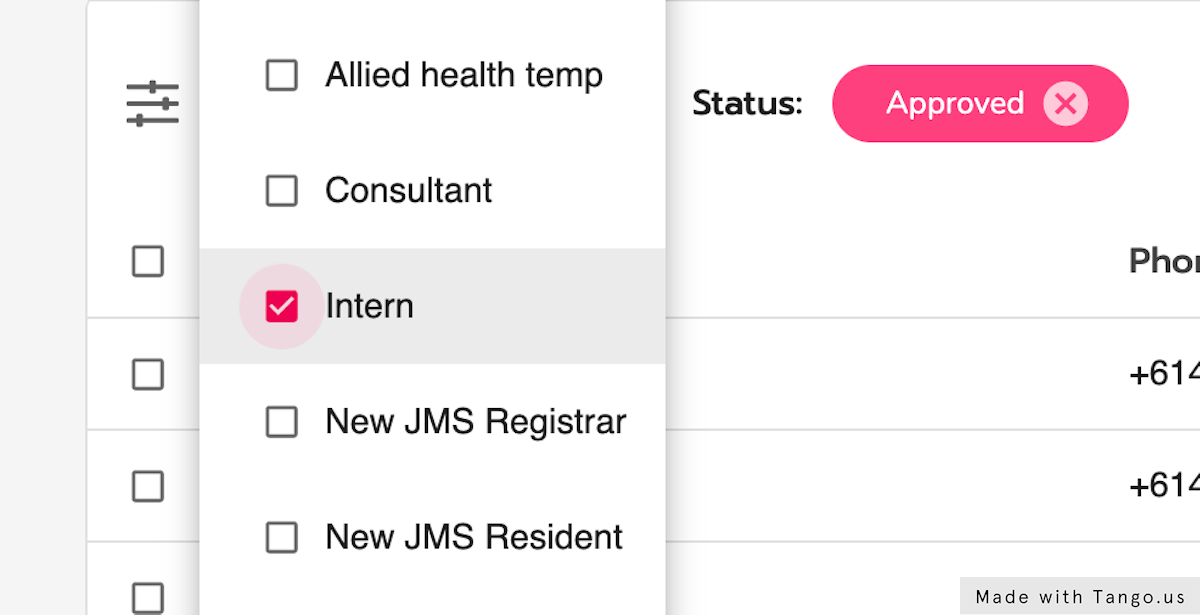
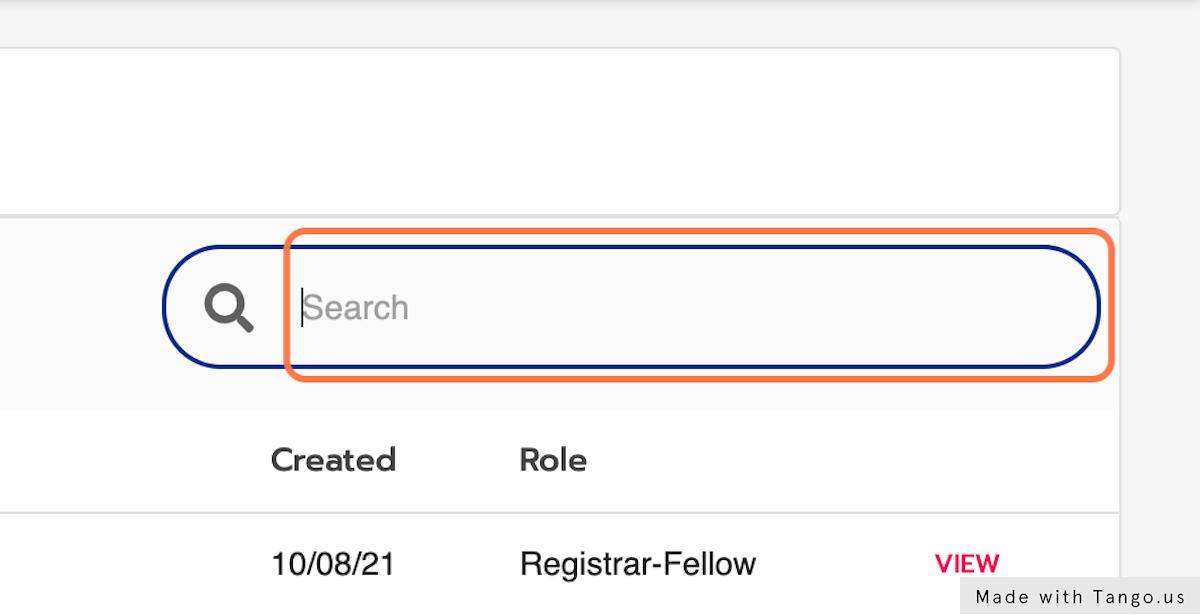
5. Type the name of the clinician you want find
6. Click the tick box to select the clinician
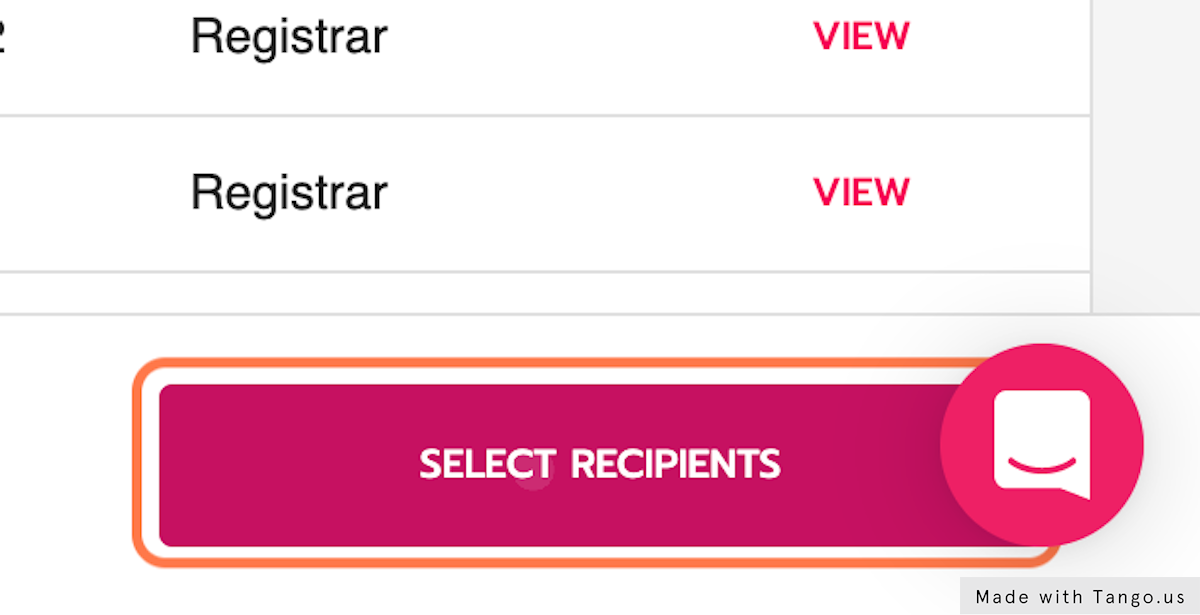
7. Repeat the last 2 steps as many time as you like, when you are finished selecting all new clinicians, click select recipients and Send