
This feature is available for the following products:

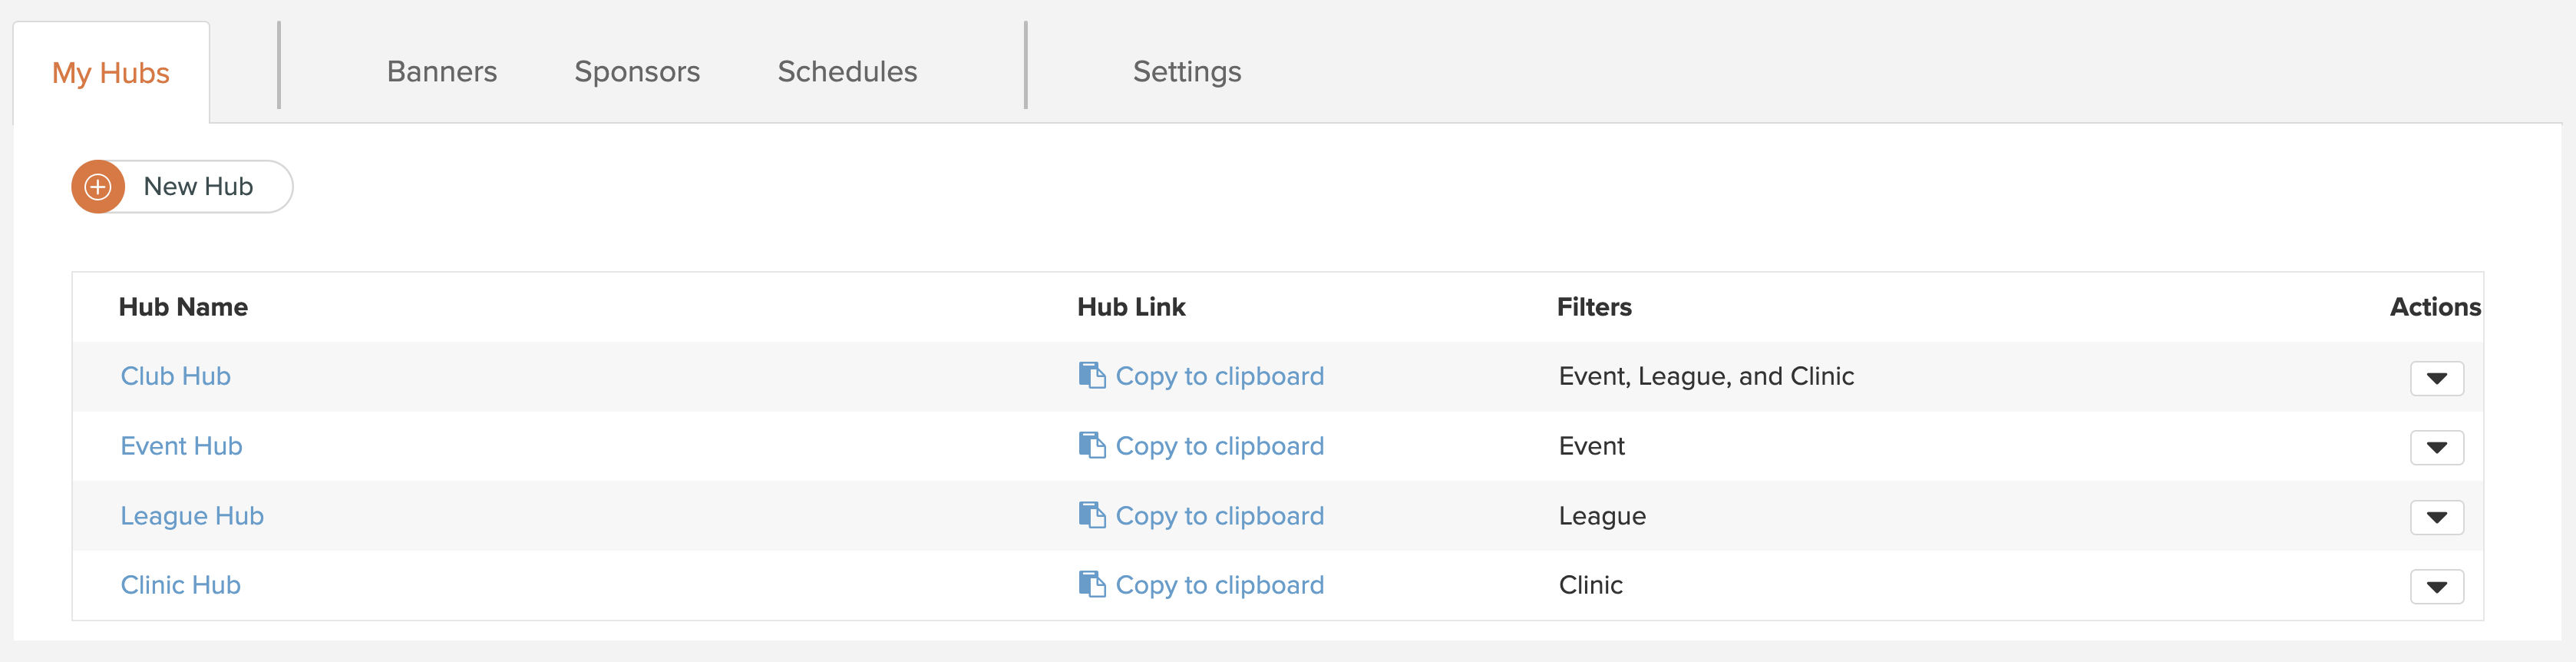
The My Hubs tab contains four pre-made hubs (i.e., Club, Event, League, Clinic) and your custom-built hubs (i.e., tags/filters). You can find the My Hubs tab by going to Customer Center > Directories & Registration > My Golf Hub (as shown below).
In this article, we will discuss the content available to you when setting up and maintaining your Golf Hubs (i.e., Club, Event, League, Clinic, and Custom Hubs). Note: As you edit your Golf Hubs, click "Save" at the bottom of the window to ensure all changes get saved to the Hub.
Association Customer and Multi-Club Organizers have an additional option when setting up Aggregate Hubs. For details on the additional option, Click Here.
Creating Custom Hubs:
Custom Hubs allow you to create new hubs (in addition to the current Hubs). Custom Hubs provide the same functionality as the pre-built hubs (Event, League, Clinic, and Club Hubs) but allow you to handle which Golf Hub Pages can populate the Hub by filtering based on event type, gender, age, and season (discussed later in this article).
To create a new Hub, click "New Hub" (as shown below).

Note: Golf Associations and Multi-Club Organizers can also create aggregate clubs that showcase all member clubs' publicly published Golf Hub Pages in one location. For more details on creating Aggregate Hubs, Click Here.
Adding Content to Existing Hubs:
As previously mentioned, the My Hubs tab comprises all your Hubs. Each hub can contain unique content (described in greater detail below). To edit your Hubs, follow these instructions:
Go to Customer Center > Directories & Registration > My Golf Hub Setup.
To add content to an existing Hub, in the action dropdown, select "Edit."
Review and fill in the available options outlined in each section below (as necessary).
Click "Save."
Hub Fields:
The following content outlines the available options when creating and editing your Hubs.
Hub Name (Custom Hubs Only):
Add or edit the name of the hub.
Filters (By Golf Hub Page Tag):
Note: Filters are not editable for pre-built hubs (e.g., Golf, Event, League, Clinic).
The filters section displayed all the filters applied to a particular Golf Hub. For any custom Hub, you can modify and edit the filters here. When creating your Golf Hub Pages, you can select tags for the page, these tags will align with the available filters for a Golf Hub. When you assign a filter to a Golf Hub, it narrows down the Golf Hub Pages that will be added to your Custom Hub.
The following filters are available (Note: The more filters applied to a Golf Hub, the fewer Golf Hub Pages will be displayed.):
Event Type: Is this Hub a collection of events, leagues, are they competitive, social, charity, simulator, etc.? If so, including an Event Type will enable you to create Golf Hubs that are collections of each Event Type. The available event types include:
Event
League
Clinic (Assignable to an Event Golf Hub Page only.)
Competitive
Championship
Social
Charity
Outing
Adaptive
Doubles Golf
Simulator
Gender:
Male
Female
Mixed
Age:
Senior
Adult
Junior
Season: List all available seasons you have created. For more details about creating seasons and organizing events/leagues into sessions, Click Here.
Category (Customer Center Category): List all Customer Center Categories you have created for collections of events/leagues. For more details about organizing your events/leagues into Customer Center Categories, Click Here.
Note: Filters are not eligibility criteria settings.
Website:
Paste your club's URL web address here, and a unique link will be added to the Golf Hub, allowing golfers direct access to your website.
Description:
Fill in the description to provide a unique touch to each Hub. Keep it short and sweet so you are not overwhelming the page with text. Here are some suggestions on what to include in each Hub's descriptions:
Club Hub: The Club Hub description should be generic to your club. Include details that describe your facility and what makes it unique. You may already have some content written on your club's website, which can provide you with ideas.
Events Hub: The Event Hub description should outline annual competitive events and encourage people to check back regularly for updates.
League Hub: The League Hub description should outline the leagues offered and the benefits they provide to your golfers.
Clinic Hub: The Clinic Hub description should outline the range of developmental options available at your facility for golfers of all skill levels, enabling them to reach their full potential.
Custom Hub: The description should be based on the hub filters and tags.
Note: While the description is not mandatory, it provides a unique touch to each page.
View Settings:
View Settings allow you to add additional content to each Golf Hubs Page tile or row and make changes to how Pages are grouped on the Golf Hub. These options include:
Enable map view: Allows a map of the events/leagues to be displayed on the Hub. The map view will be zoomed out the the extents of the event/leagues connected to the Hub. Note: When enabling the option, "include city and state" is checked by default. You will also have the following option when enabling map view:
Enable clustering: When zoomed out in map view, events that are close together will be displayed in a cluster.
Include Next Round Date: Includes the second round date of an event (if applicable).
Group by Month: Groups Golf Hub Pages in tile and list view by month (as shown below).

Include city and state: Include the city of the Golf Hub Page event next to the date. Note: If a course is selected in the event/league, the city is pulled from the course details. If the Golf Hub page is set to "No Course" the city is pulled from the event/league Location details found in the Event Profile General Settings.
Default View:
You can set the default view of Golf Hub Pages that will be shown on the Golf Hub. Golfers will be able to change the default view to their preferred method. The following views are available on a Golf Hub.
Map View: Note: Map View will only be available when the "Enable map view" option has been selected as a "View Settings." This view will display a dynamic map with event locations pinned to a map. Golfers can navigate the map, click on clusters and view event thumbnails. Map view is ideal when your events are located in a broad region, allowing golfers to zoom in on a specific area to view events near them.

Tile View: Tile view will take up more page space but shows more event details and is more aesthetically pleasing to the viewer (as shown below).

List View: This view will display more events on one page with basic details, including event name, date, entry fee, and city.

Course:
If you have multiple courses, select your primary or home course to add a course scorecard to your Golf Hub (as shown below).

If no courses are added to your manager's site, an option to "Add Course" will be present. You also have the option to choose "No Course," and the scorecard option will not display on the Hub. For details on adding and managing your courses, Click Here.
Sponsor:
If you have a club, facility, or organization sponsor, you can add them to your Golf Hub (as shown below).

In this section, you will have three options (as shown below):
Template: Select an Existing sponsor template from the Sponsors Tab. For more details about creating sponsor templates, Click Here.
New Sponsor: Add a new sponsor template by selecting this option.
No Sponsor: By default, No Sponsor will be selected. If you previously had a sponsor on your Golf Hub, choose this option to remove the sponsor section.
You can add one or many sponsors to the Hub when adding new sponsors. To add new sponsors, follow these directions:
Click "Add Sponsor."
Click "Choose File" in the popup, and navigate to the banner you wish to upload.
Click on the file and press open.
Click "Save."
Enter the sponsor URL to include a direct link to that sponsor's website.
Repeat steps 1-5 to add multiple sponsors.
Sort the uploaded sponsor images (if necessary).
Below you can see that we have added two sponsors to this Hub.
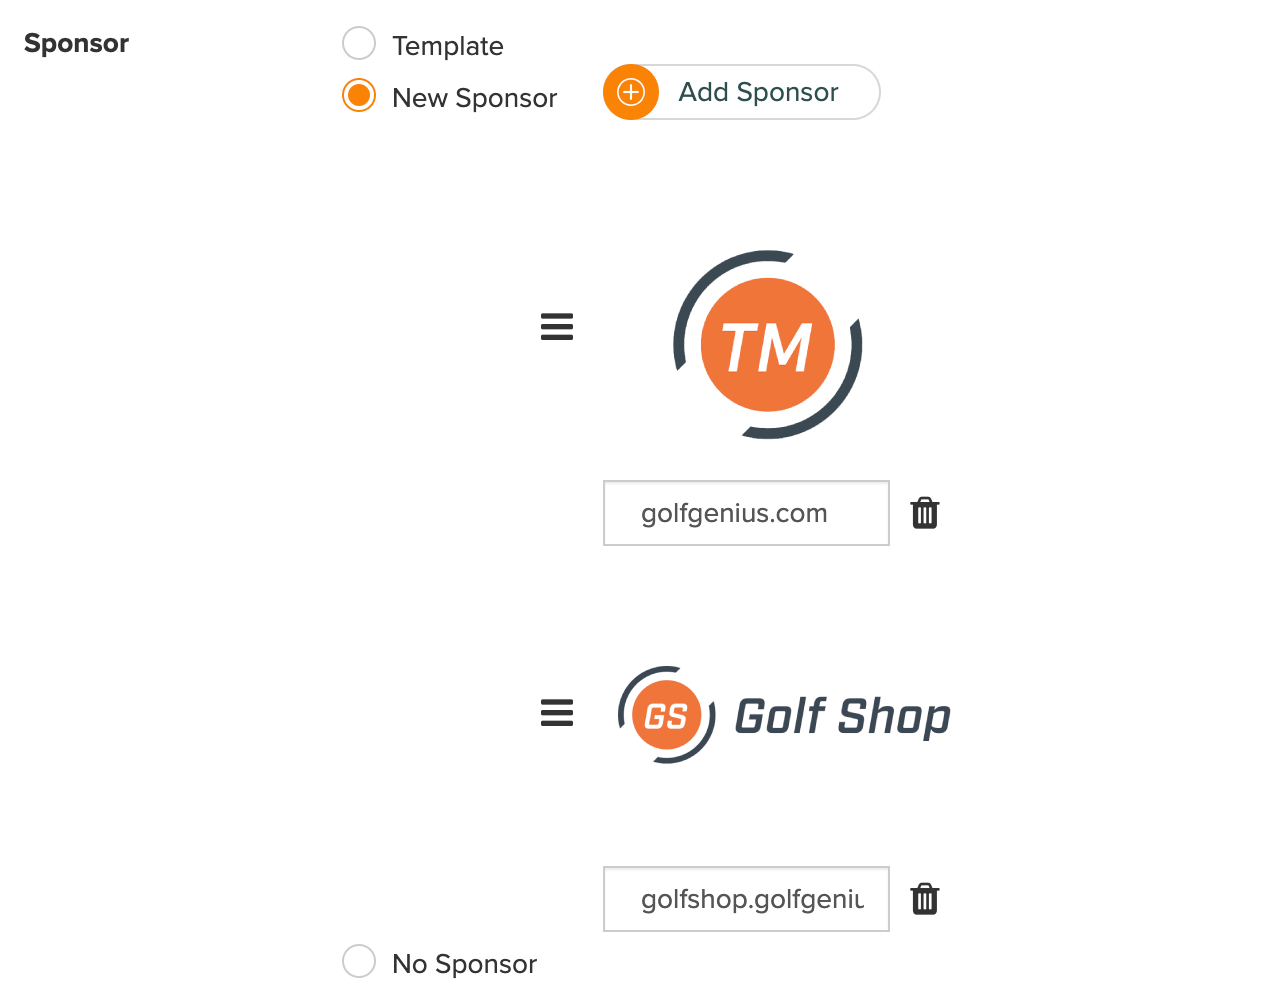
If you need to remove an uploaded sponsor, click the trash can symbol next to the sponsor URL to be removed.
Banner:
Banners will add some character and color to your Hub. Set the same banner for each Hub or give them a unique banner to make each Hub a little different. In this section, you will have two options (as shown below):
Template: Select an Existing banner template using the dropdown. The available templates are populated from the Banner Tab. For more details about creating banner templates, Click Here.
New Banner: Add new banners by selecting this option.
You can add one or many banners that "scroll" while a golfer visits the Hub. To add new banners, follow these directions:
Click "Add Banner."
Click "Choose File" in the popup, and navigate to the banner you wish to upload.
Click on the file and press open.
Adjust the banner to fit within the gray bound box. The area in white will determine how much of the uploaded image is displayed, and any content in the gray area will not be clipped.
Click "Save," and repeat sets 1-4 to add multiple banners to one template.
Sort the uploaded banner (if necessary).
Below, we have added two banners to this Hub that will "scroll" when a golfer is viewing this Hub.
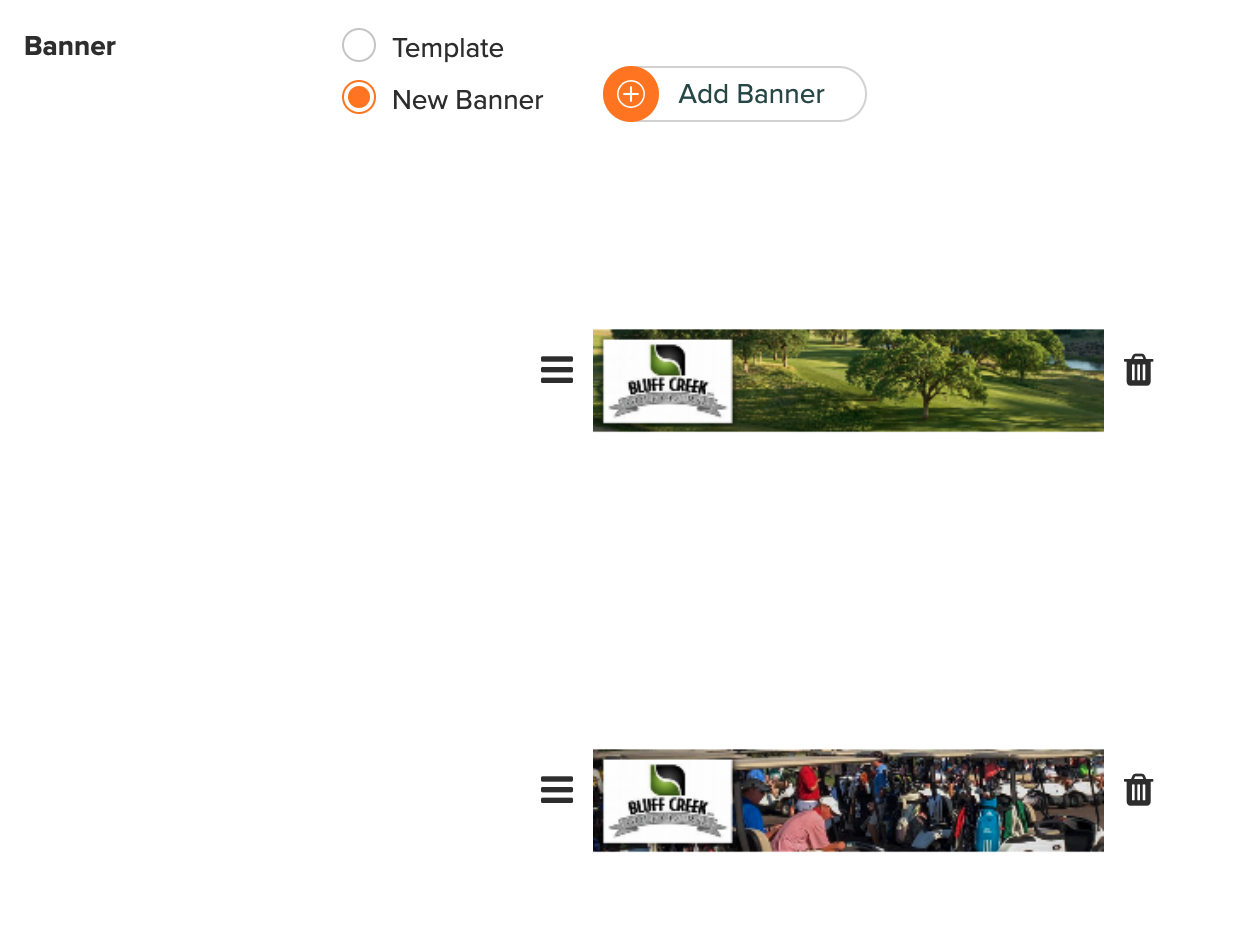
To remove an uploaded banner, click the trash can symbol next to the image you want to remove.
Coach Now and Operation 36 Link
Note: This option is only available when the Default course is selected in Golf Hub Setting.
Share your Coach Now Lesson Booking Calendars and Operation 36 Calendar as a tile, similar to a Golf Hub Page, and link on your My Golf Hubs and as a tile when publishing to Aggregated Public Hubs (i.e., Association & Multi-Club Organizers) and the Golf Genius Hub (as shown below).

For complete details on marketing your Coach Now Lesson Calendars and Operation 36 Calendar with Golf Hub, Click Here.